
The Importance of hands-on learning
One of the most frequently cited models related to this topic is Edgar Dale’s “Cone of Experience” (or “Cone of Learning”), introduced in the 1960s. Dale’s Cone of Experience suggests that people remember:
- 10% of what they read
- 20% of what they hear
- 30% of what they see
- 50% of what they see and hear
- 70% of what they discuss with others
- 80% of what they experience or practice
- 90% of what they teach to others or use immediately
However, it’s essential to note that Dale’s original model didn’t provide these specific percentages, and these numbers have been widely misattributed to him over the years. The idea behind the cone is to demonstrate that active participation and engagement (doing, discussing, teaching) tend to be more effective for retention and understanding than passive learning methods (just reading or listening).
This is why we believe in hands-on learning: set up your account and start exploring!
Additional Resources on this topic:
Now that you understand the importance of hands-on learning let’s dive into a practical guide: setting up an AWS account.
Getting Started with AWS
Welcome to this guide on setting up an AWS (Amazon Web Services) account! Whether you’re a software engineer or developer, understanding AWS can benefit the tech world. Learning AWS is a great way to start with cloud computing, distributed systems and modern software architectures.
Account Creation
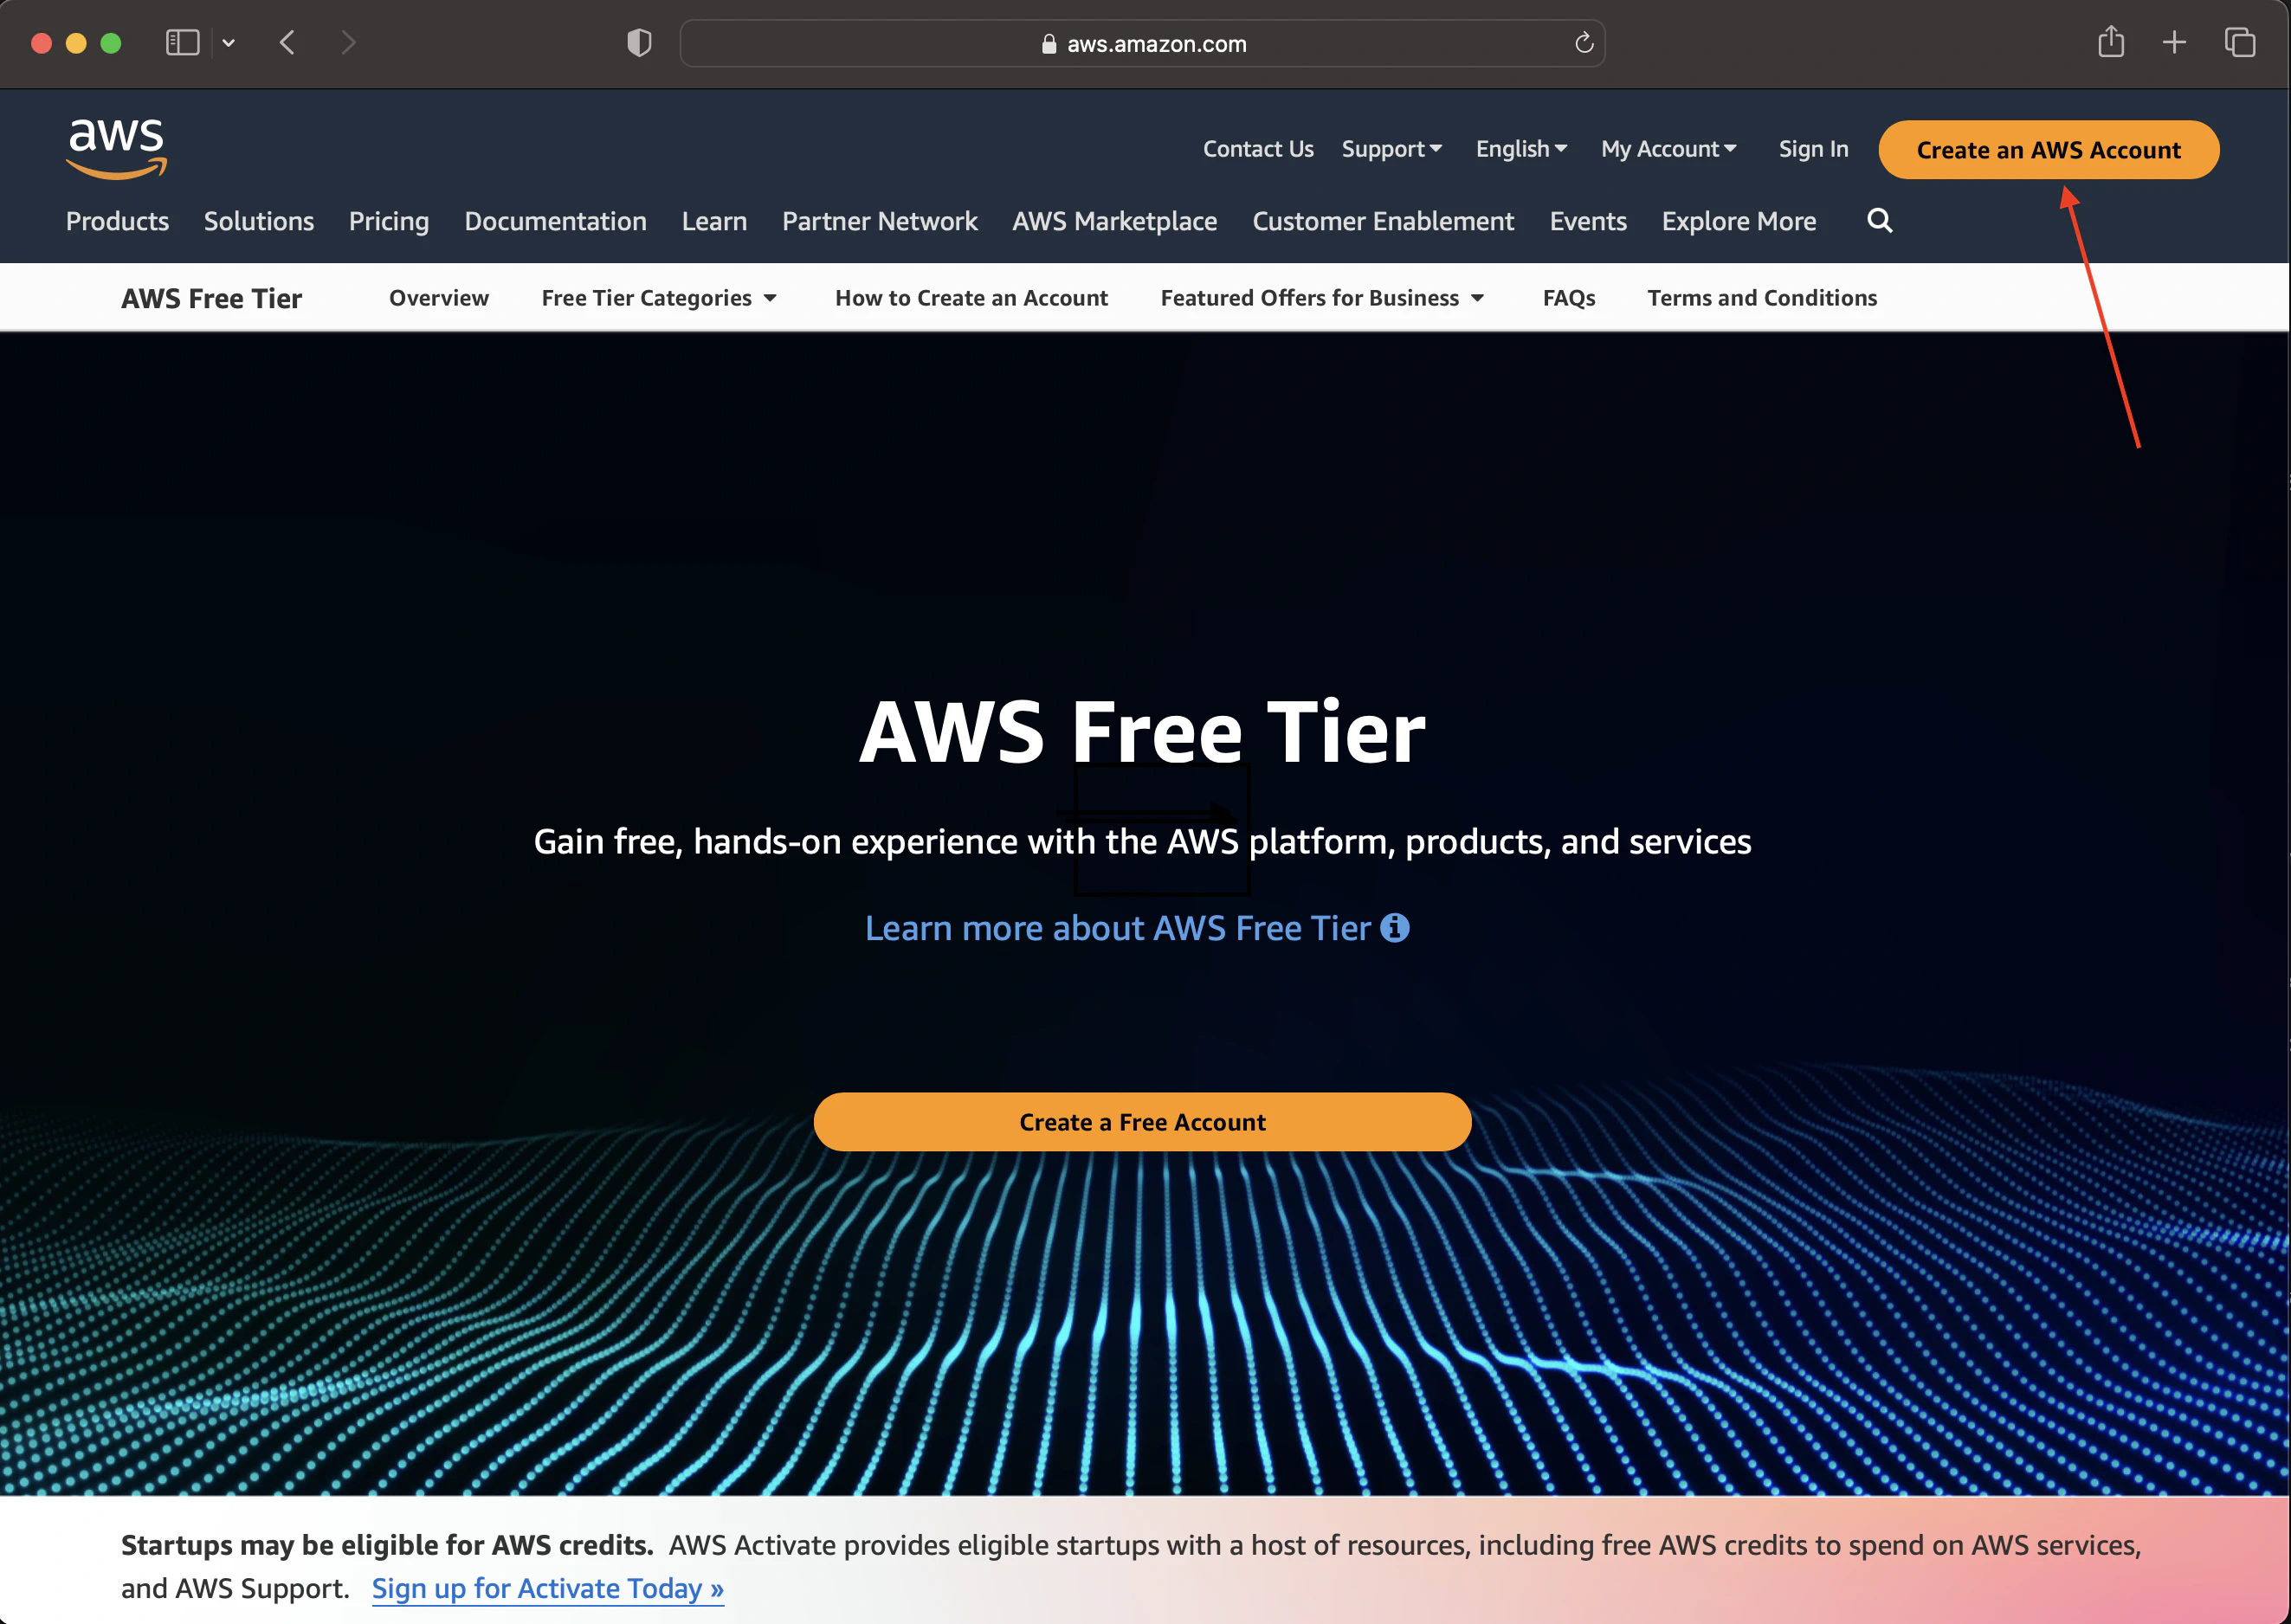
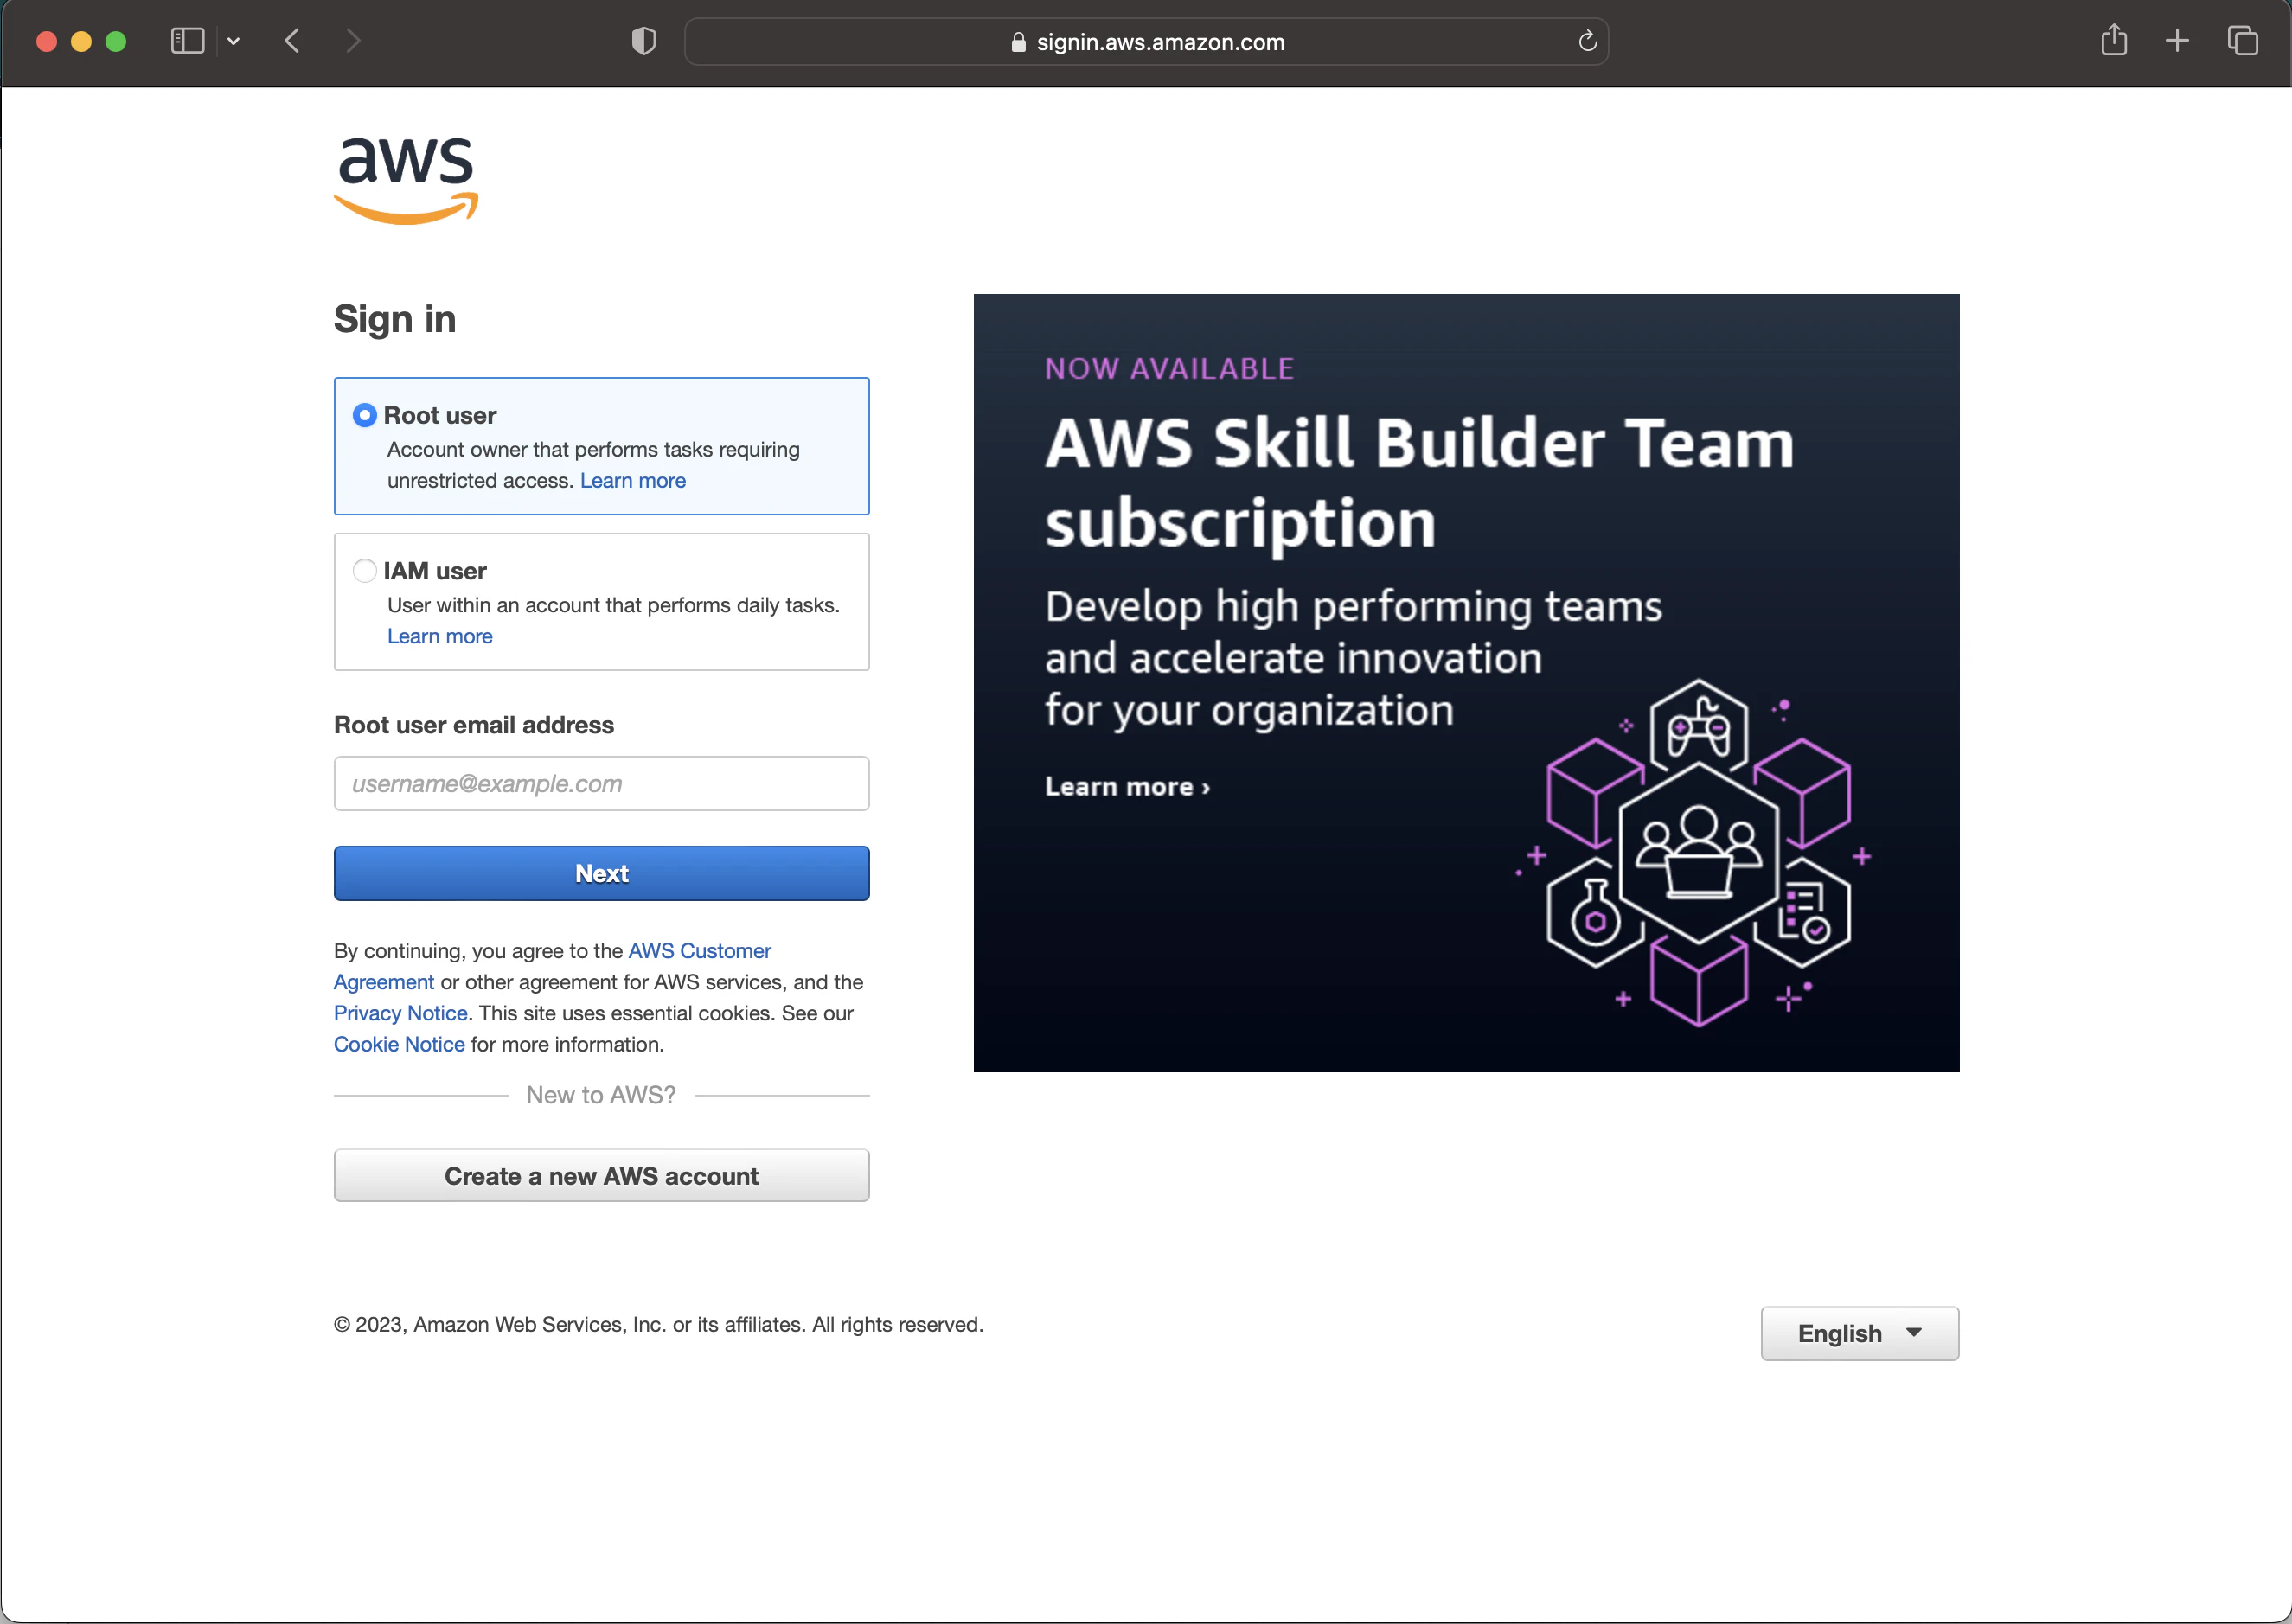
- Visit the AWS Homepage: Navigate to the AWS homepage .
- Select “Create an AWS Account”: This is typically located at the top right corner.
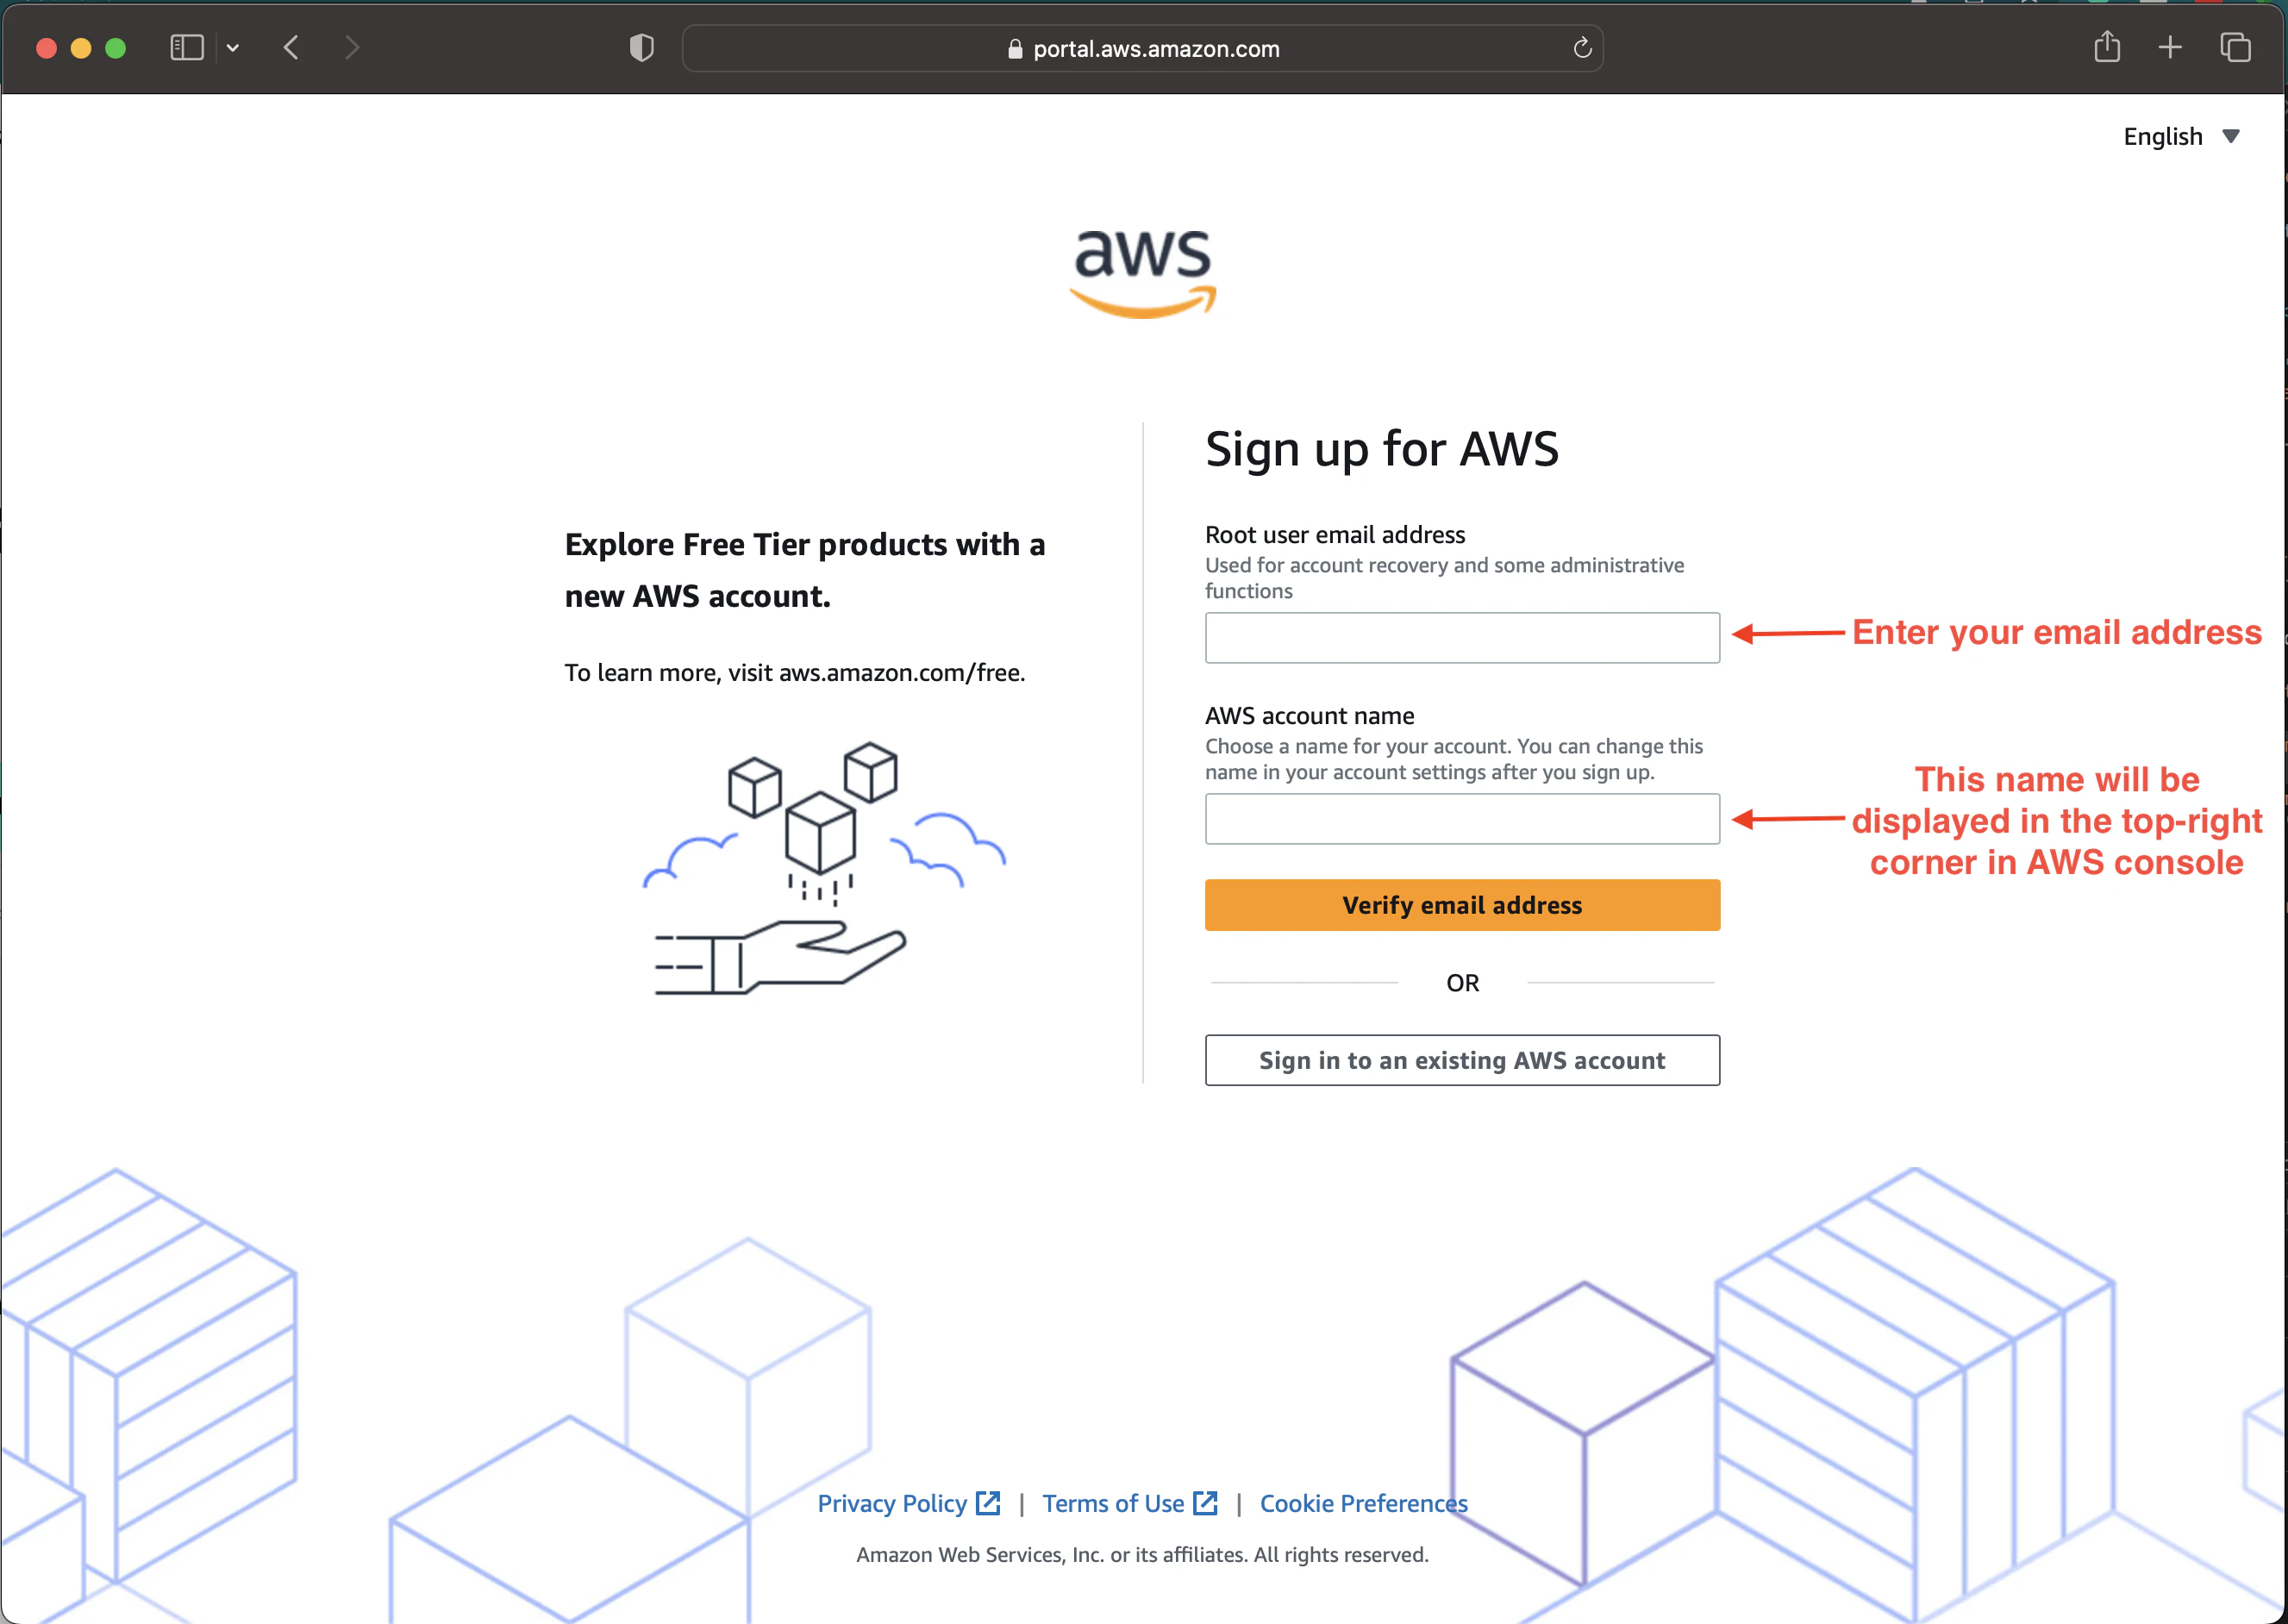
- Provide Email: You’ll be asked to input your Email and give an AWS account name (this can be anything you like).
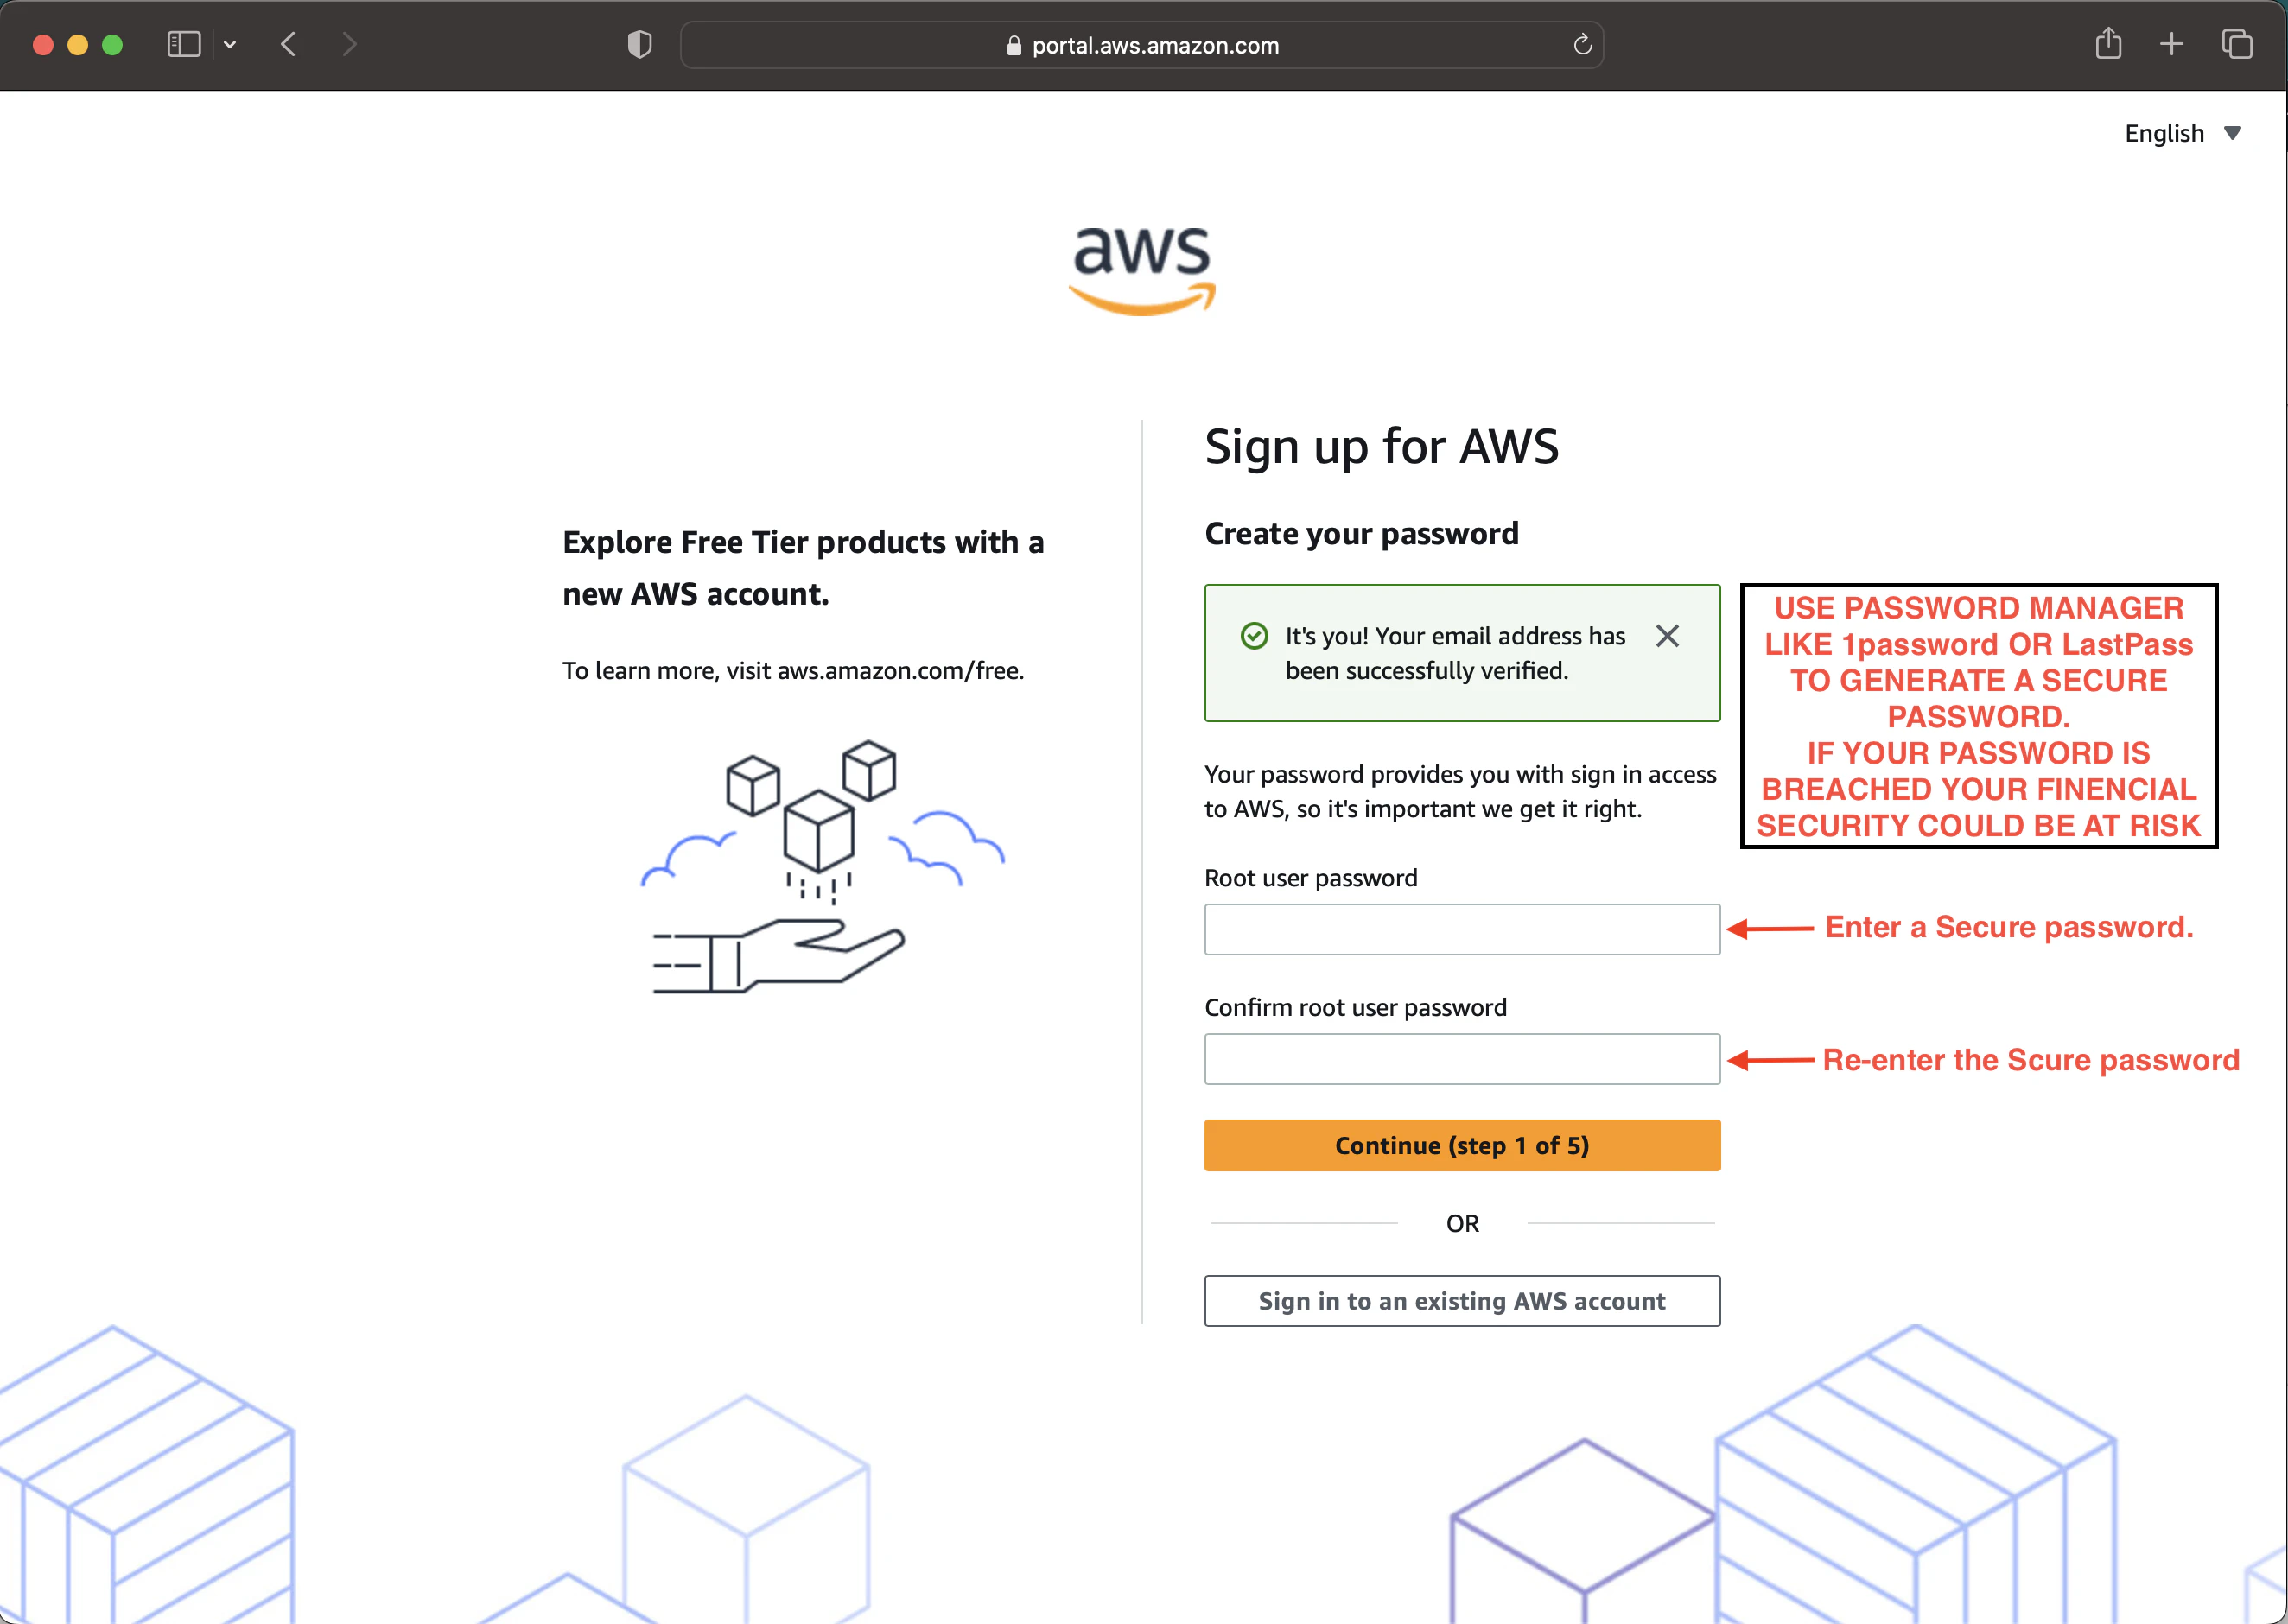
- Verify Your Email: AWS will send a verification code to your Email. Enter it to proceed.

- Password Creation: Create a password for your account. Ensure it’s strong and unique!. Use password-generating tools
if needed.
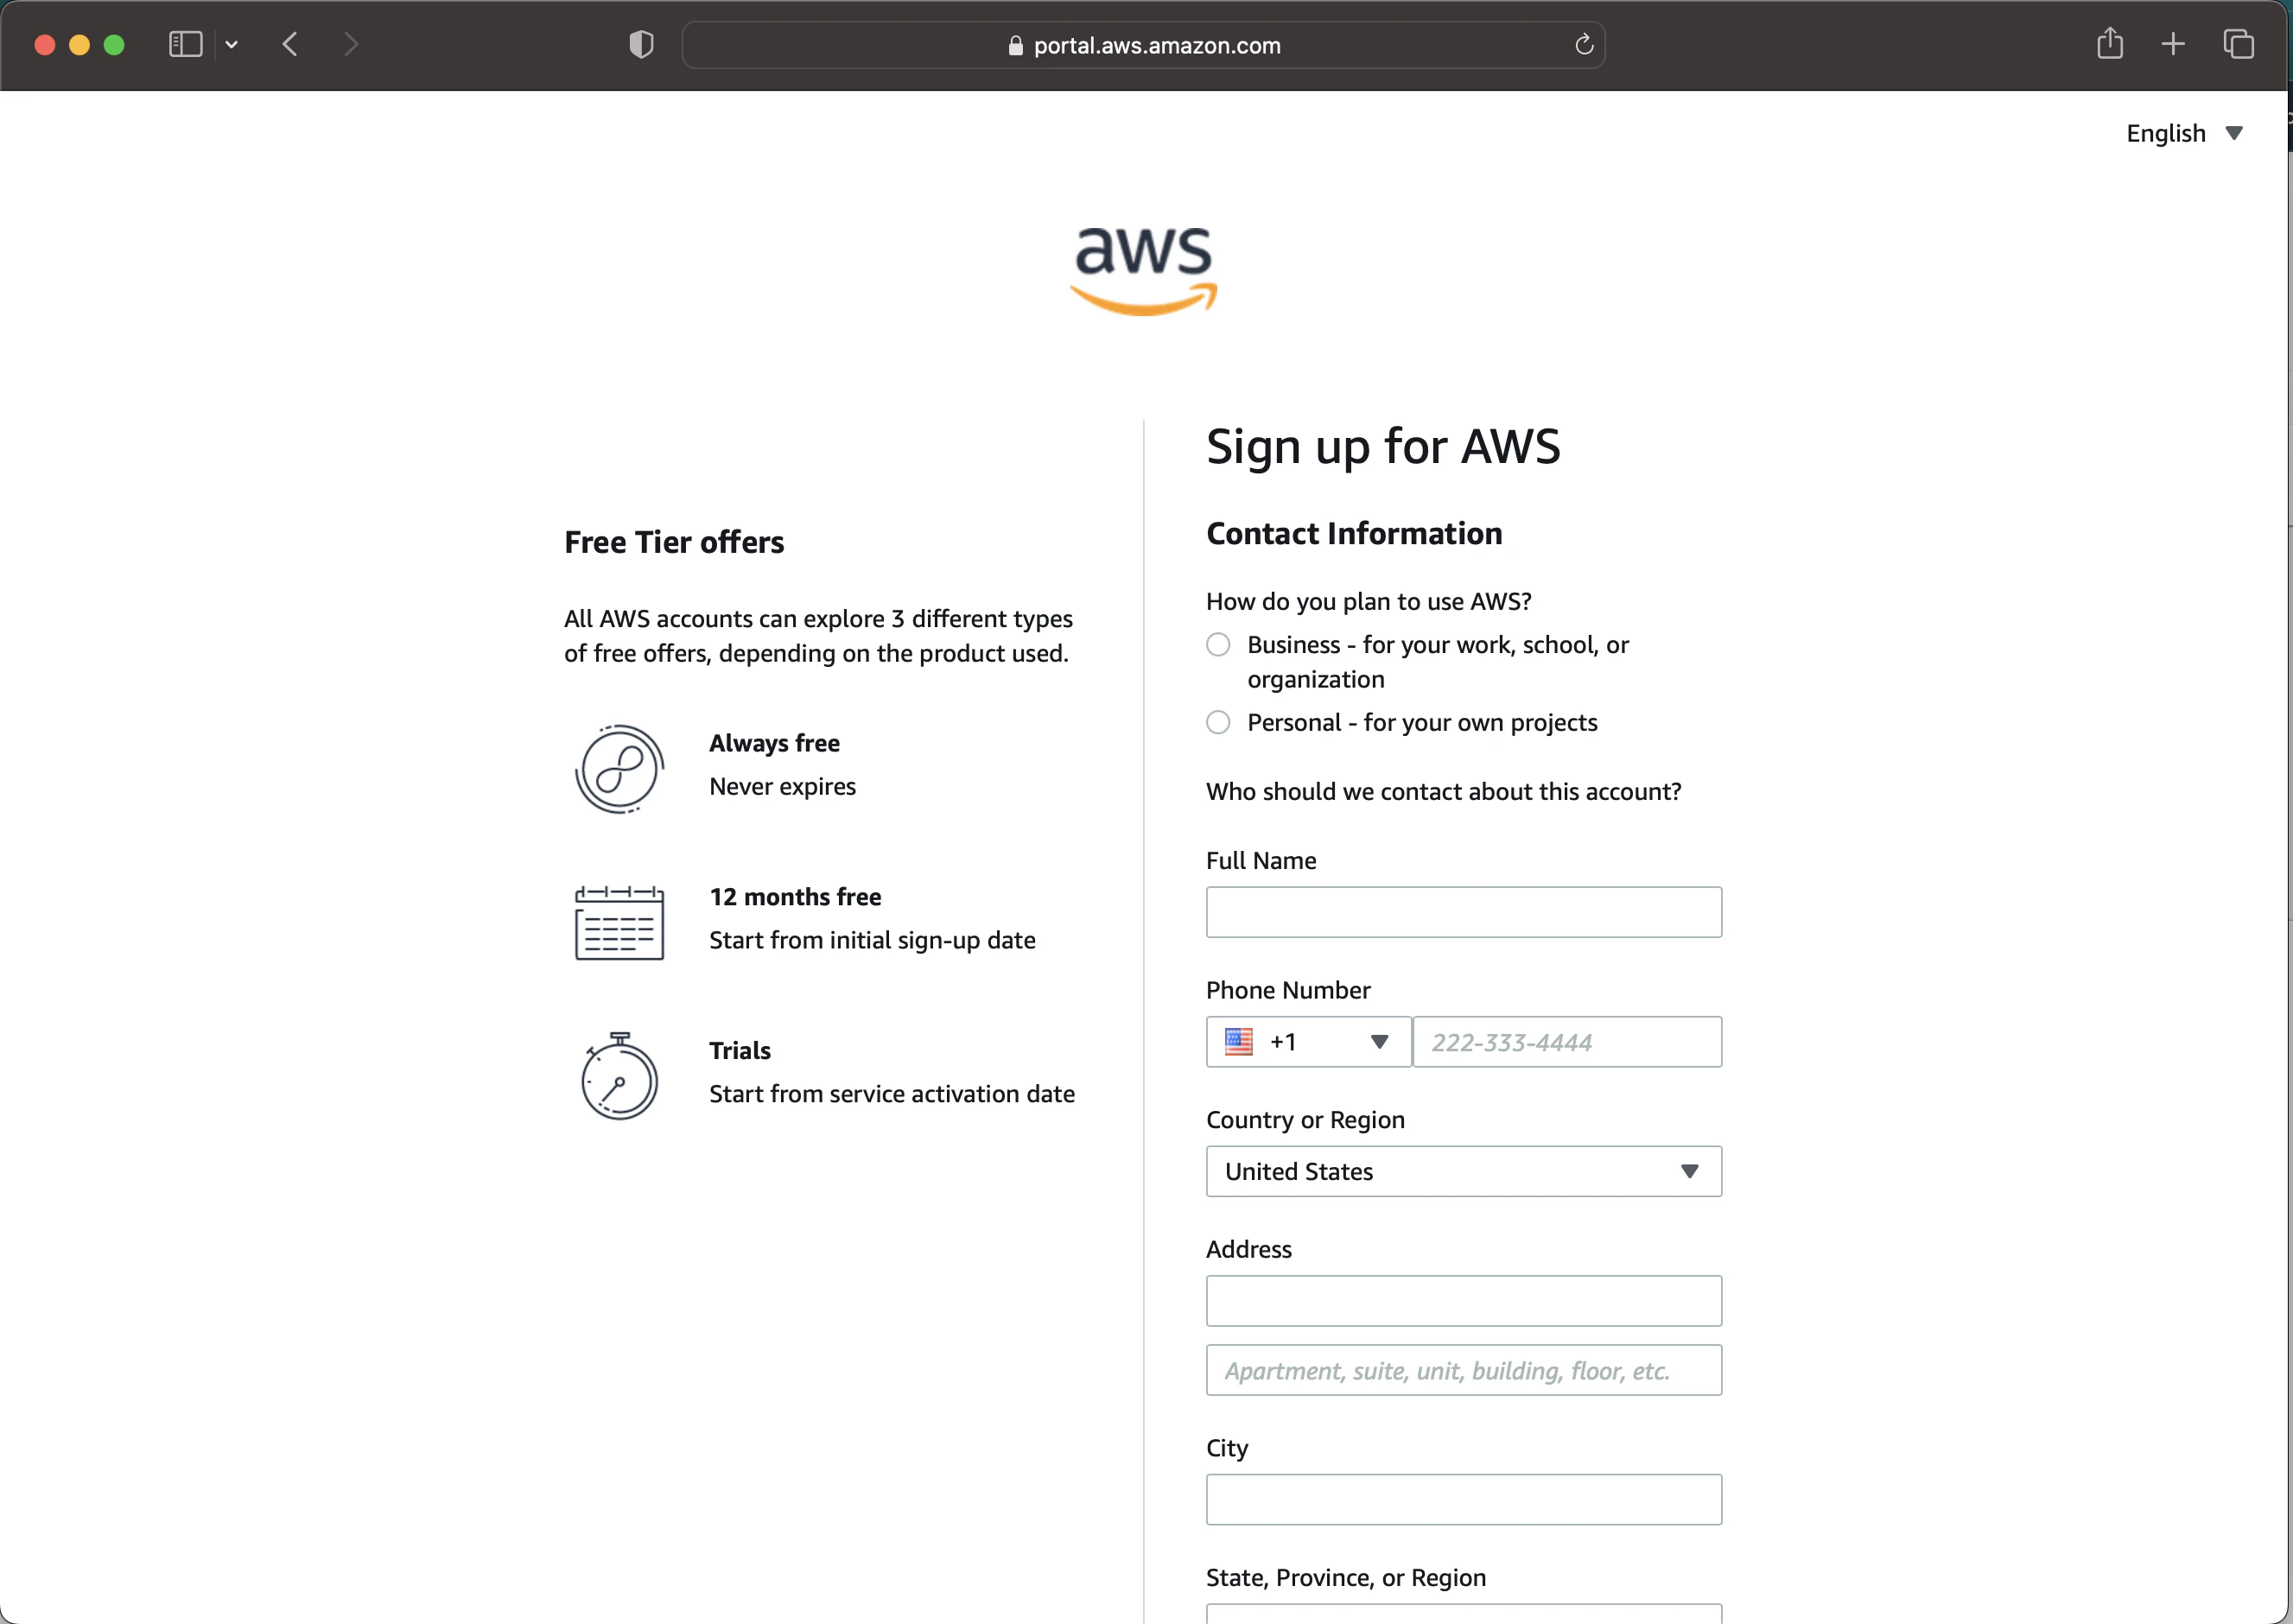
- Contact Information: Fill out the required personal or professional contact information. If you’re using this for personal learning, choose “Personal” in our case.
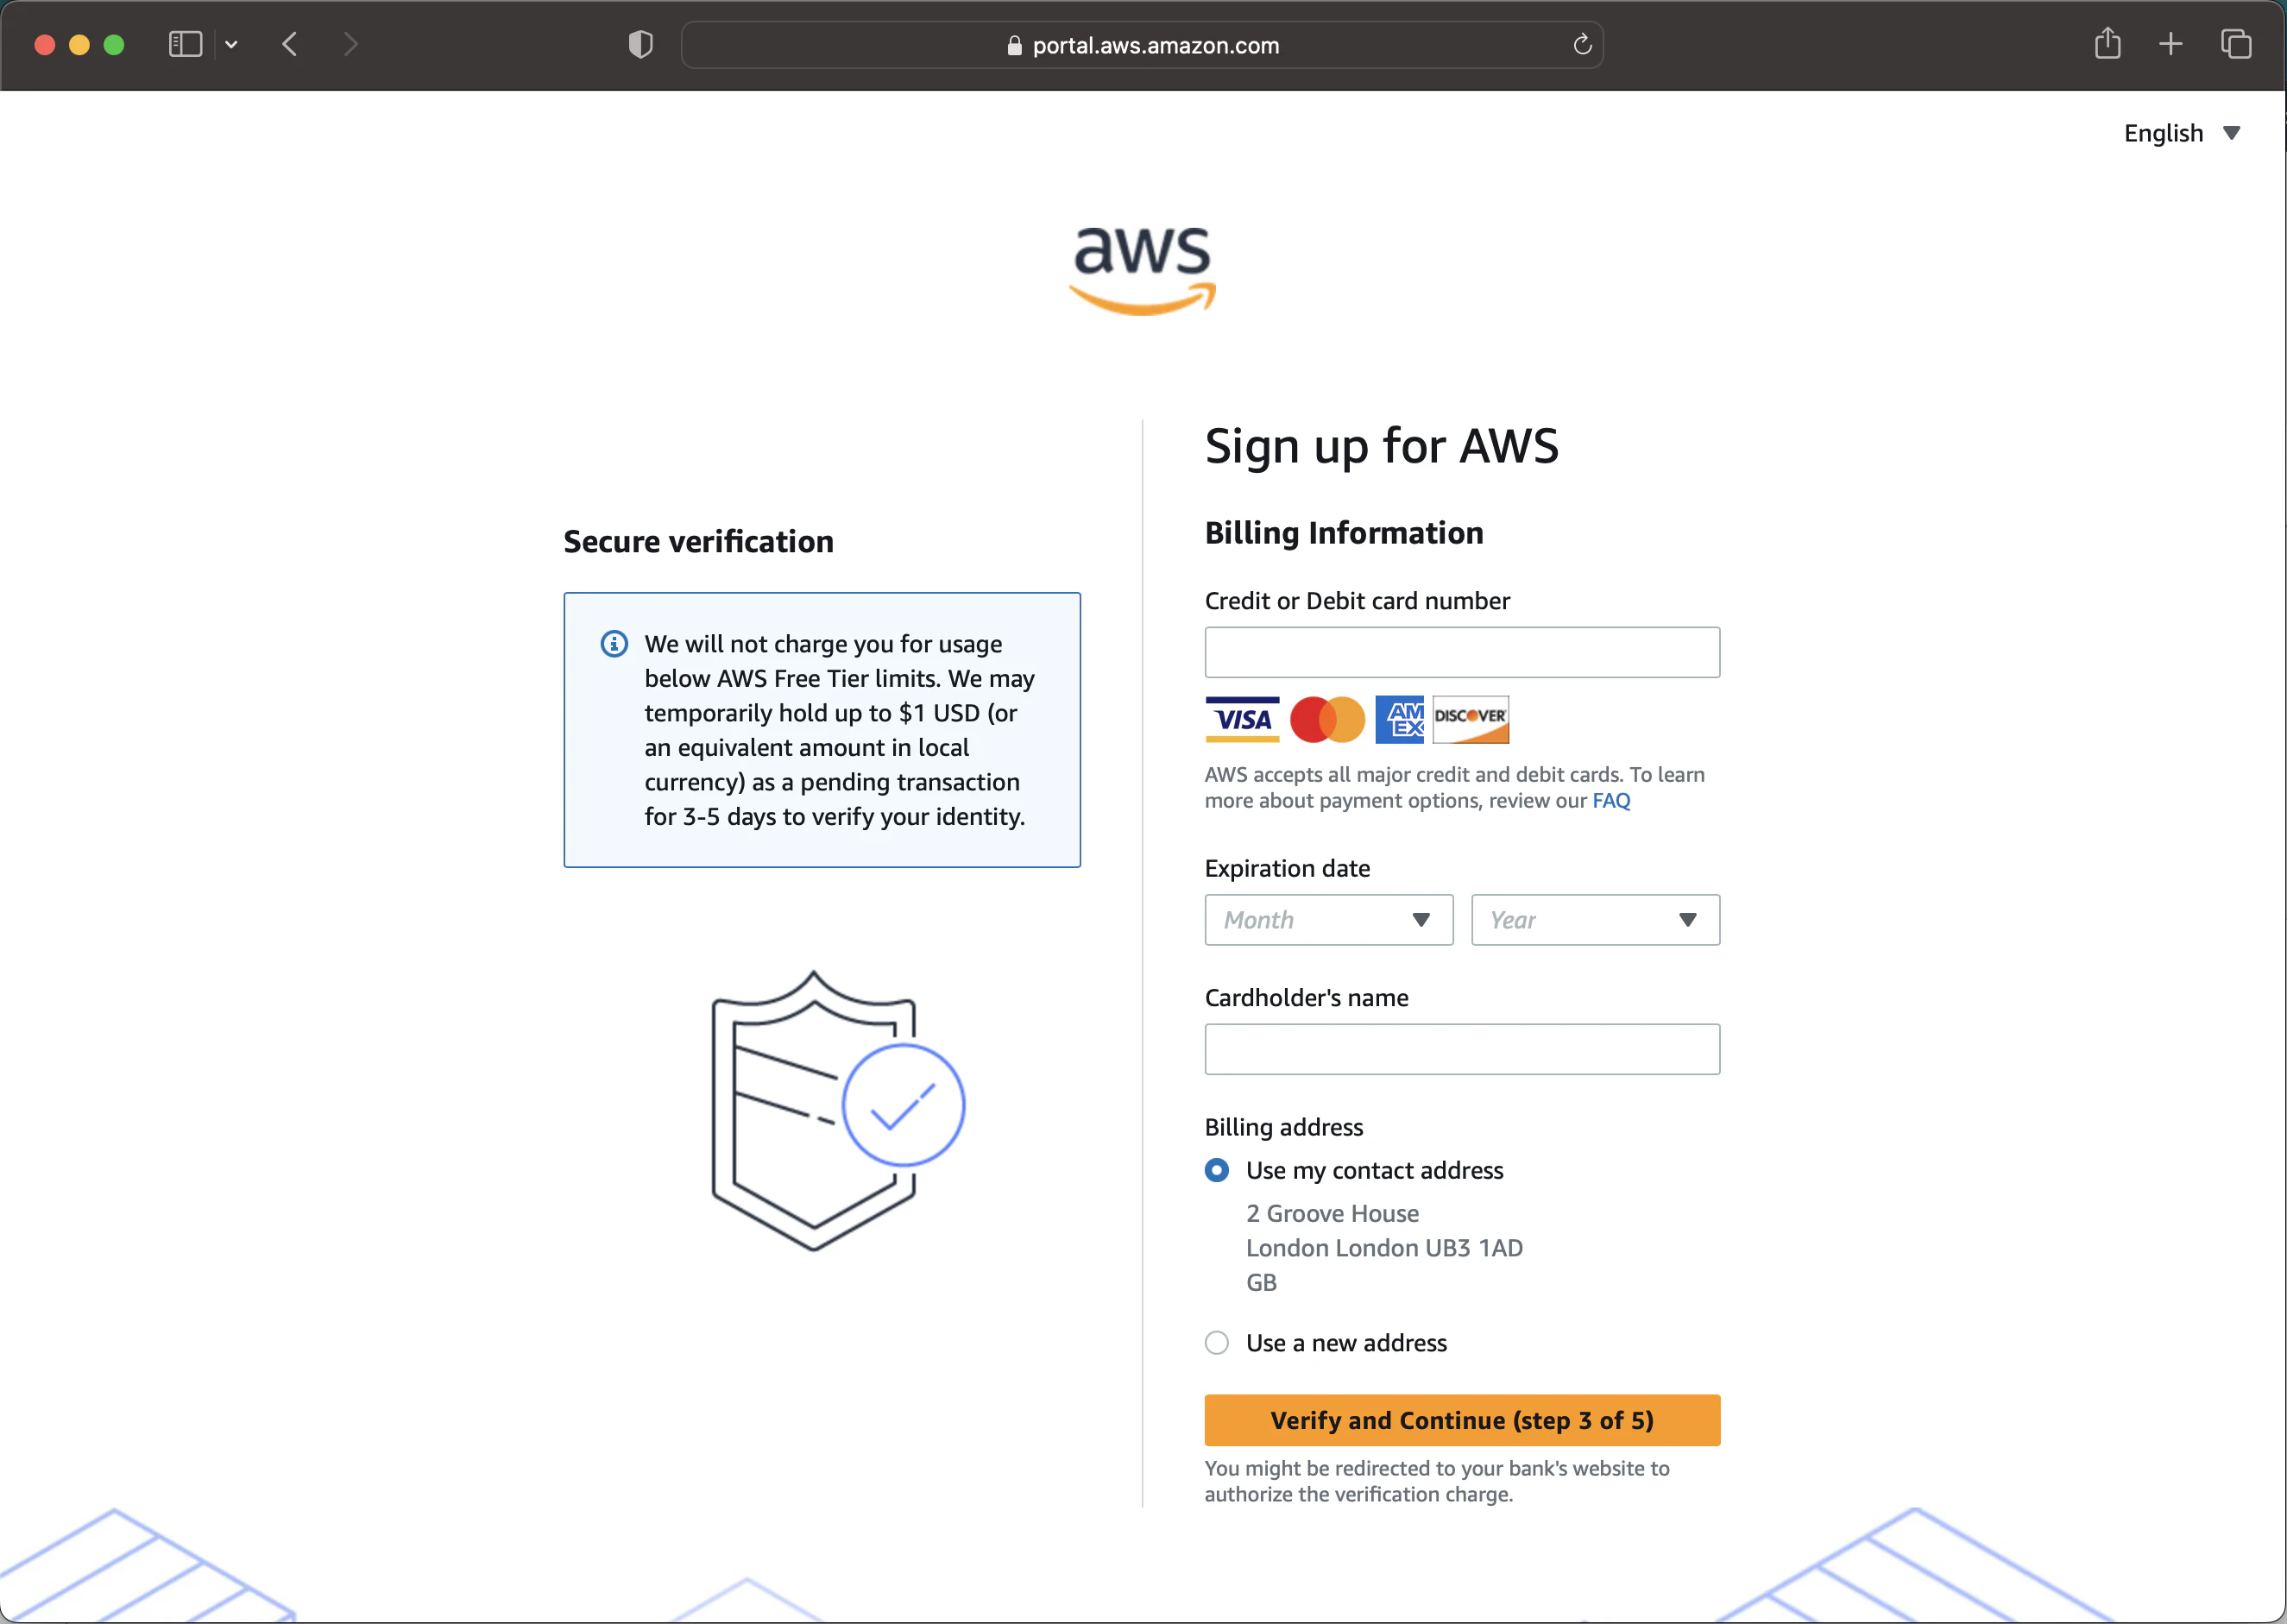
- Payment Information: AWS offers a free tier but requires payment information upfront. This is to cover any costs if you exceed the free tier limits. If you follow the free tier guidelines, you won’t be charged.
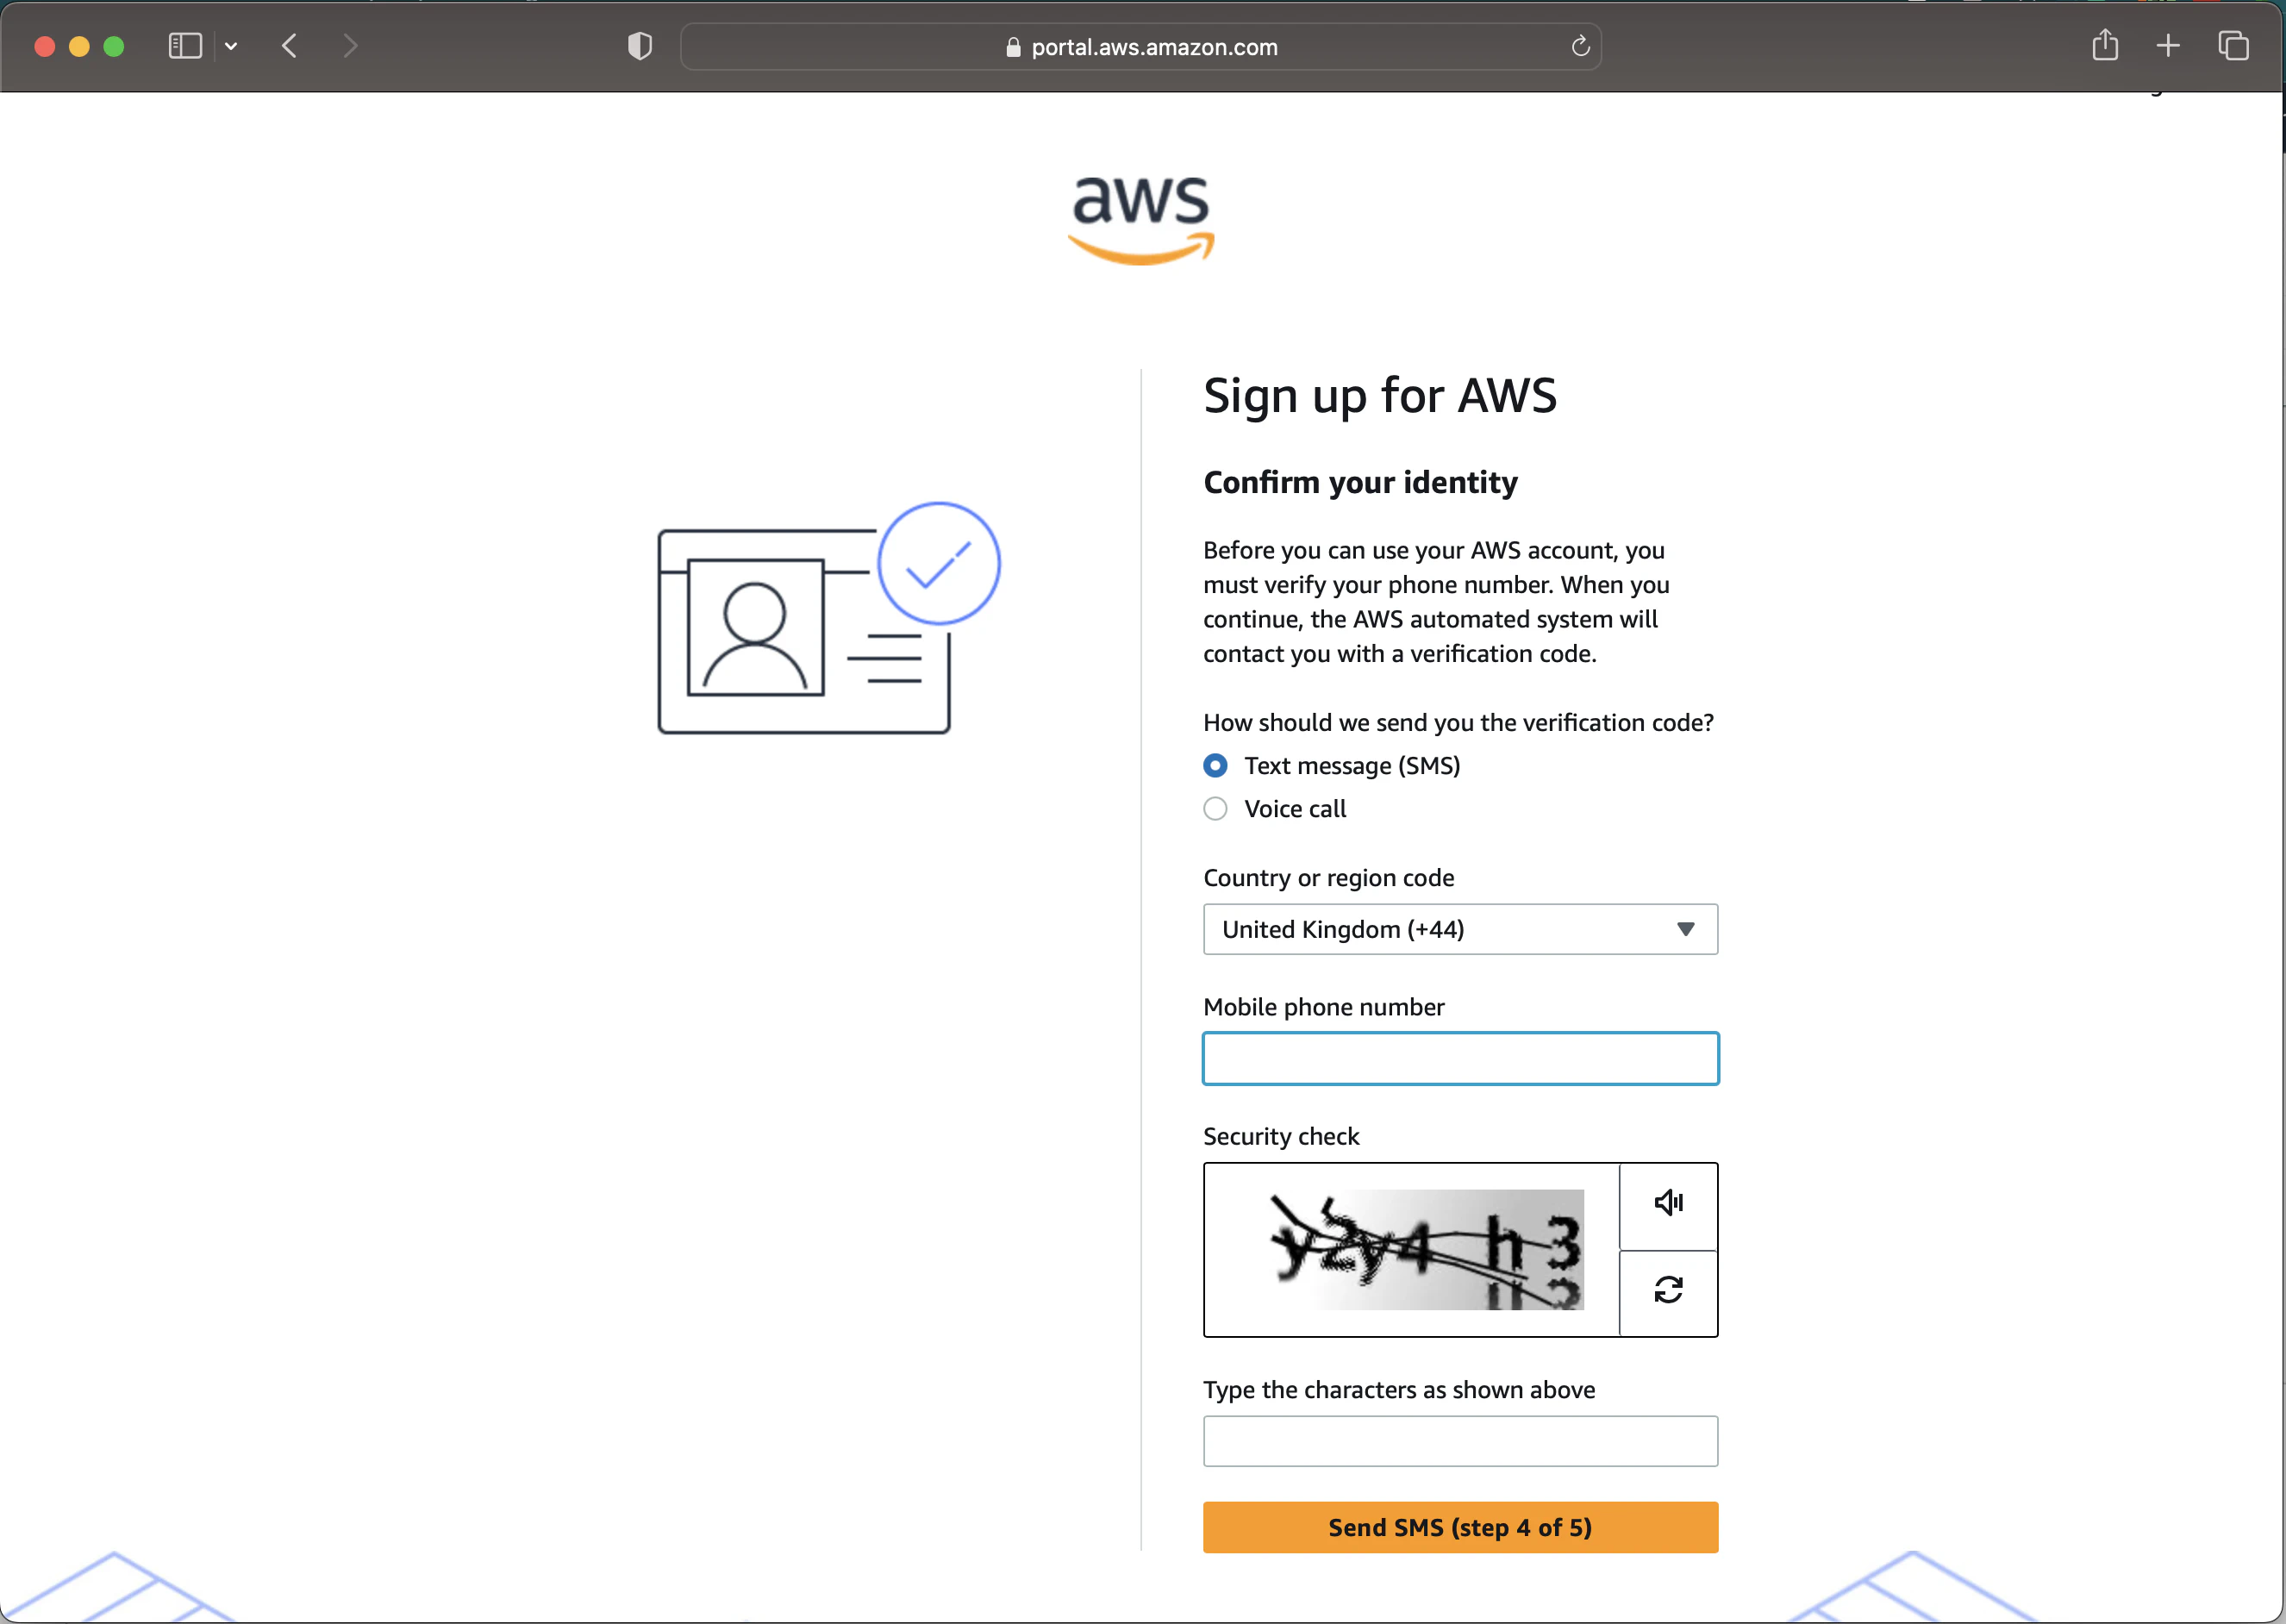
- Identity Verification: AWS will verify your identity using a phone number. They’ll send an SMS or make a call with a verification code. Enter it to proceed.
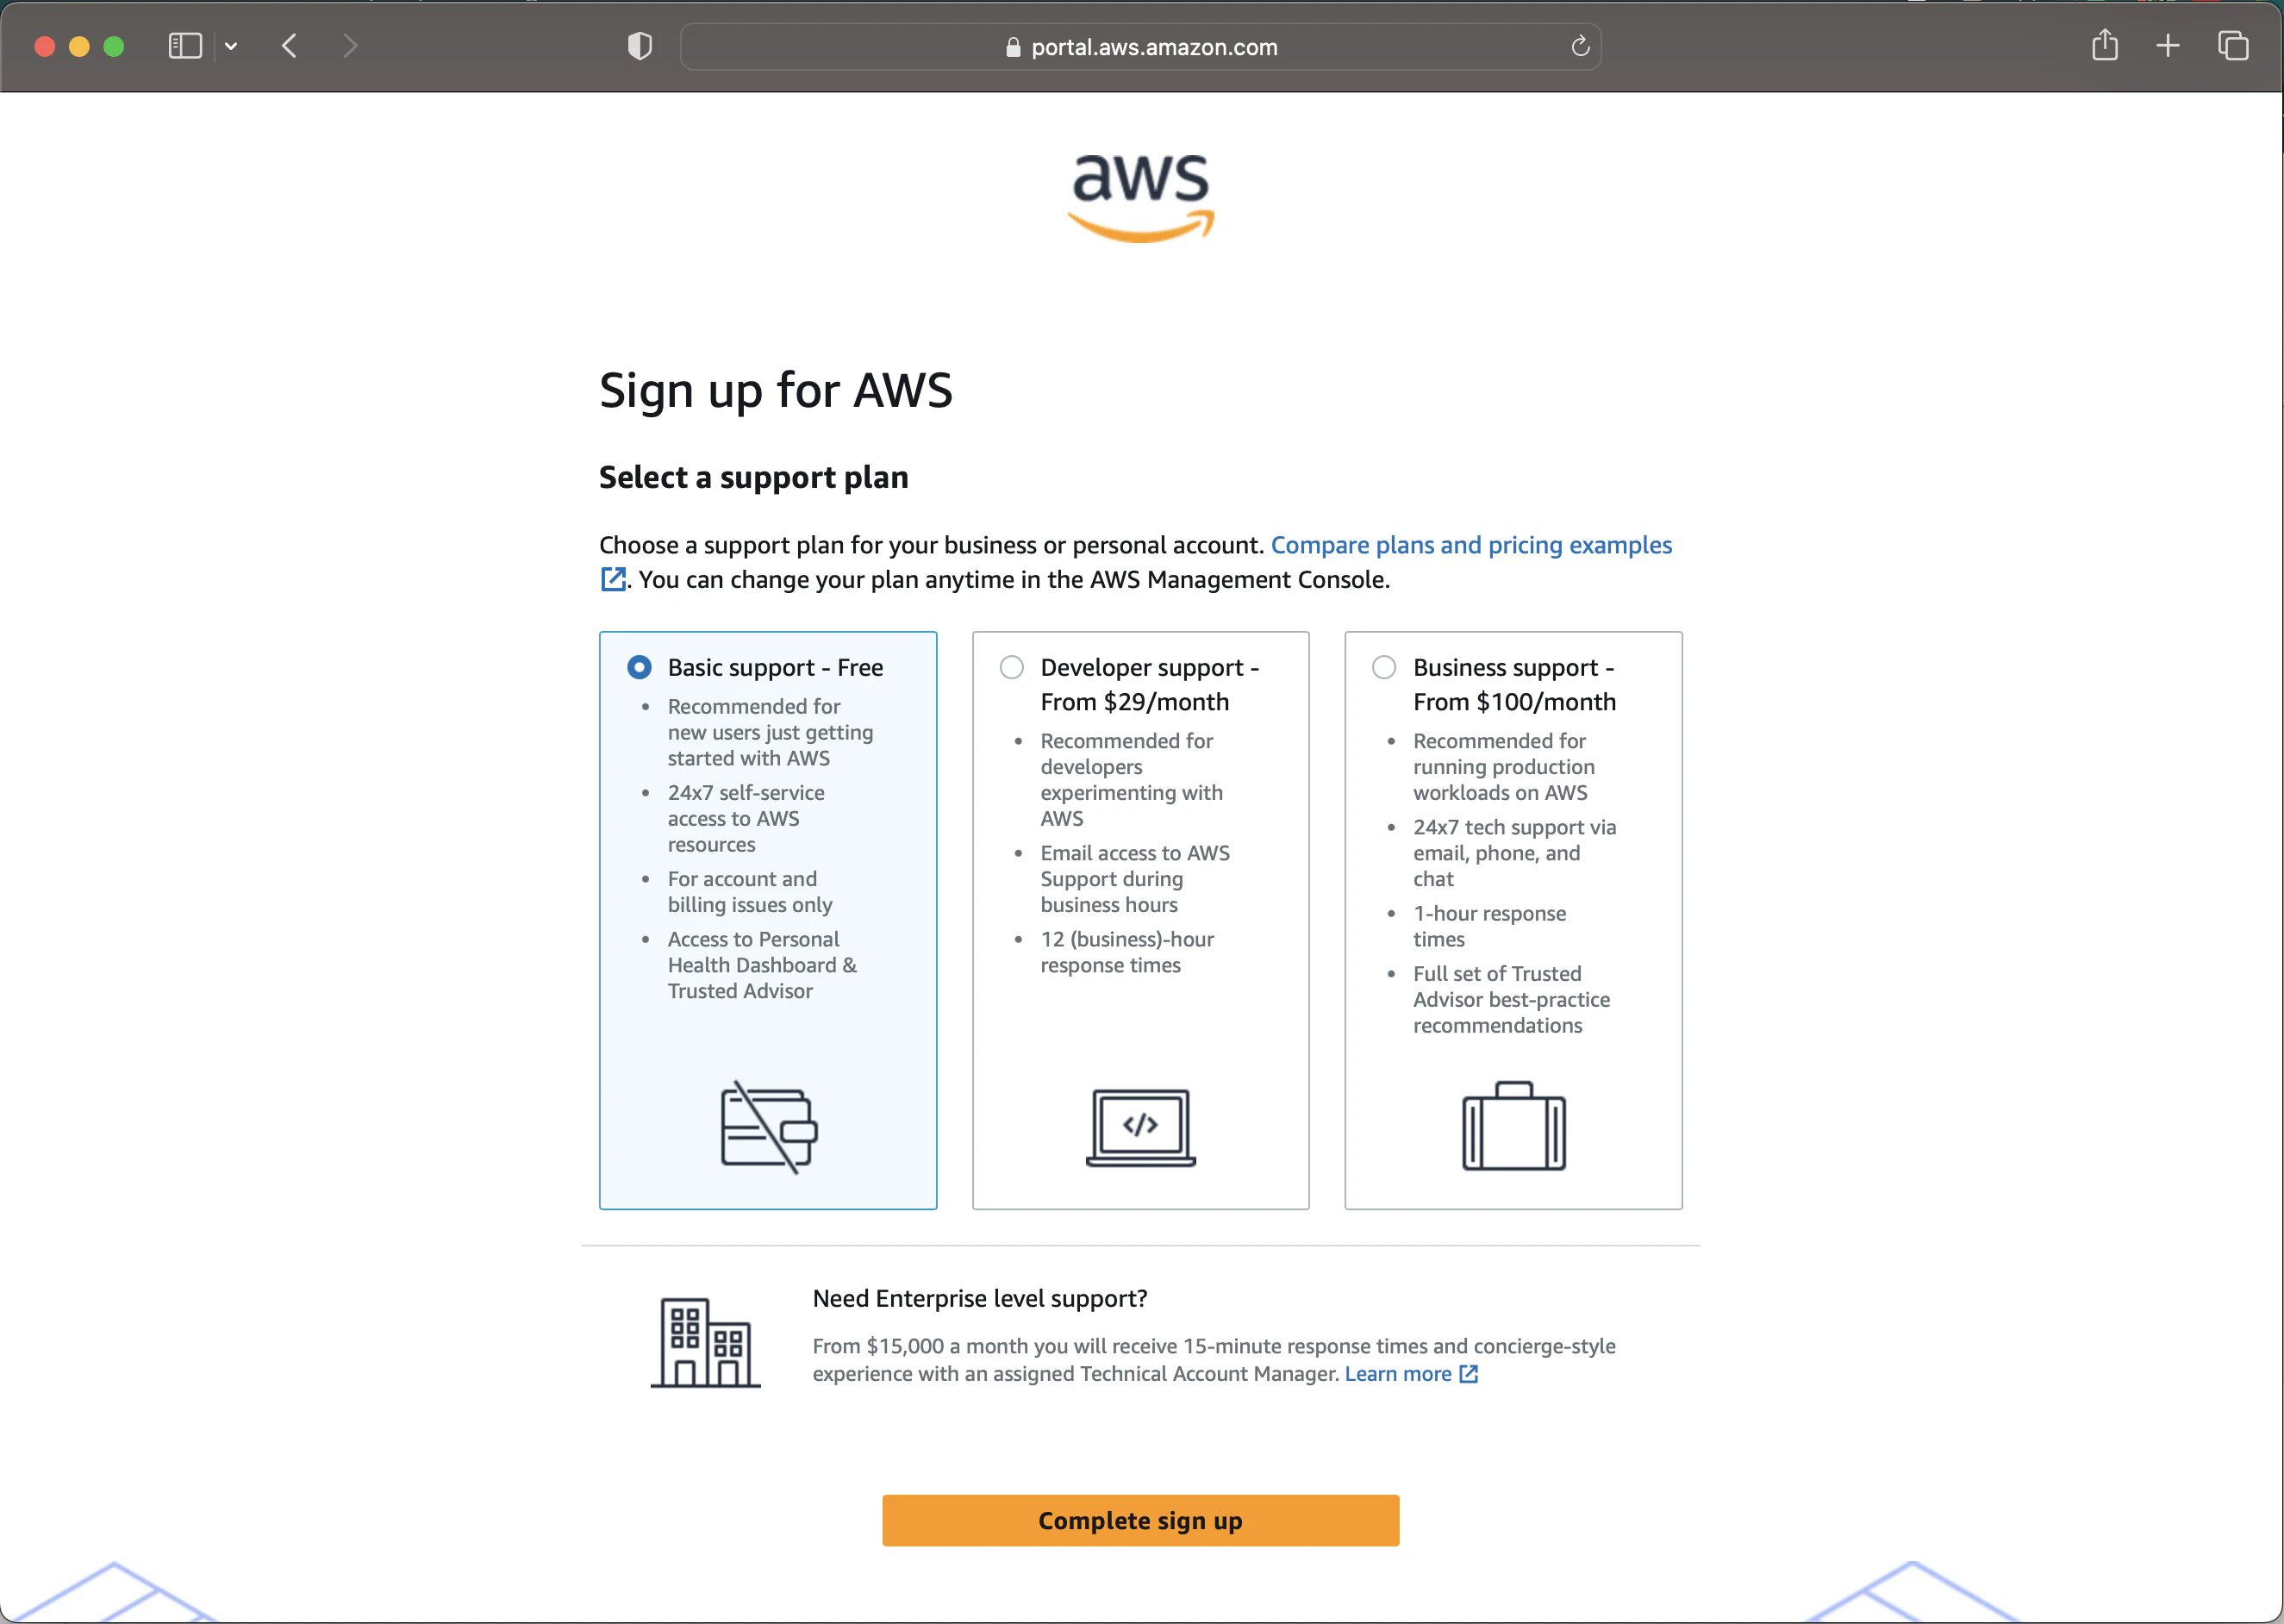
- Choose a Support Plan: The “Basic” plan (free) is usually sufficient for beginners. There are other paid options available with additional support benefits.
- Confirmation: Once you’ve completed the above steps, you’ll receive an email confirming your account creation.
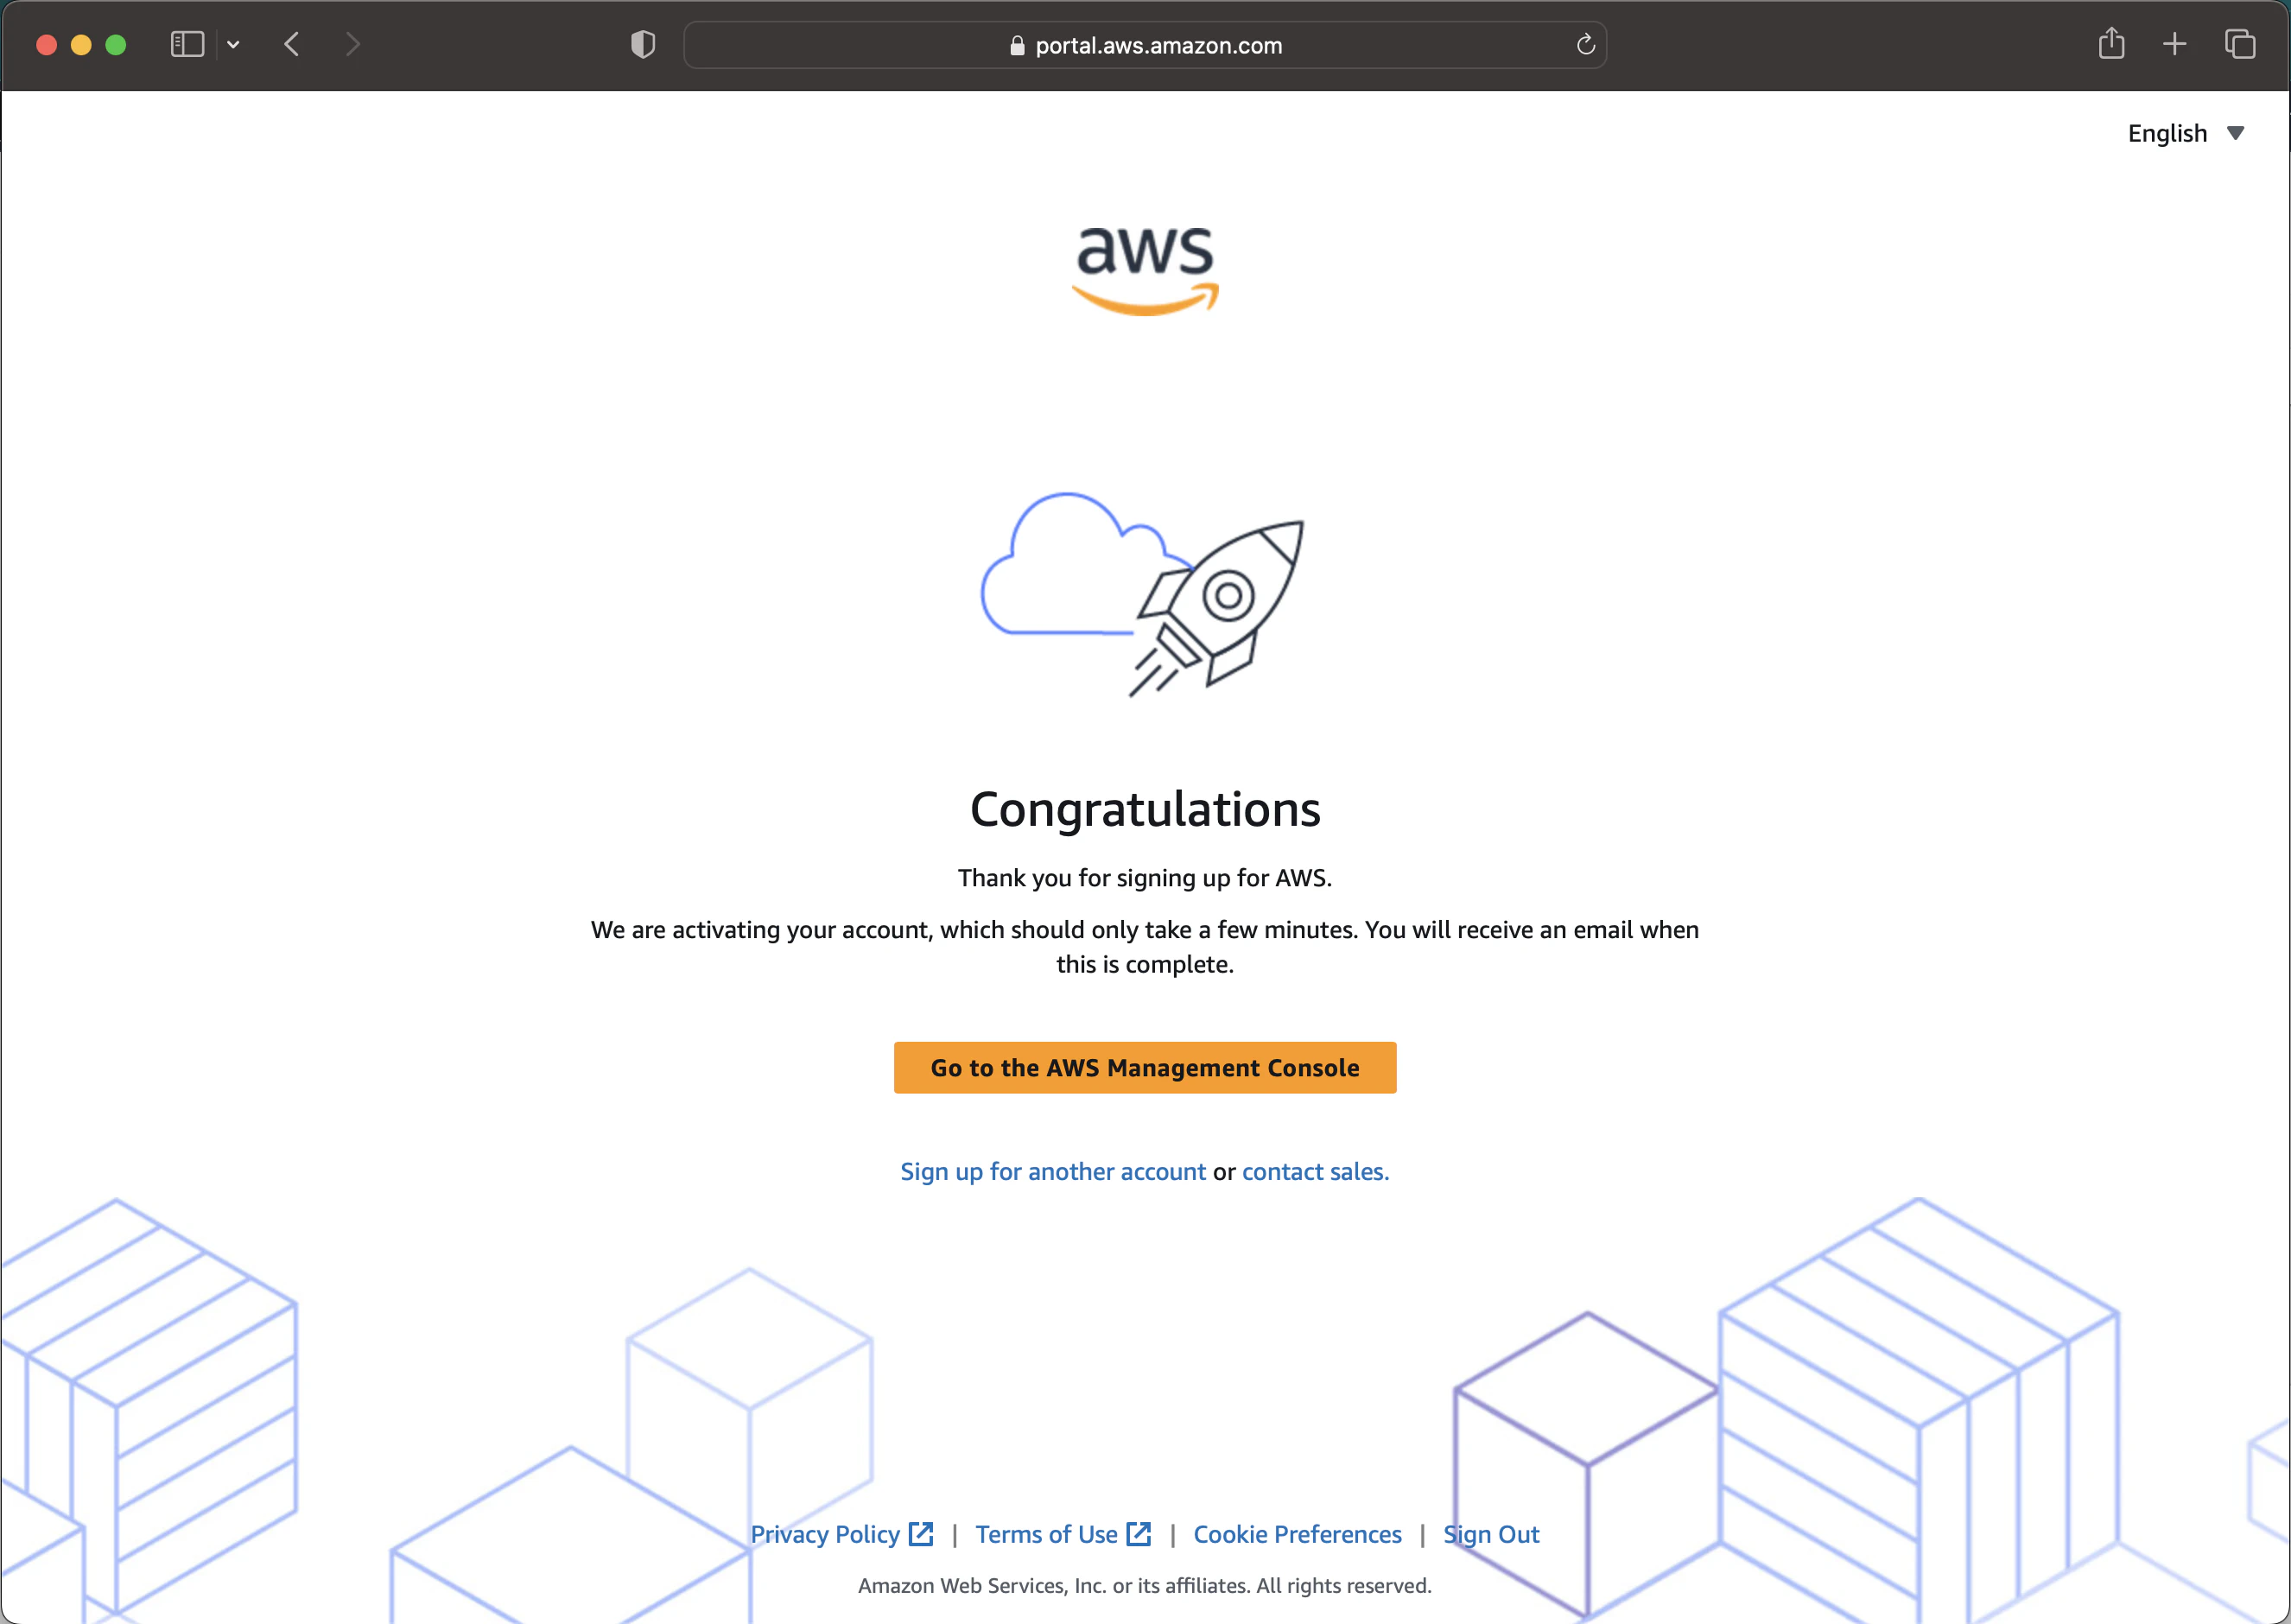
- Sign In: You can now sign in to your AWS account using your Email and password.
Security Measures
To keep your account safe - there are a few security best practices suggested by AWS .
IMPORTANT: Prioritize this section. Ensuring the security of your AWS account is crucial to avoid potential financial implications.
AWS places a premium on security. Here’s how to ensure your account is secure. Some things may seem tedious and confusing, and you may need help understanding. That’s okay! We’ll be covering these topics in detail in future posts. For now, follow the steps below to ensure your account is secure.
Enable Multi-Factor Authentication (MFA):
Multi-factor authentication adds an extra layer of security to your account.
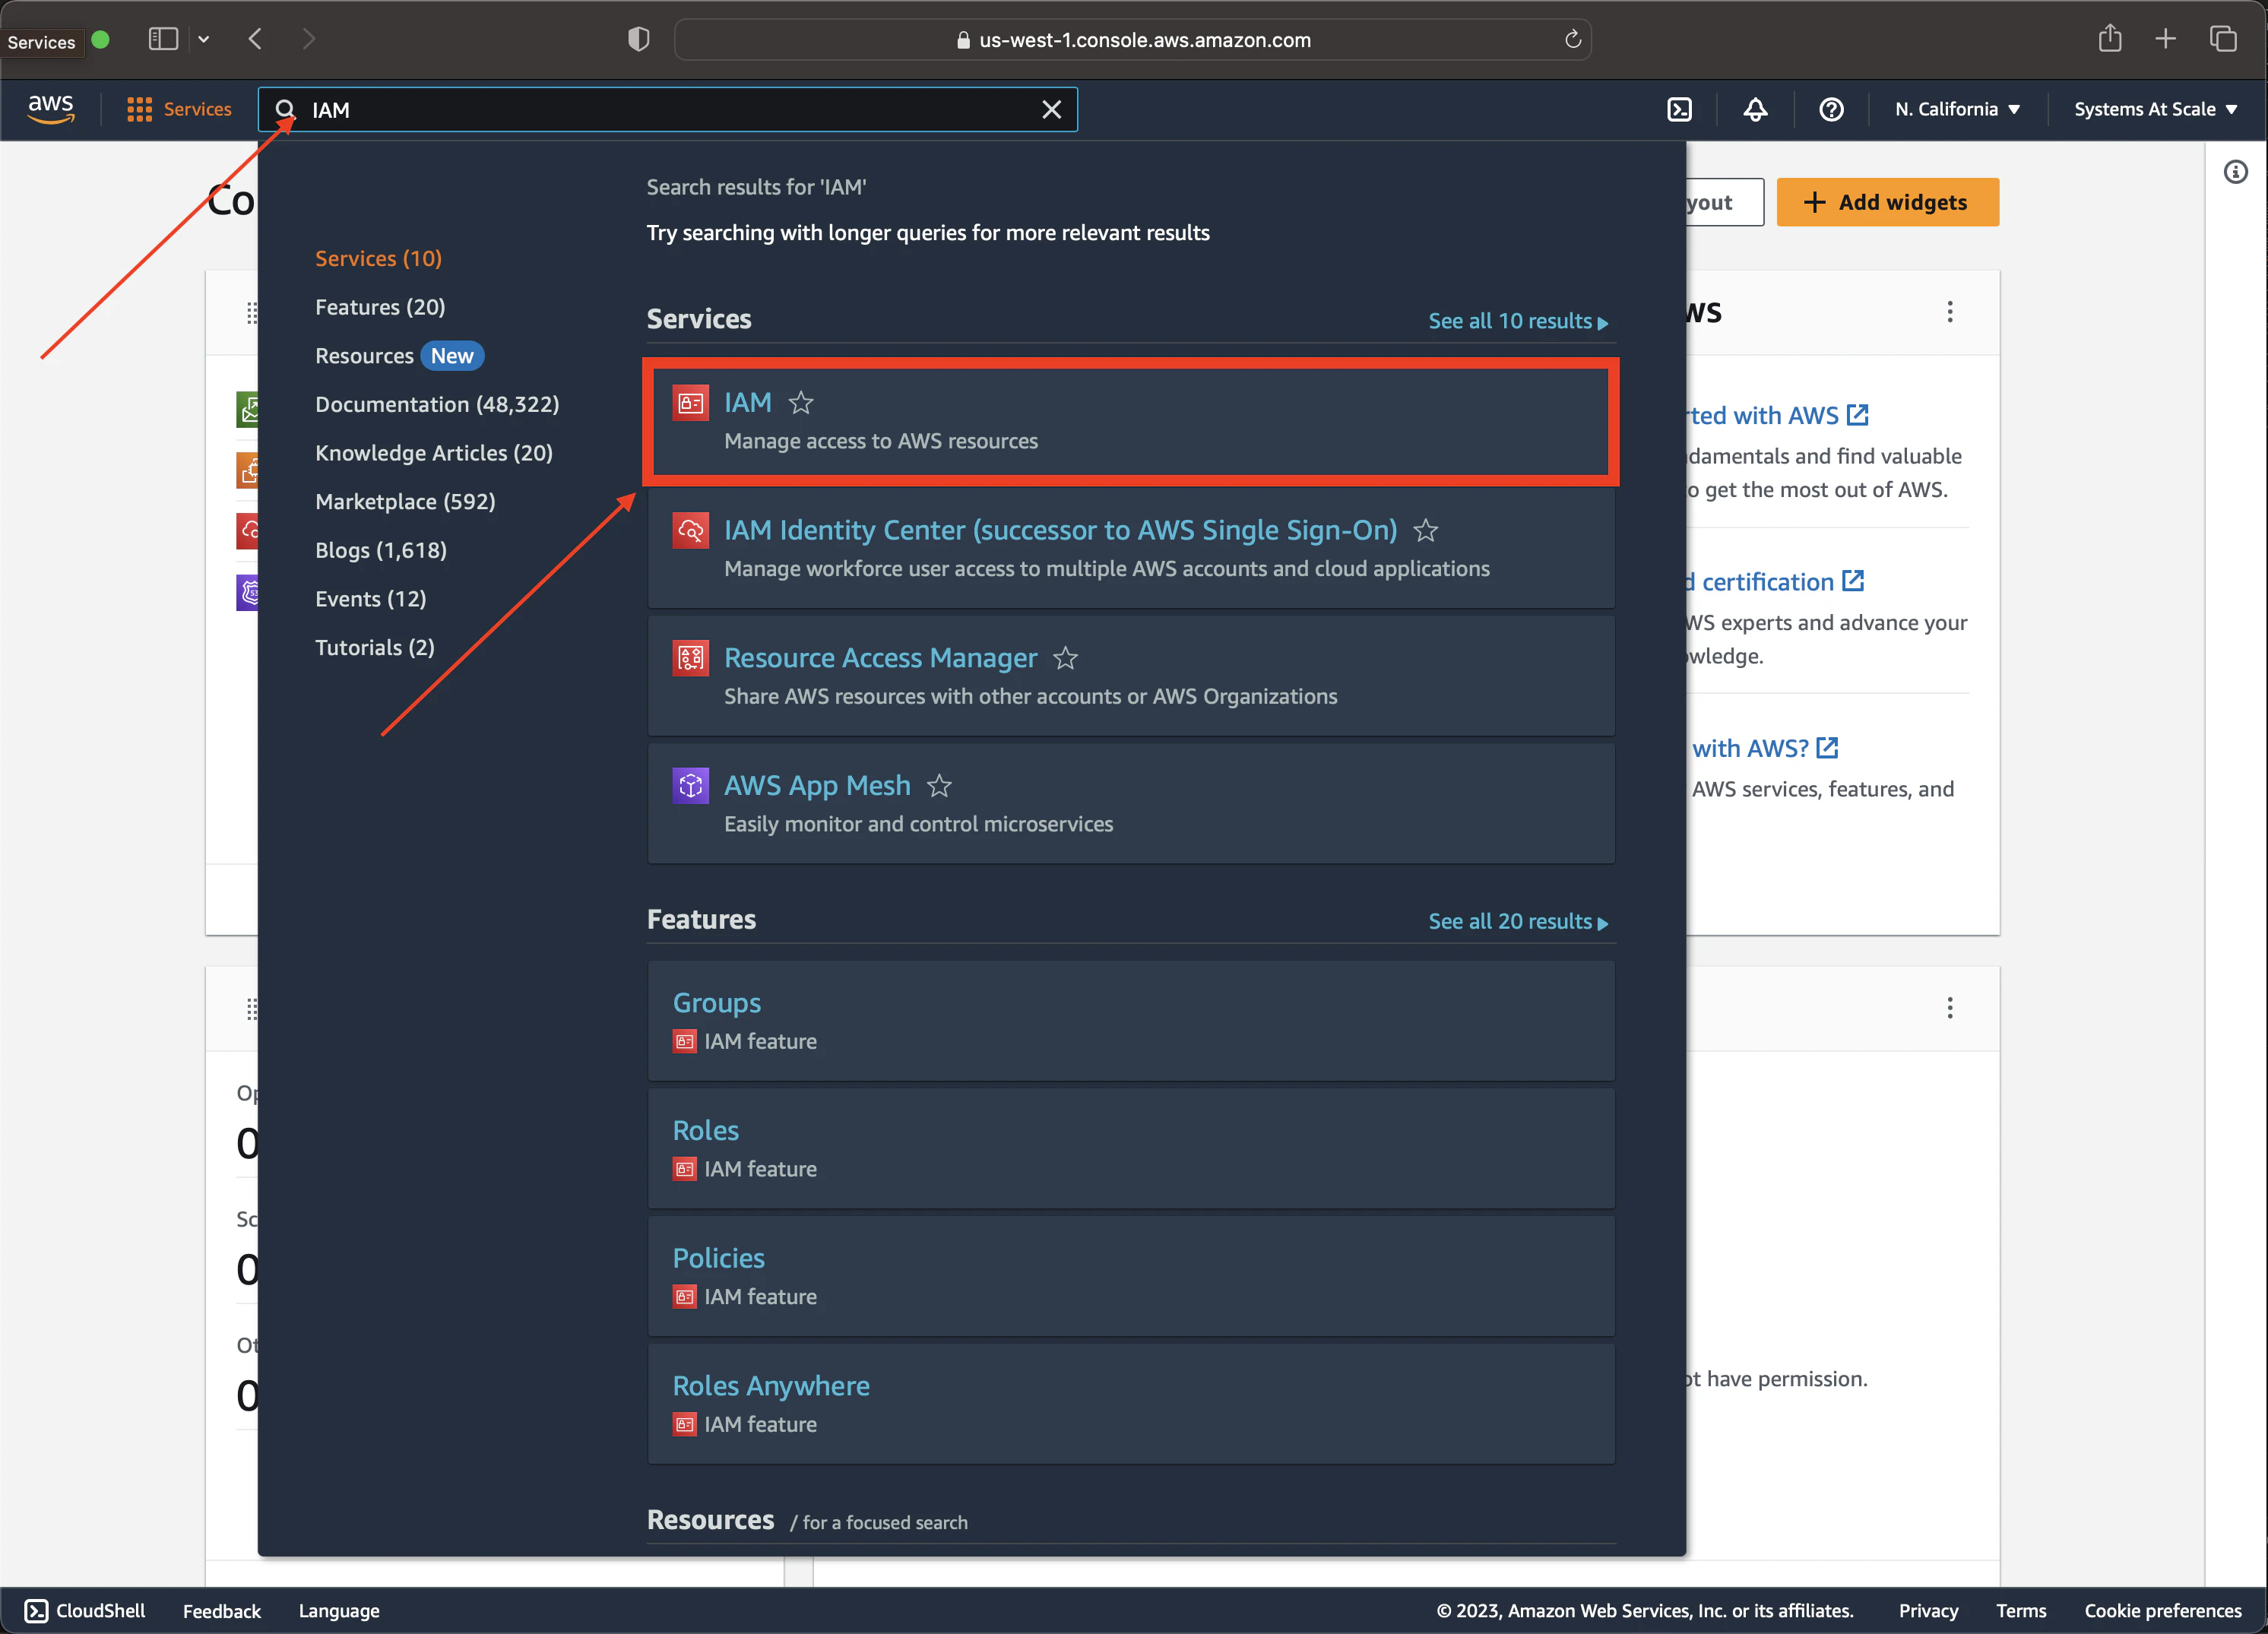
- From the AWS Management Console, navigate to the IAM (Identity and Access Management) dashboard.
- In security recommendations, click
Add MFA. You will need to use a virtual MFA device, as simple as Google Authenticator will do. You can find the app on the App Store or Google Play .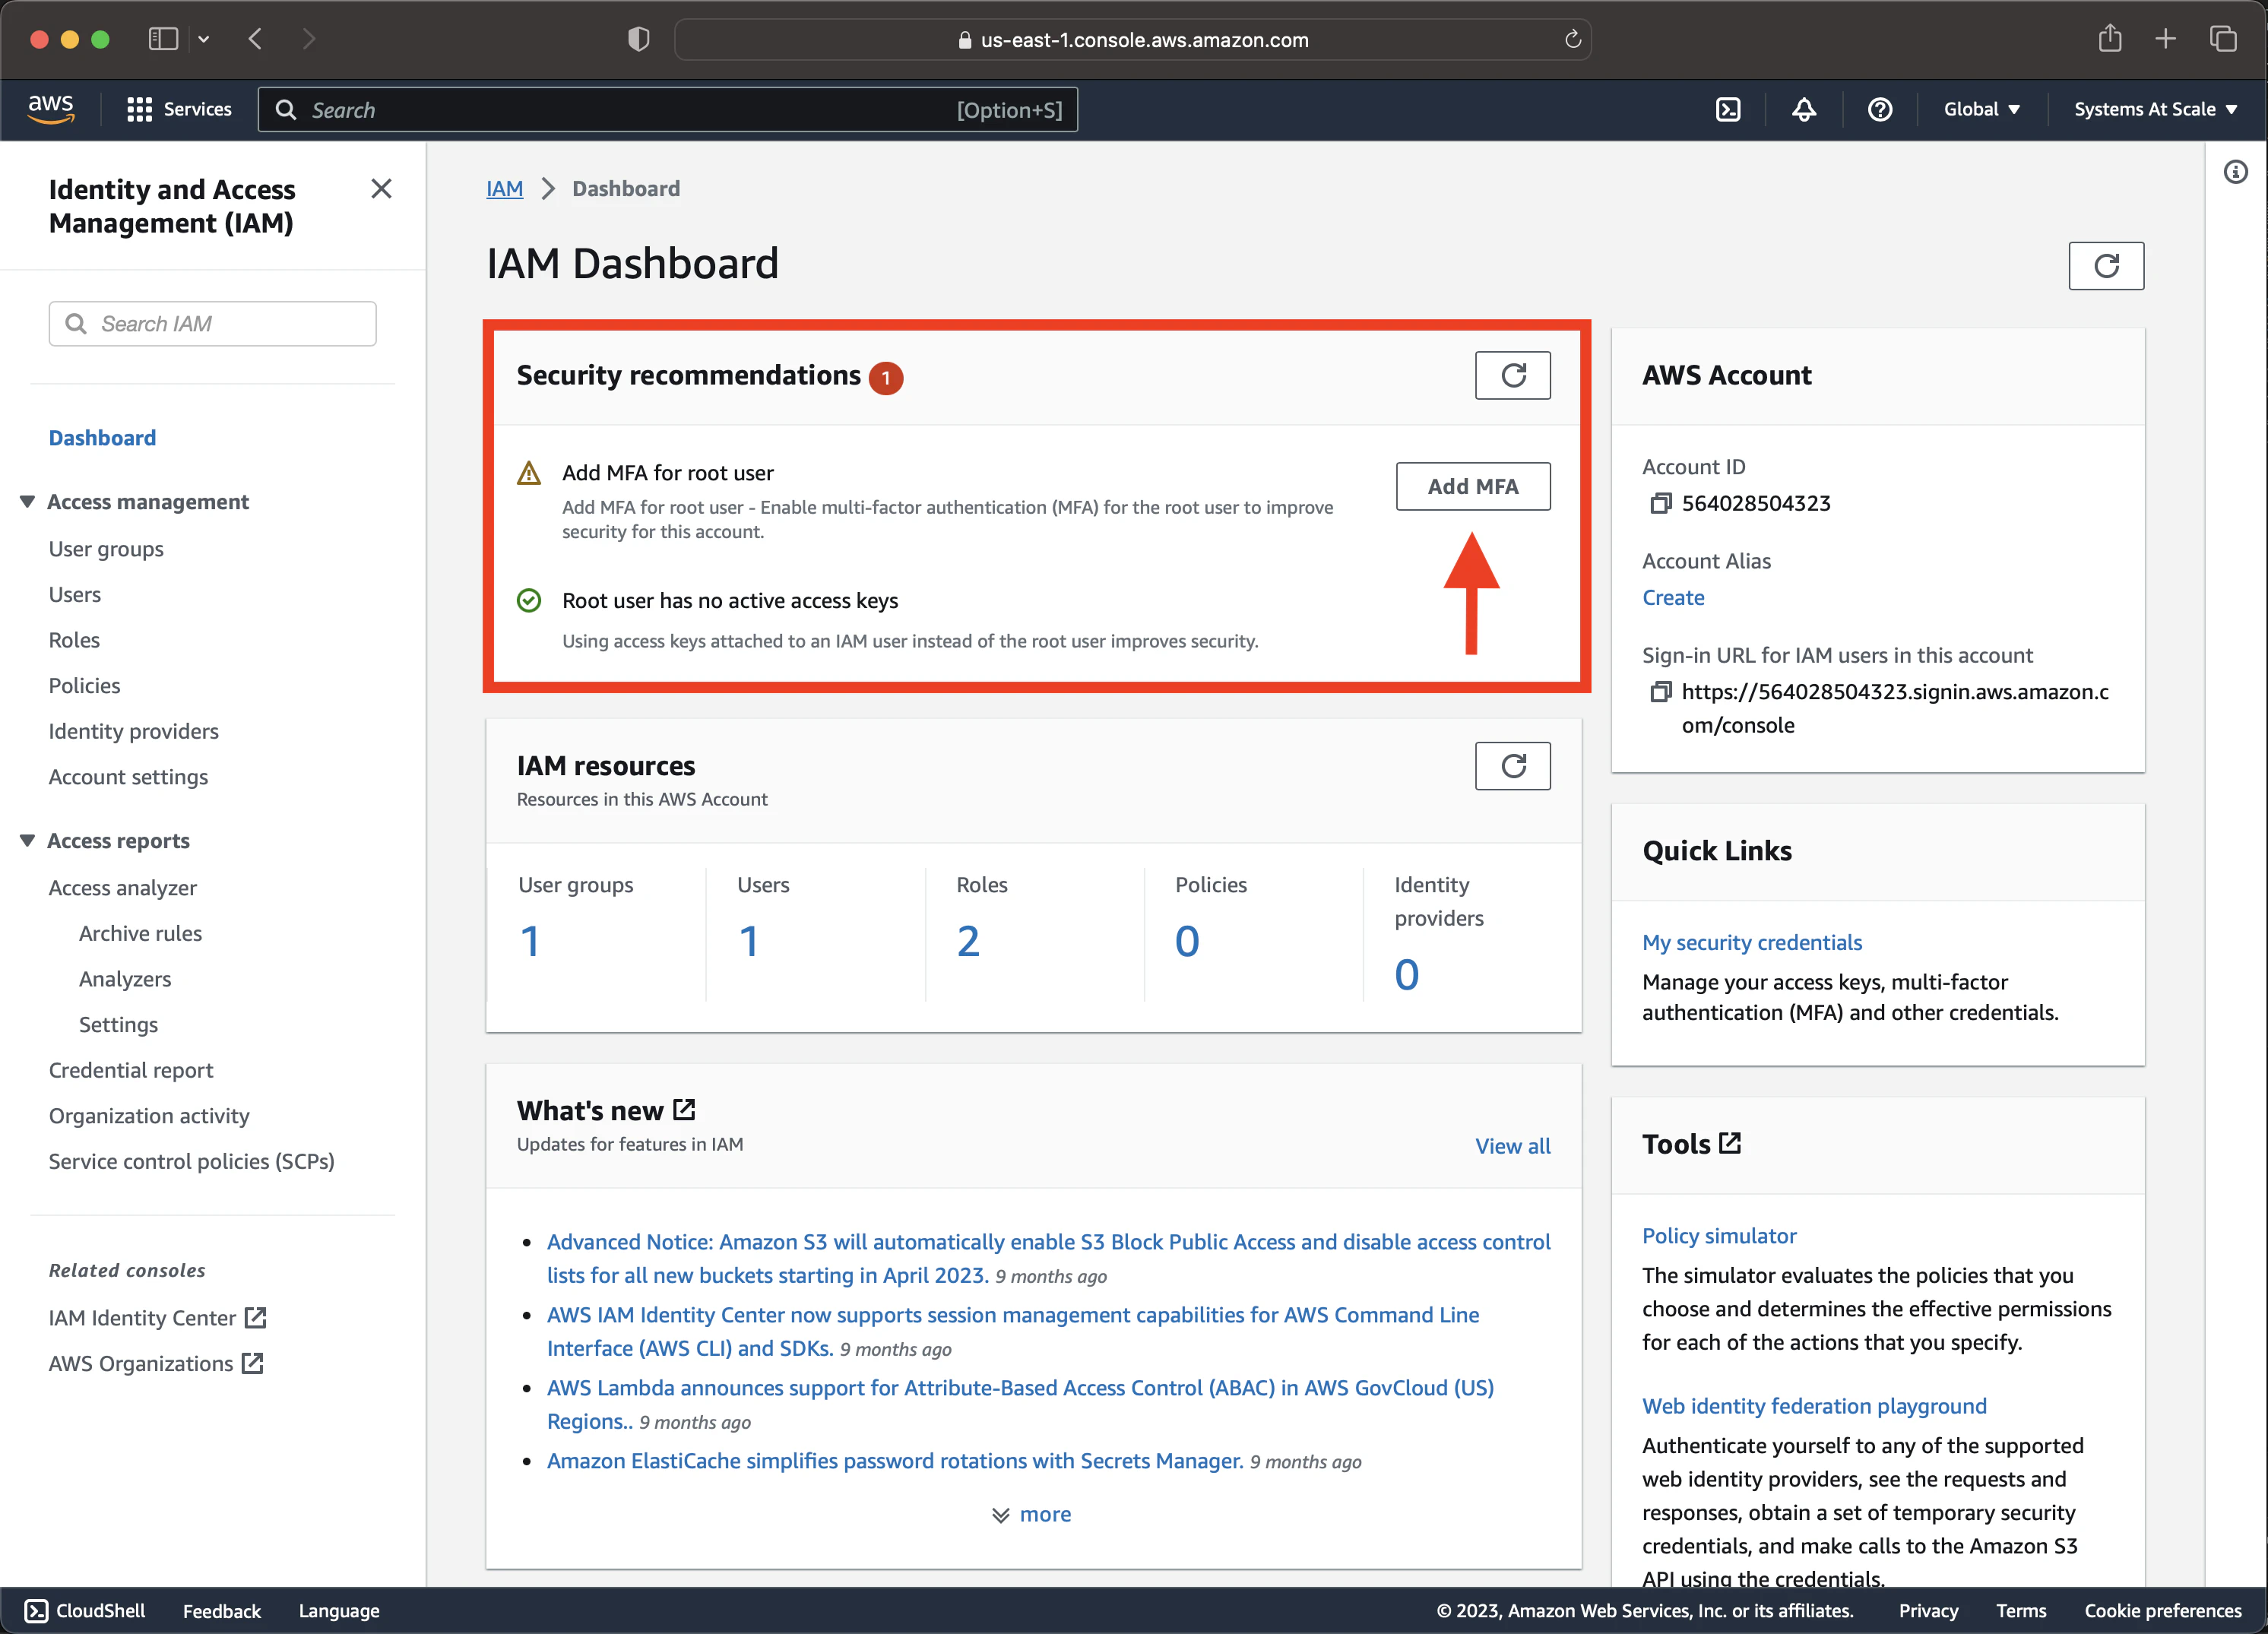
- Enter a Device Name (e.g., “My Phone”) and click
Next.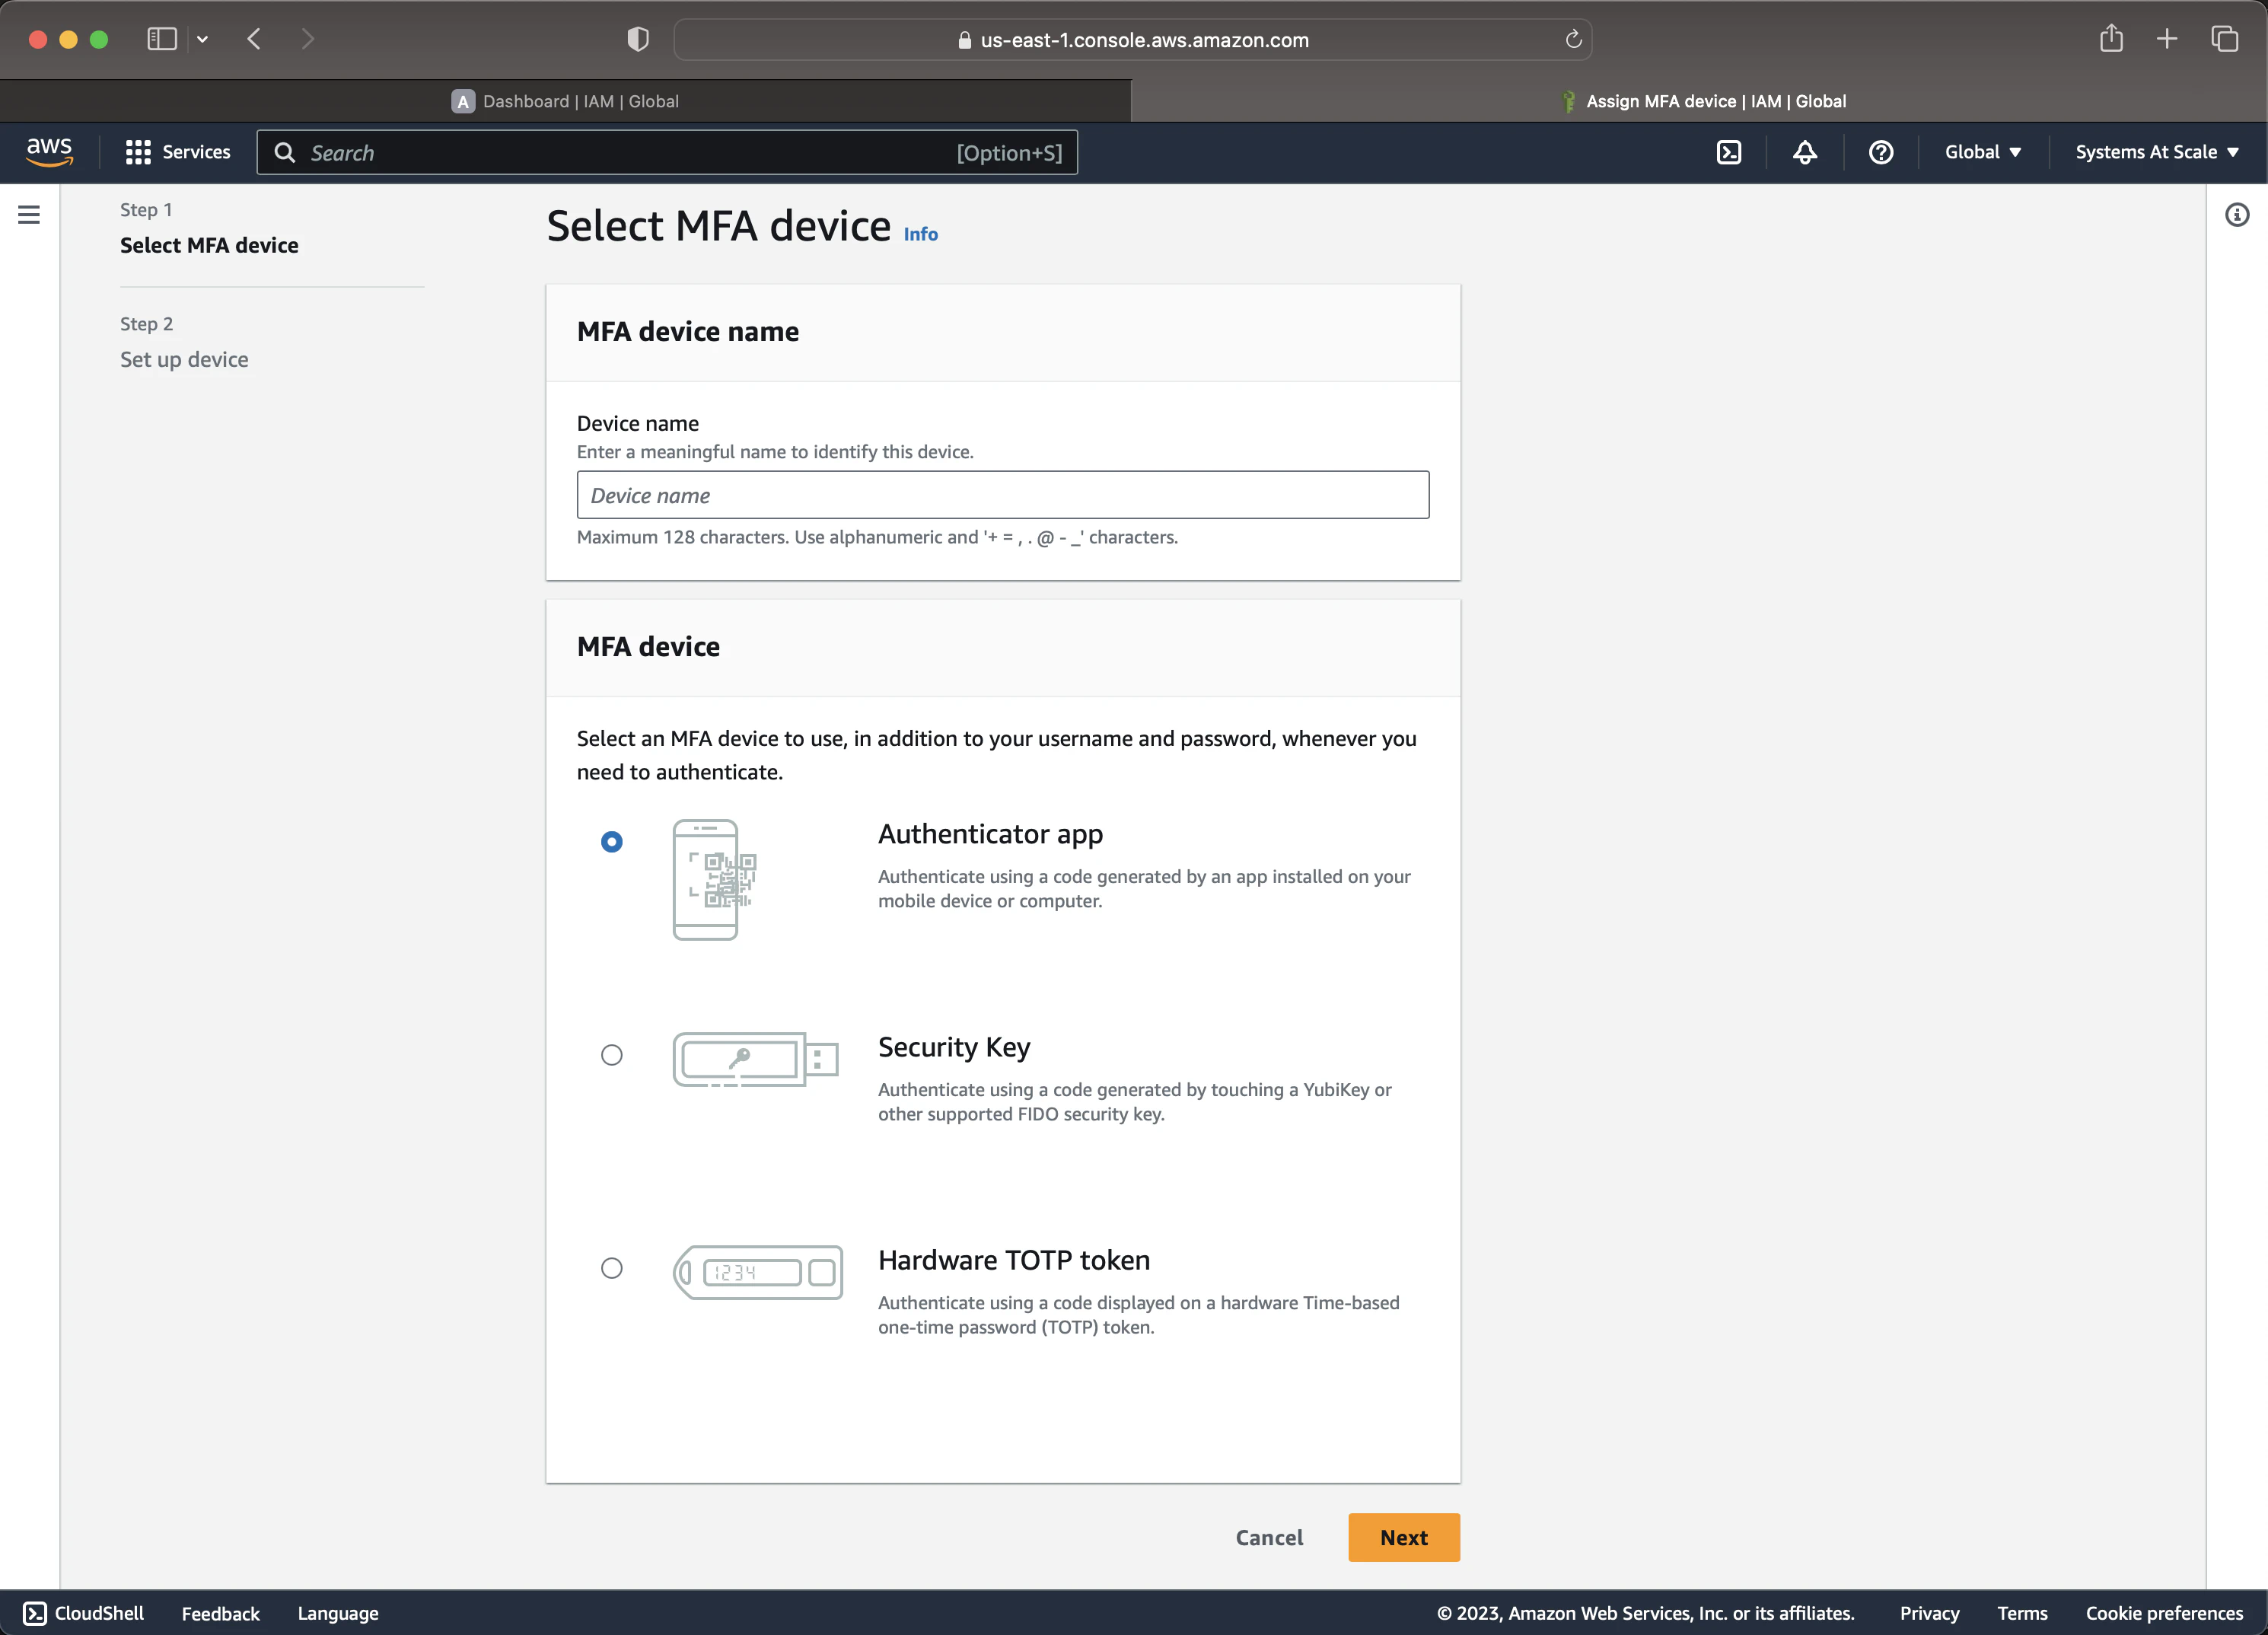
- Click
Show QR Codeand scan the QR code with your Google Authenticator app. Enter the first and second codes to verify the MFA device (you must wait for the second code to appear on the app once you enter the first code).
Next time you sign in with your root account, you’ll be asked to enter the MFA code after your password.
A bad actor would need your password and phone to access your account. This is a great security measure to have in place.
Create IAM Users:
IAM (Identity and Access Management) is a service that allows you to manage users and their permissions in your AWS account.
Avoid using your root account for day-to-day work
As a best practice for security, AWS recommends creating IAM users with limited permissions for day-to-day work. This way, if your credentials are compromised, the attacker will have limited access to your account. So we will create a new user and never use the root account for learning purposes.
- Navigate to the IAM dashboard.
- Choose “User groups” from the left-hand menu.
- Click “Create Group” from the top right corner.
- Enter a group name (e.g., “Developer”), select
AdministratorAccessand click “Create group”.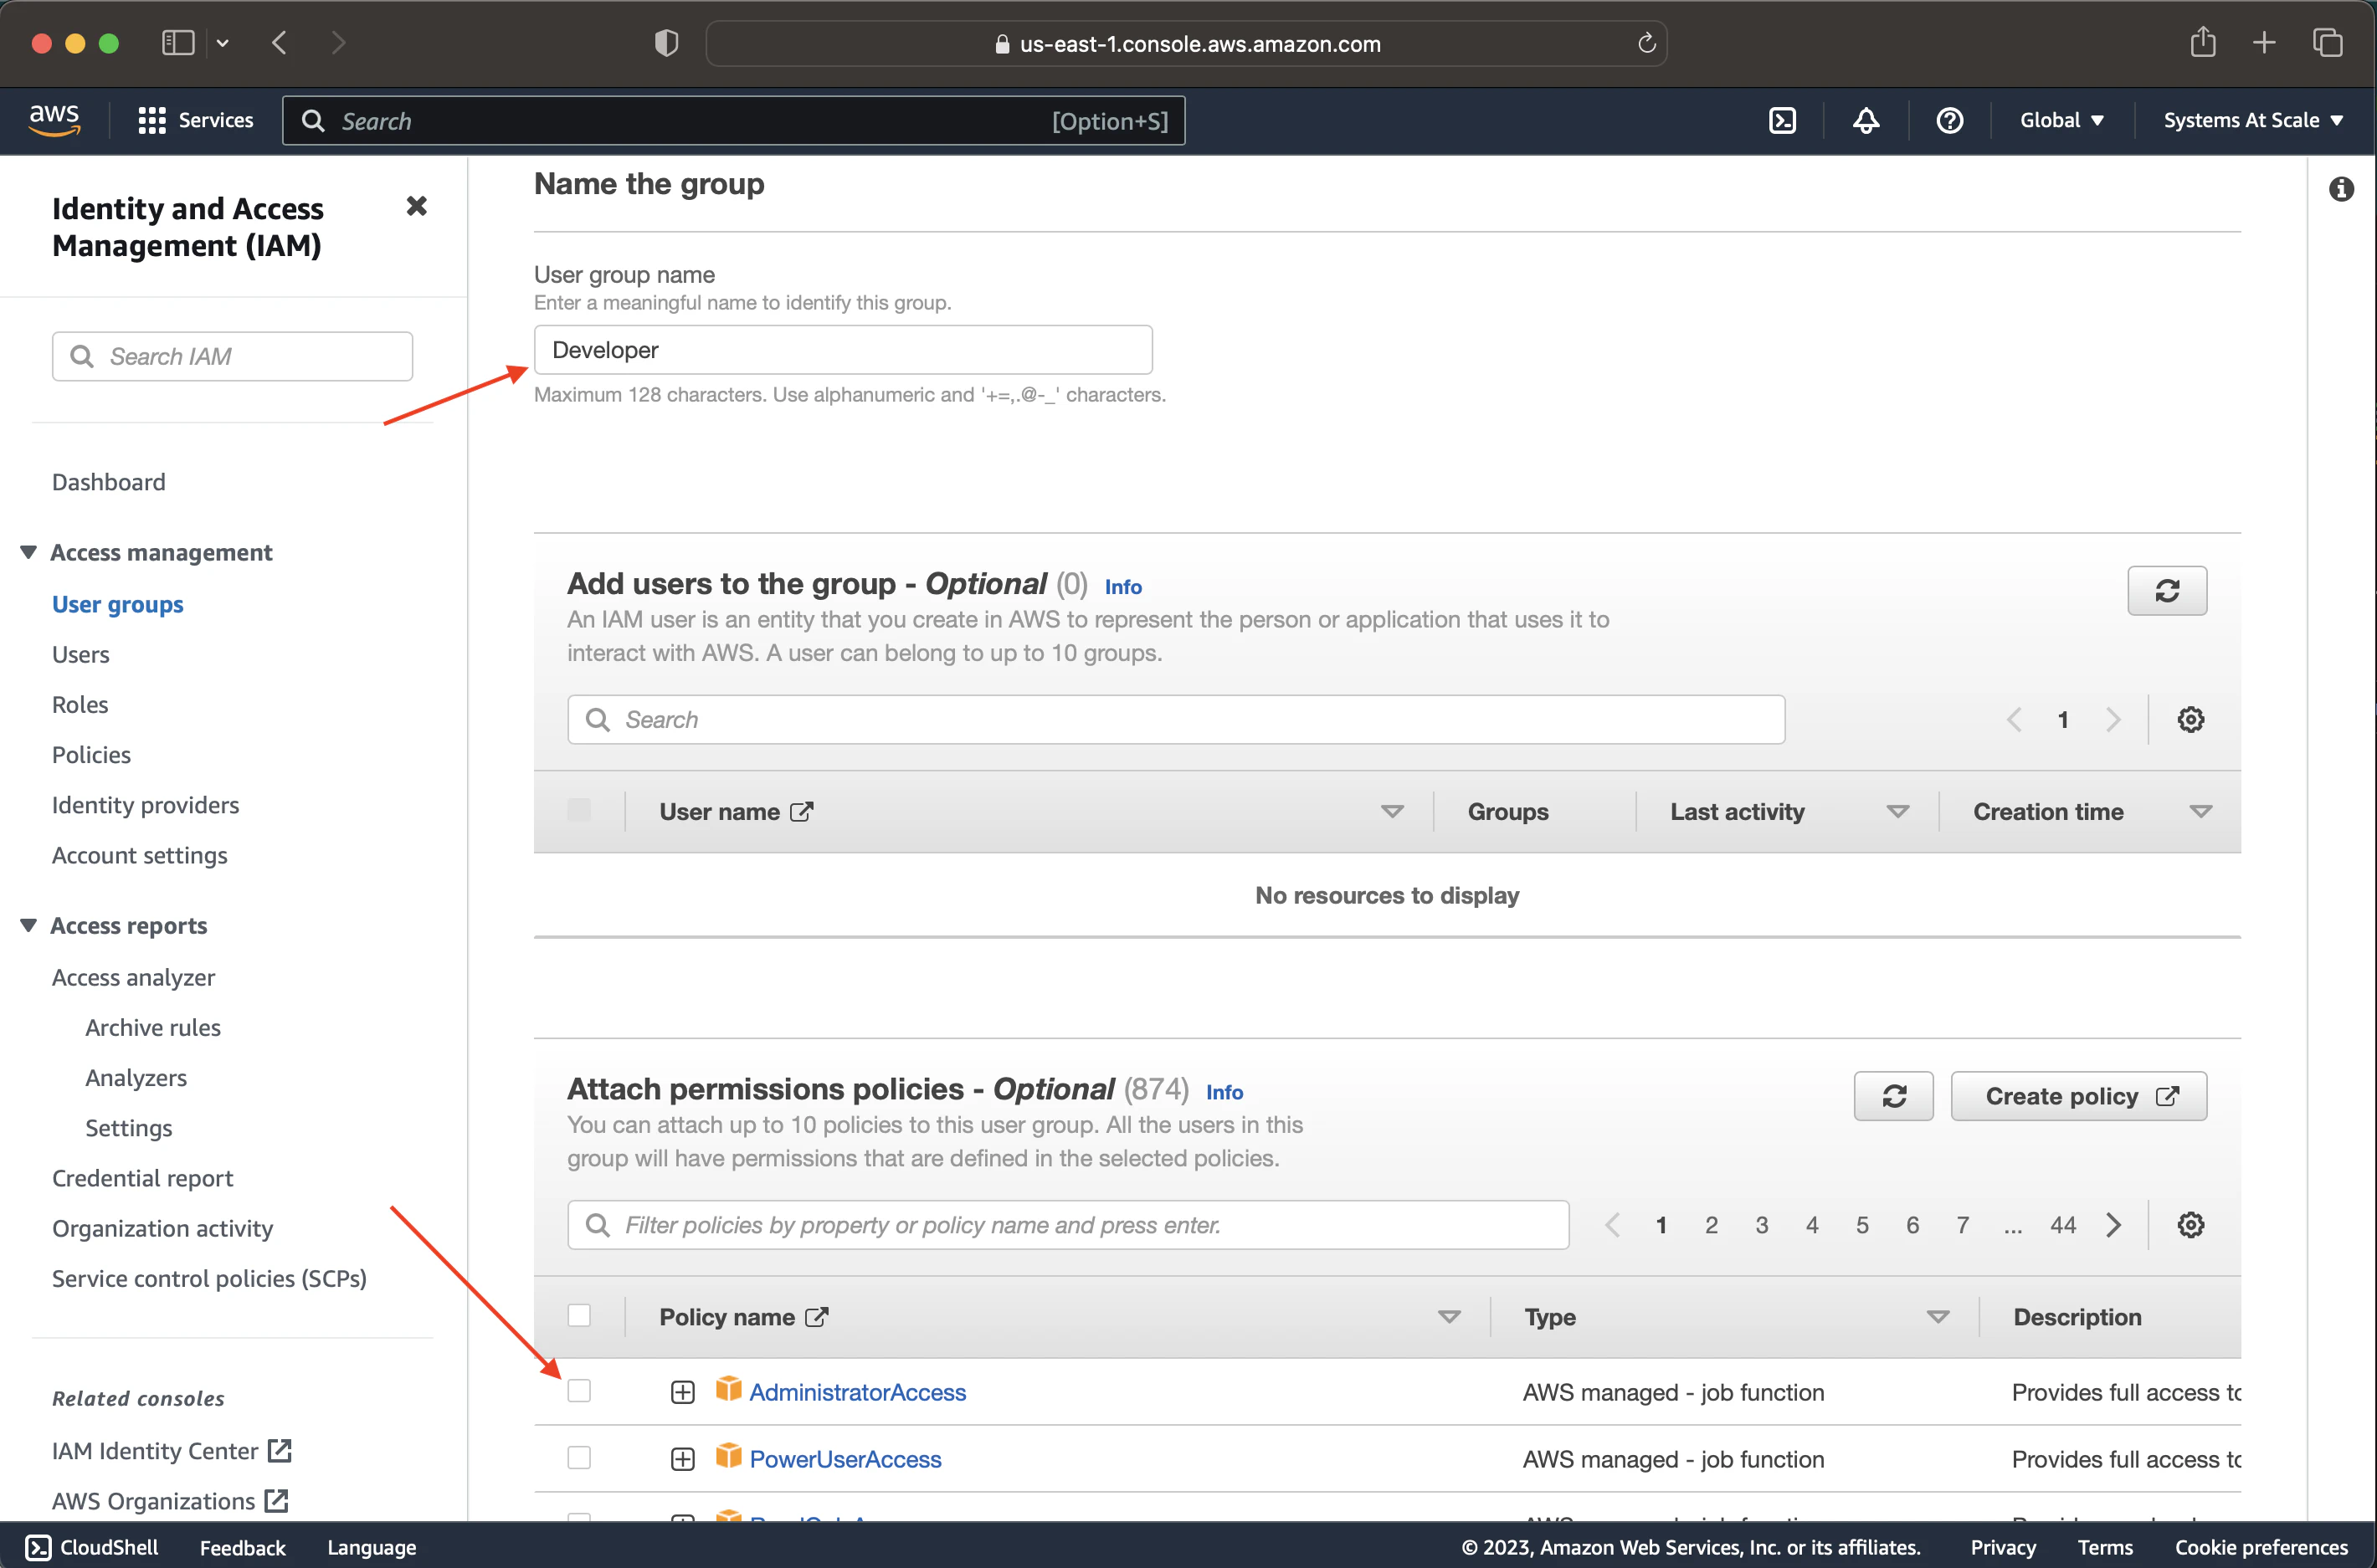
Now that we have a group, we can create a user and add them to the group. Any user in the group will have the same permissions as the group.
- Click “Users” from the left-hand menu.
- Click “Create user” from the top right corner.
- Enter a username (e.g., “developer” or your name)
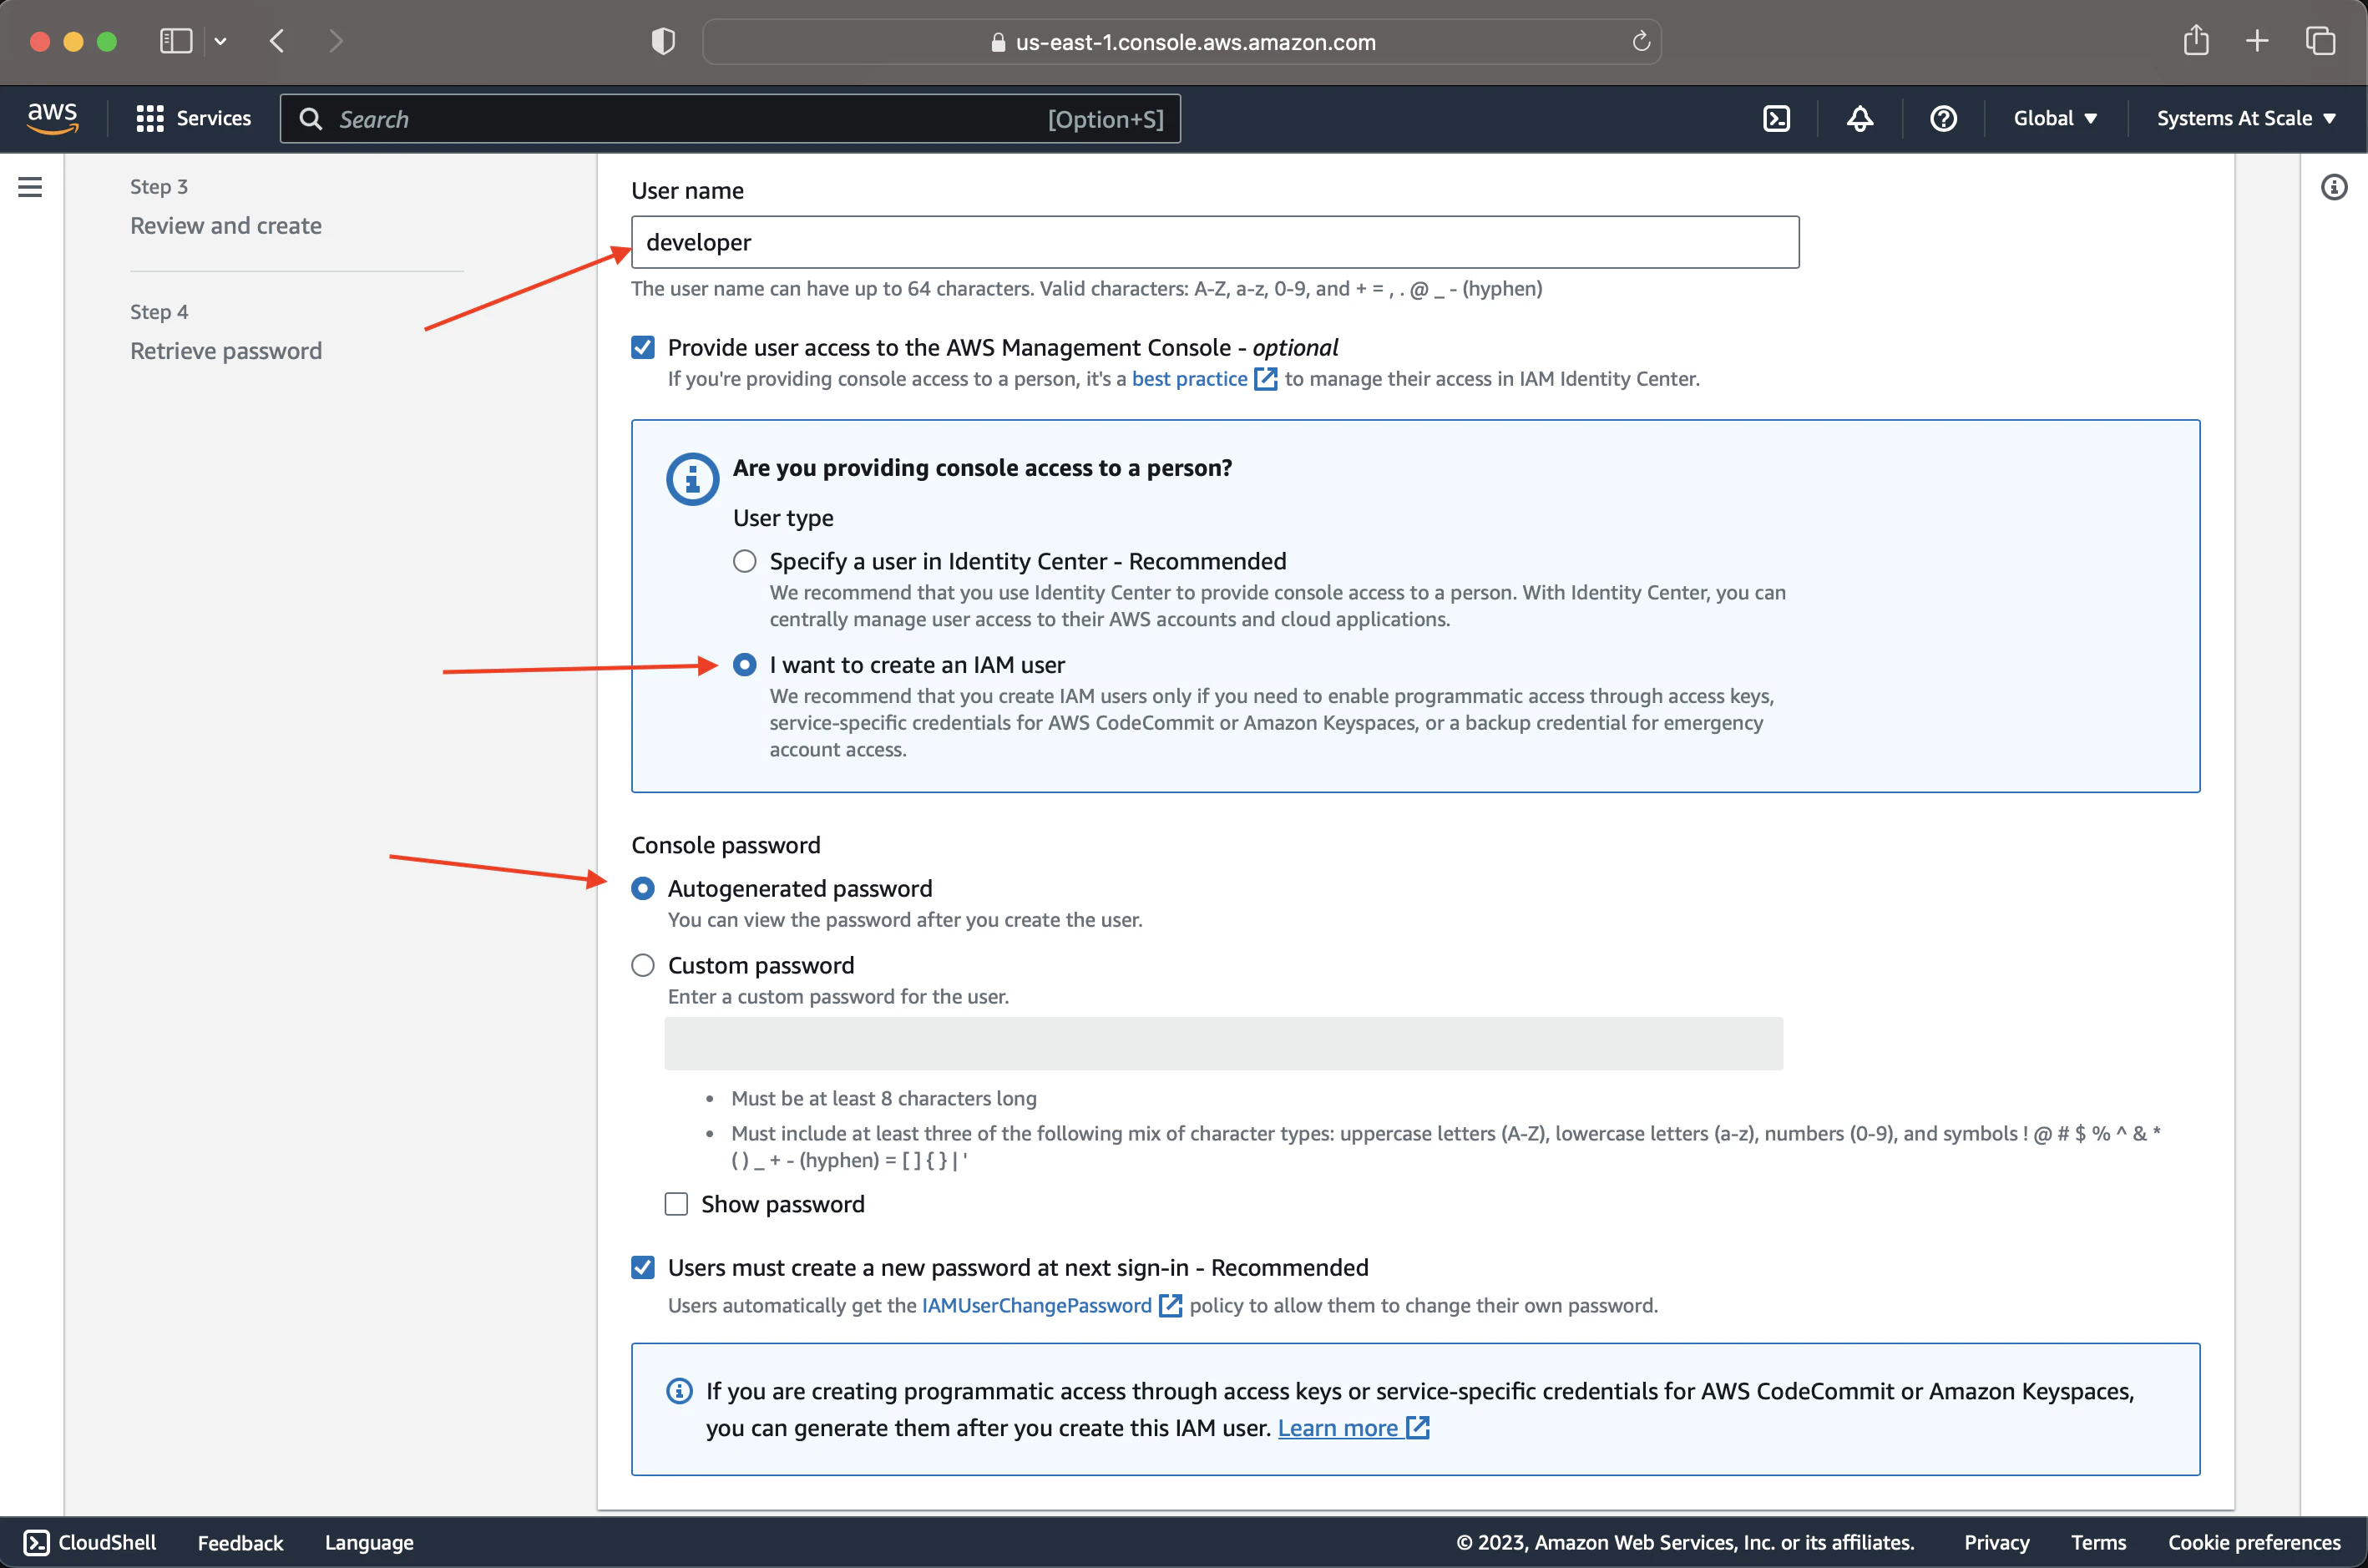
- Select the
developergroup to add the user to the group.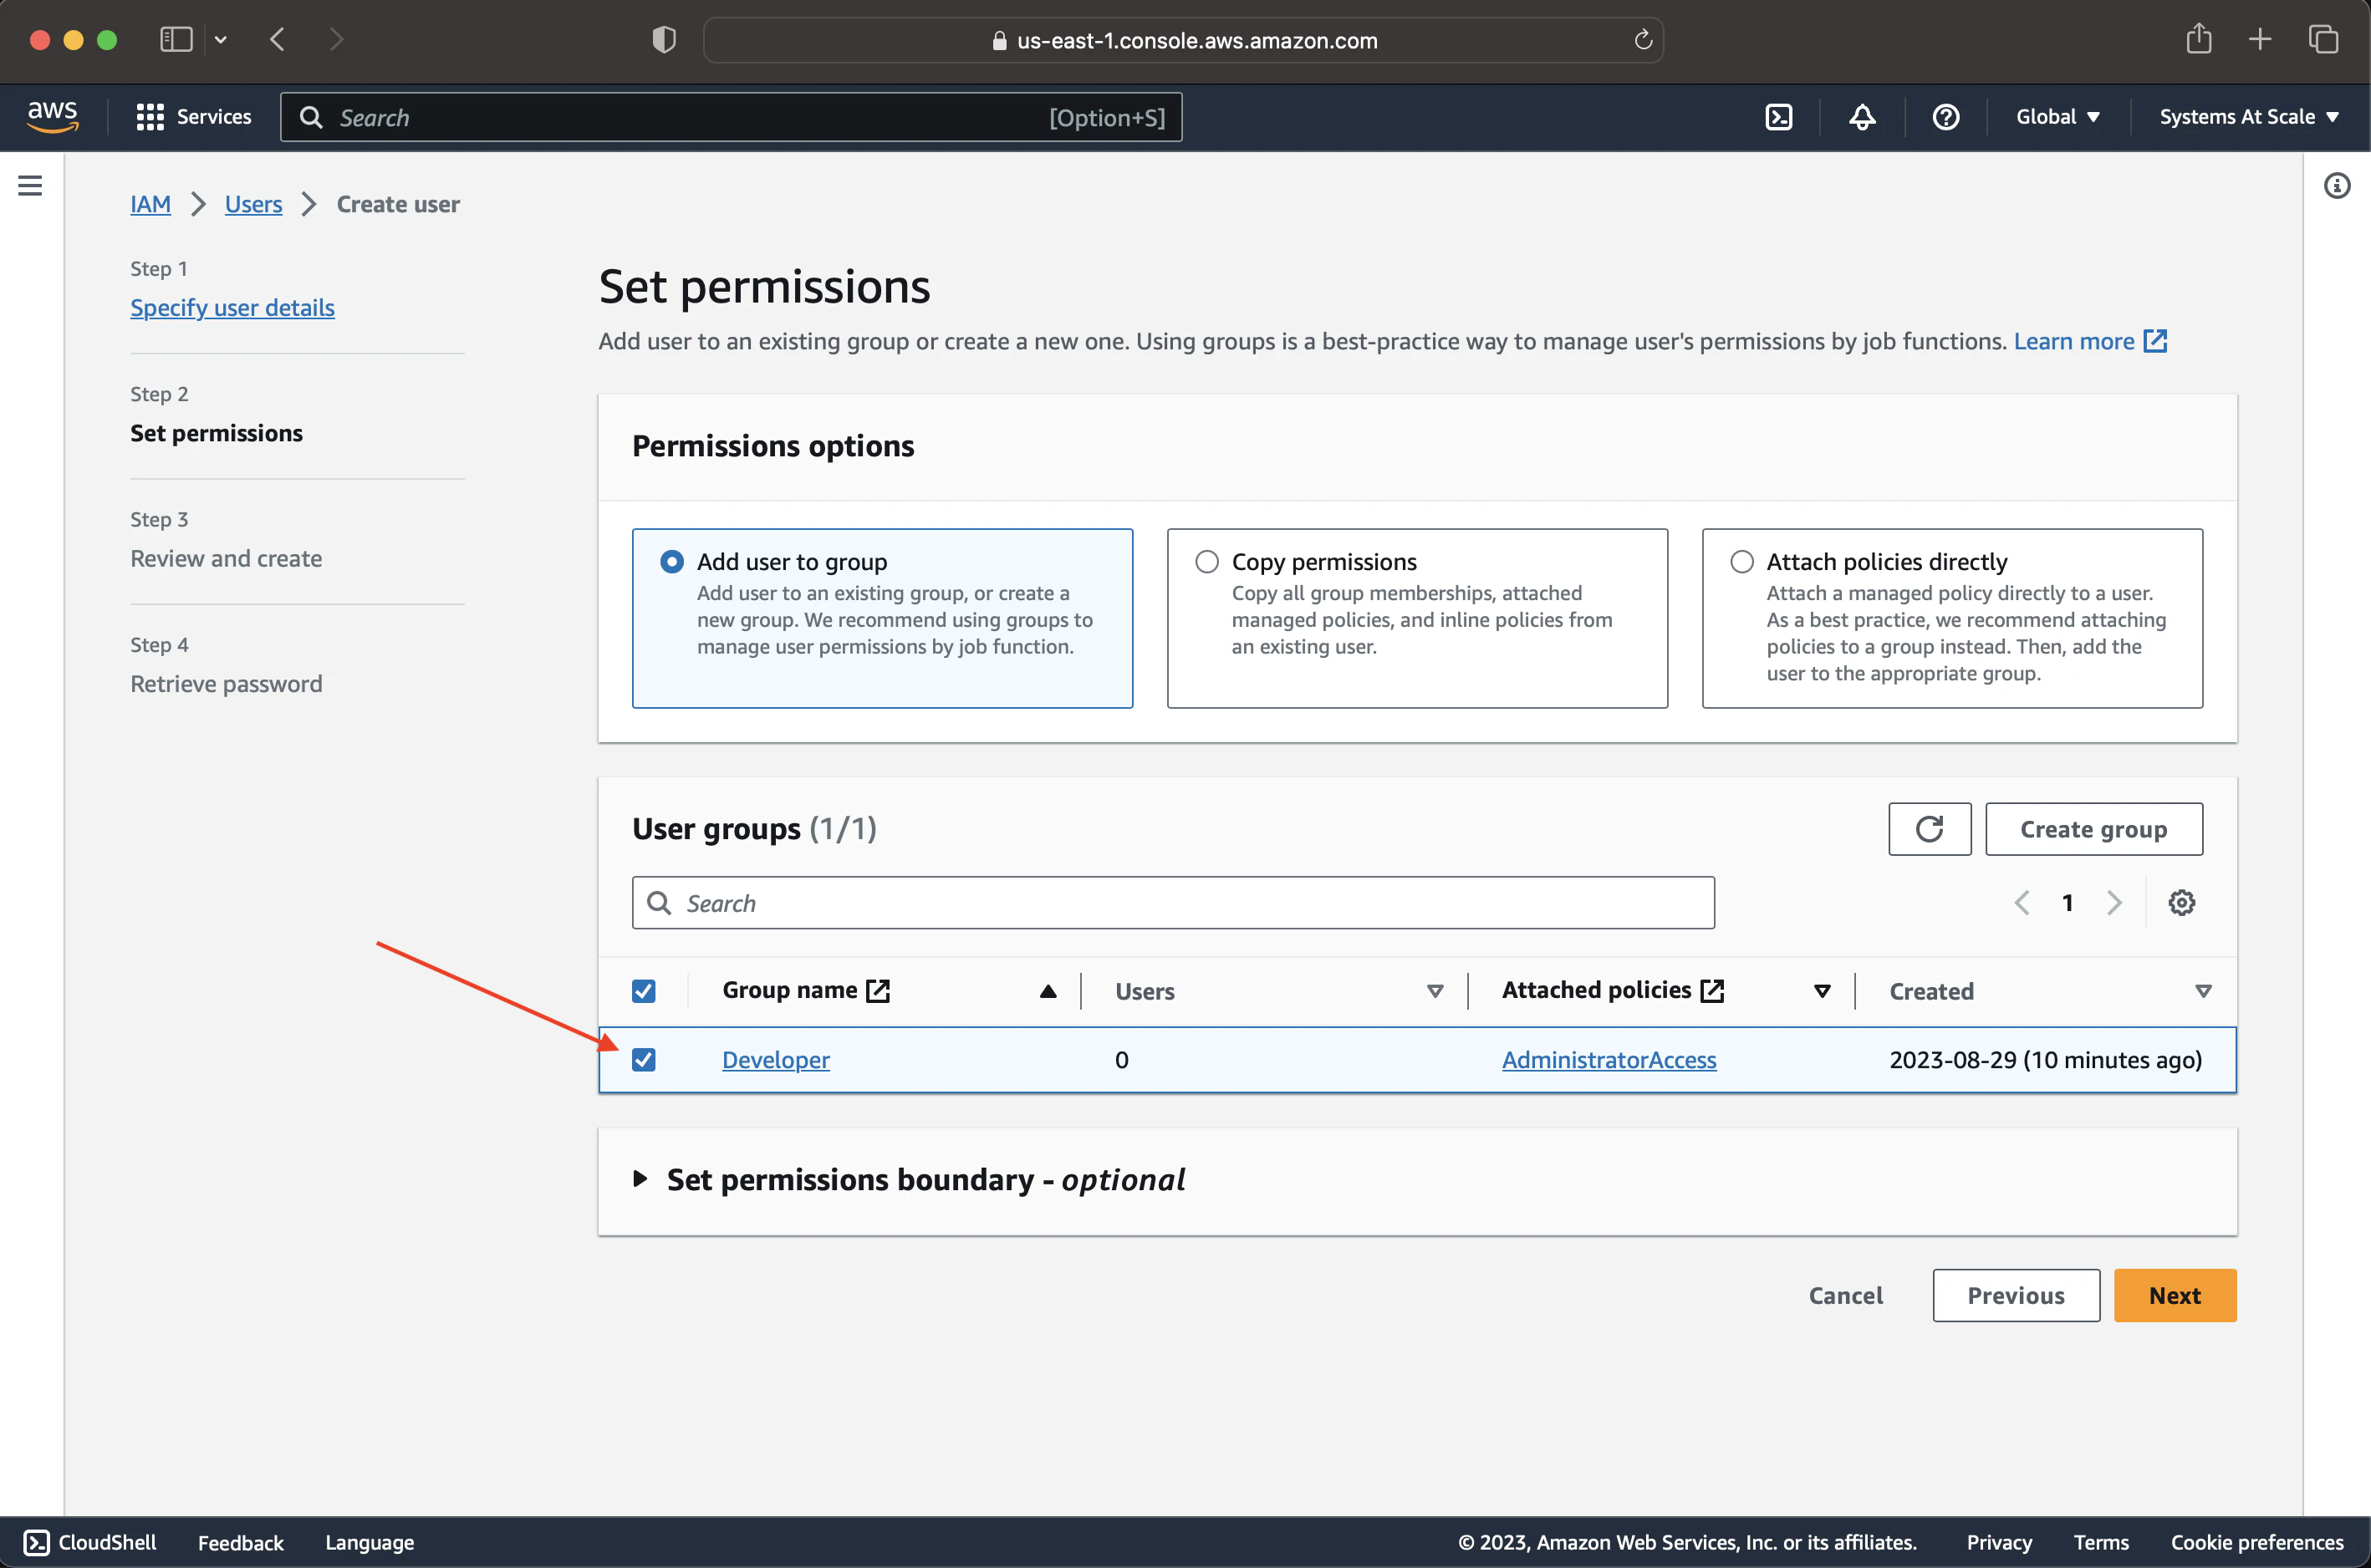
- Hit “Next” and “Create user”.
At this point, you’ll see a screen with a sign-in link, username and password.
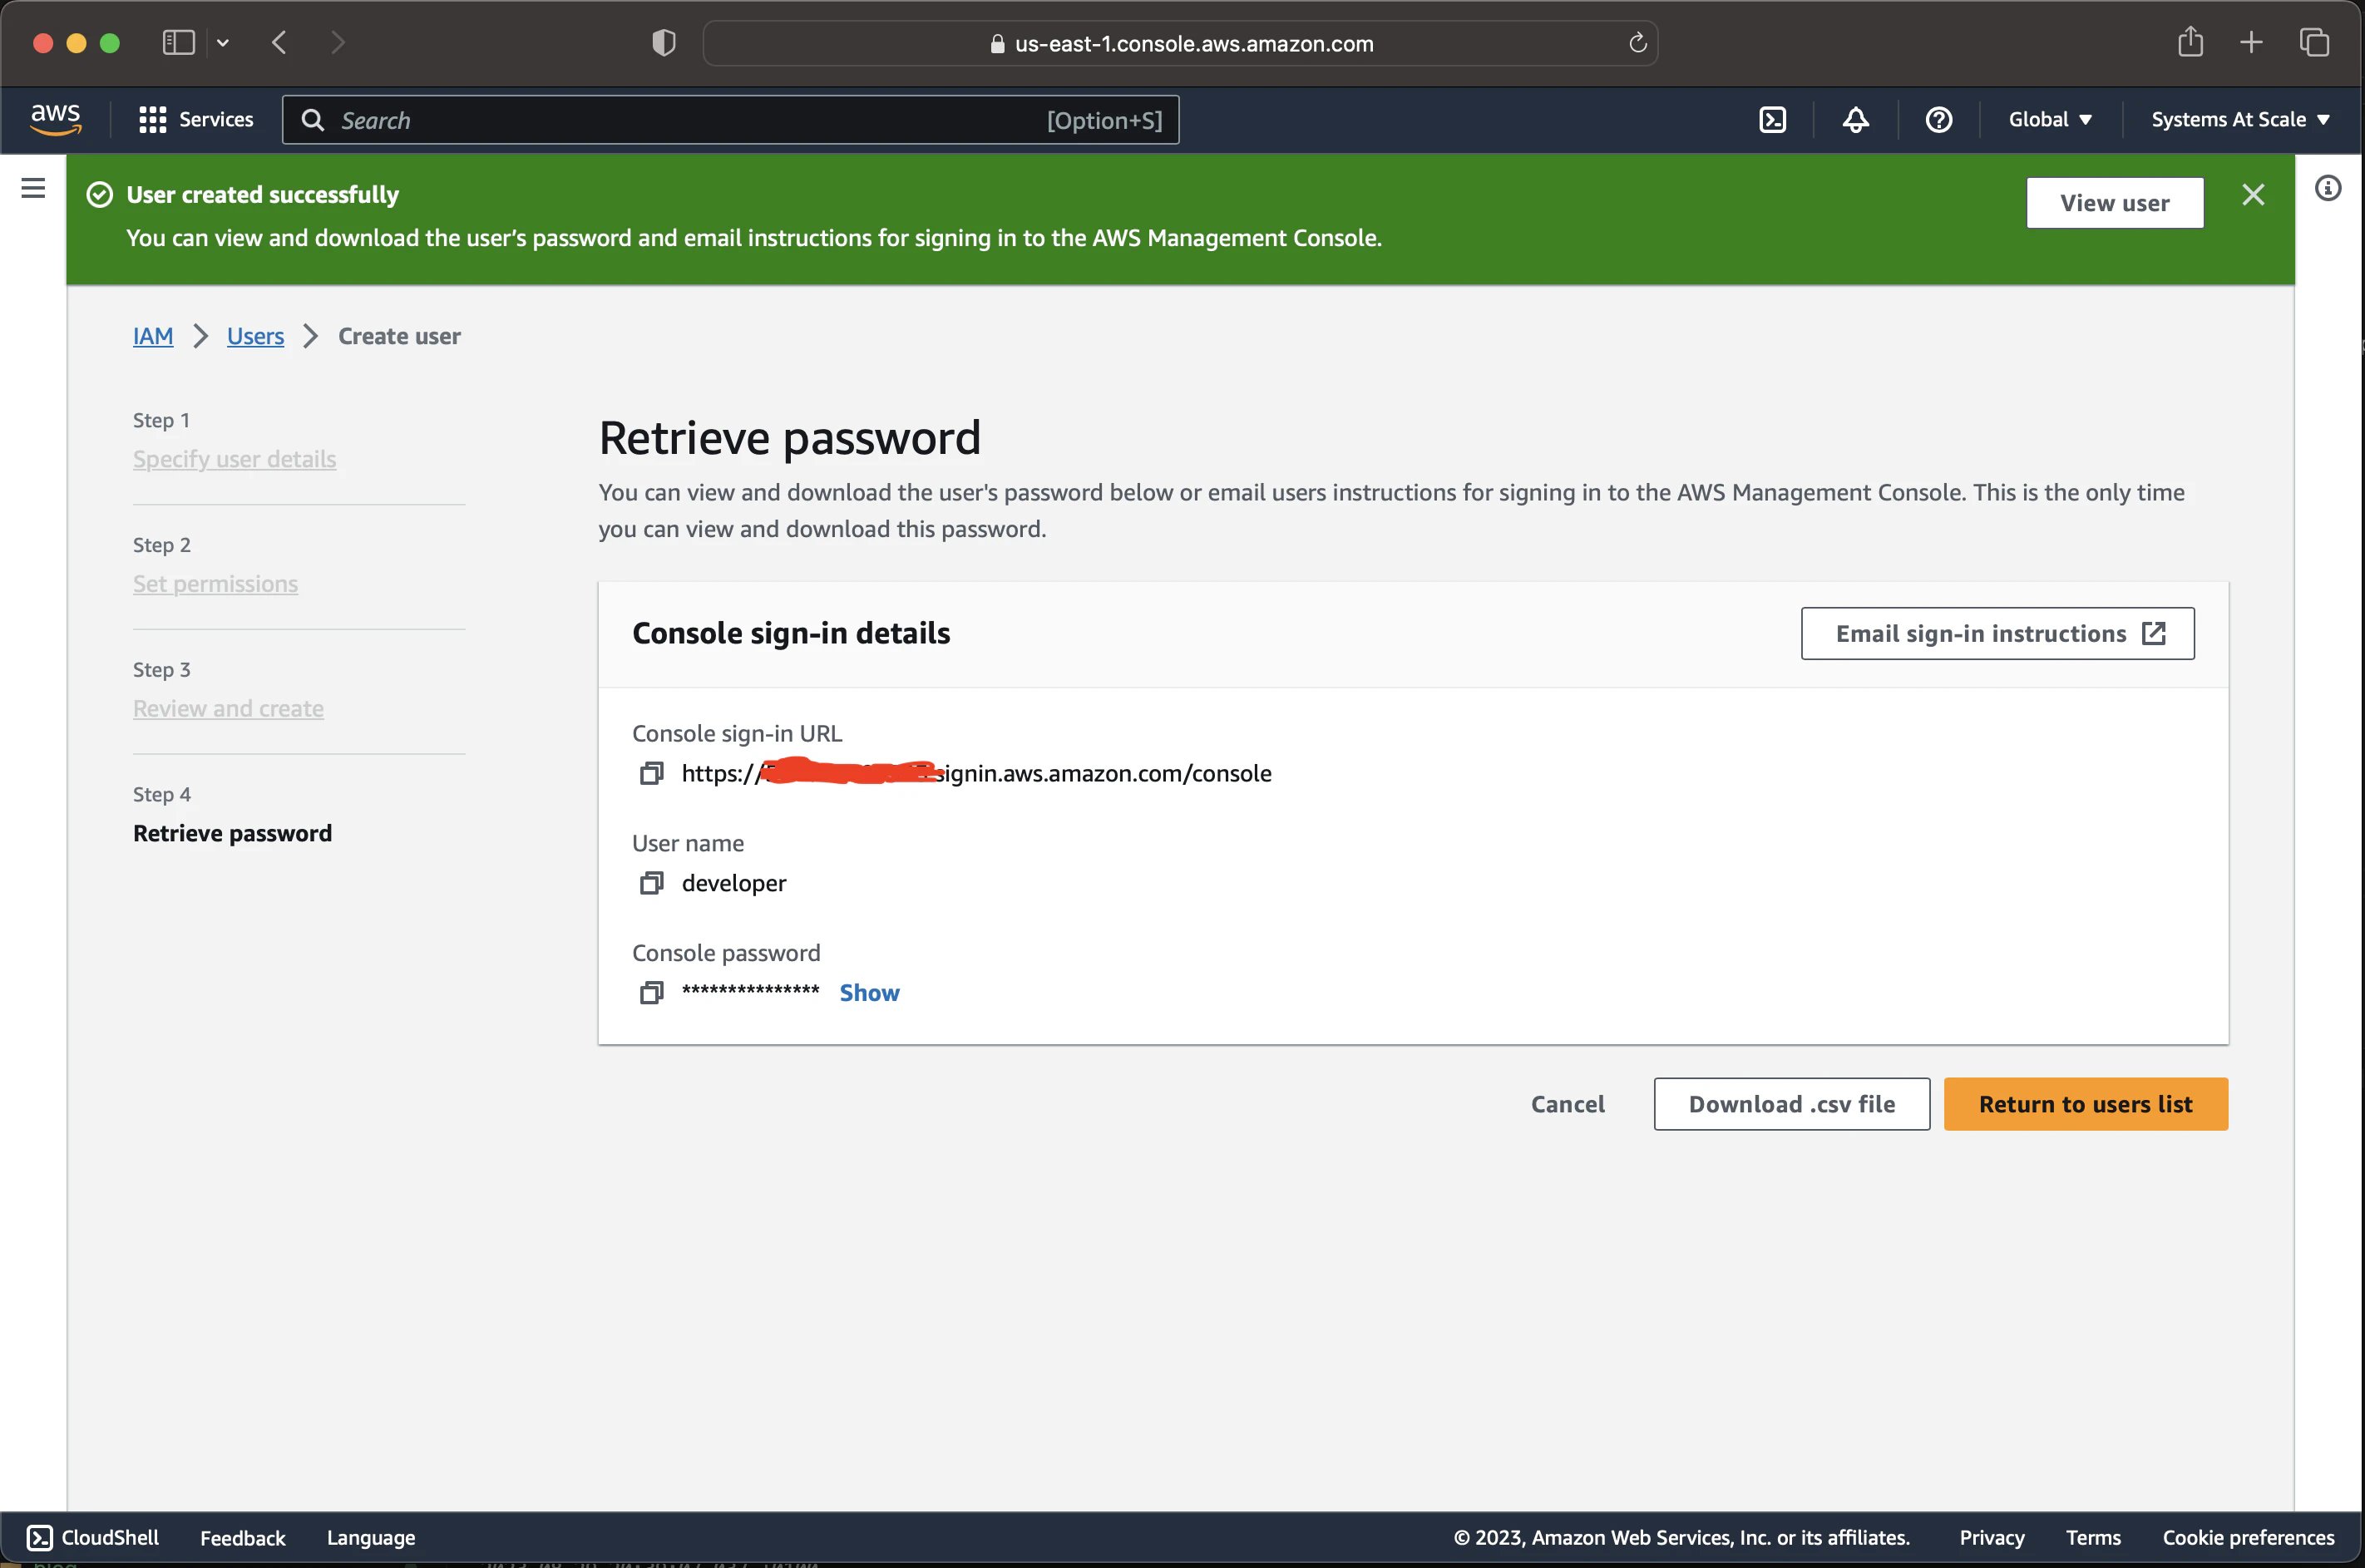
You can download the CSV file to save the credentials. You can also click “Send email” to send the credentials to your Email. Save it for now; we’ll use it in the next section.
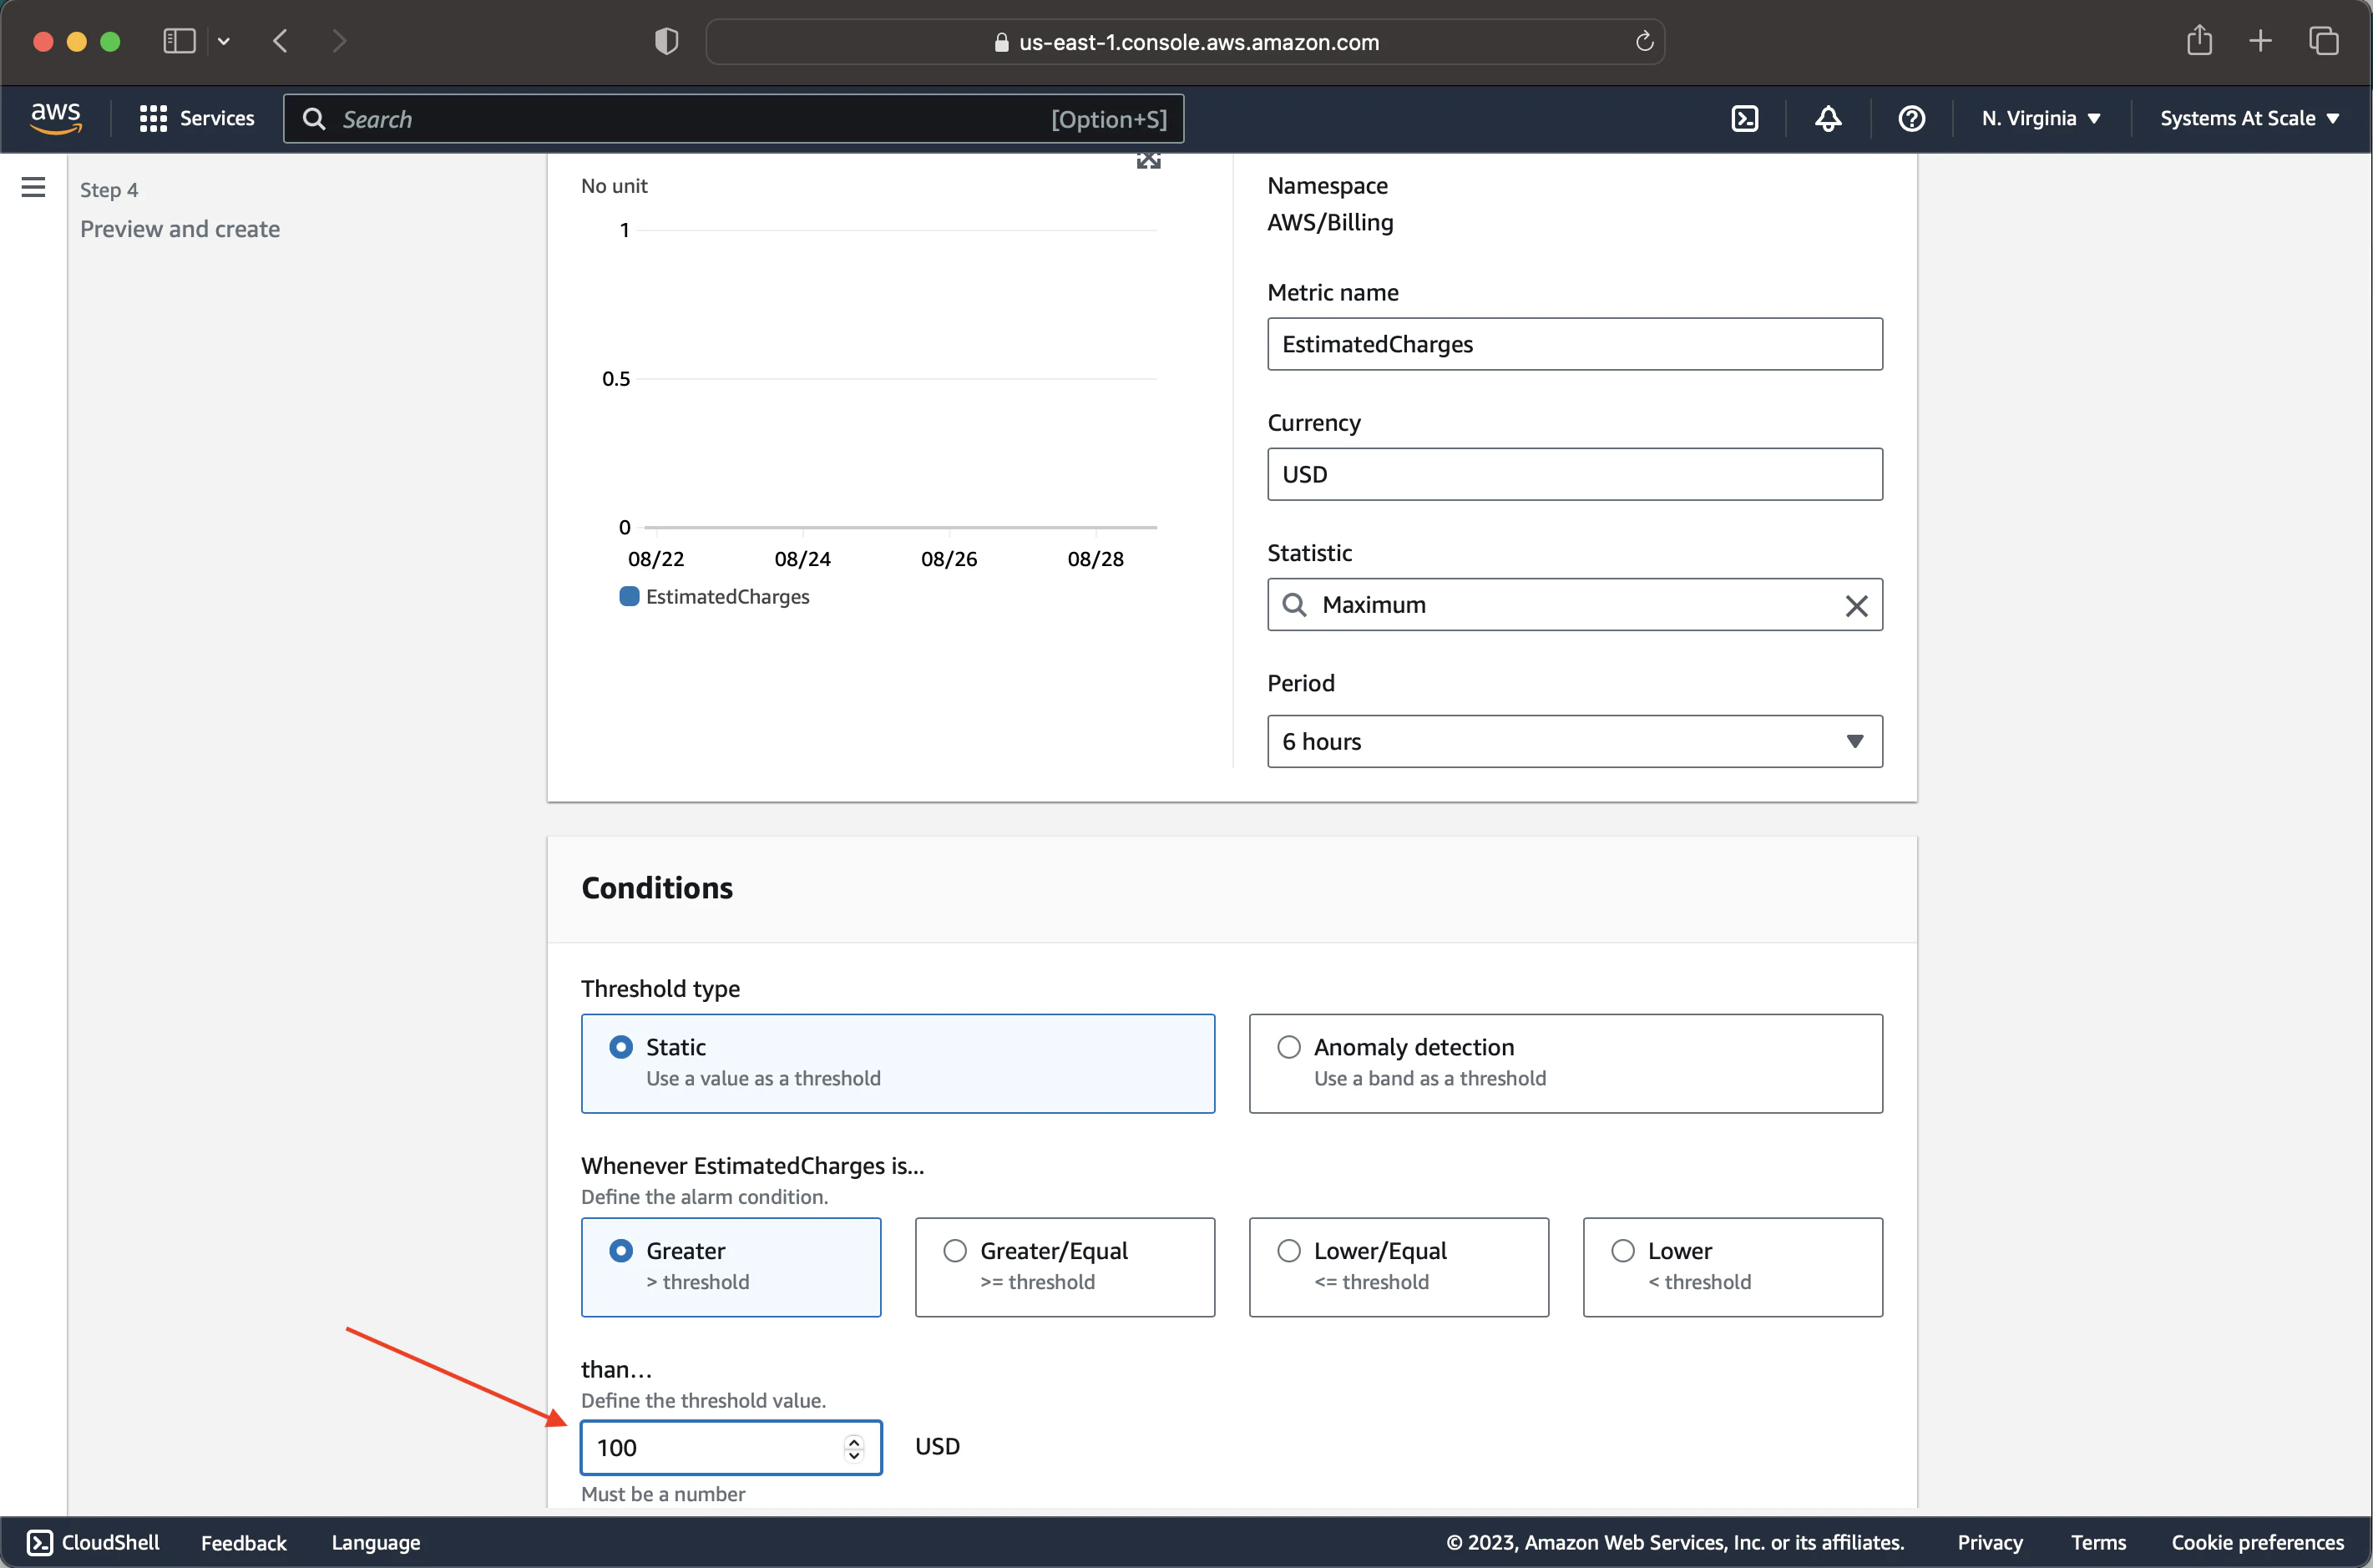
Set Up Account Billing Alarms:
To avoid unexpected charges
- Go to the CloudWatch dashboard.
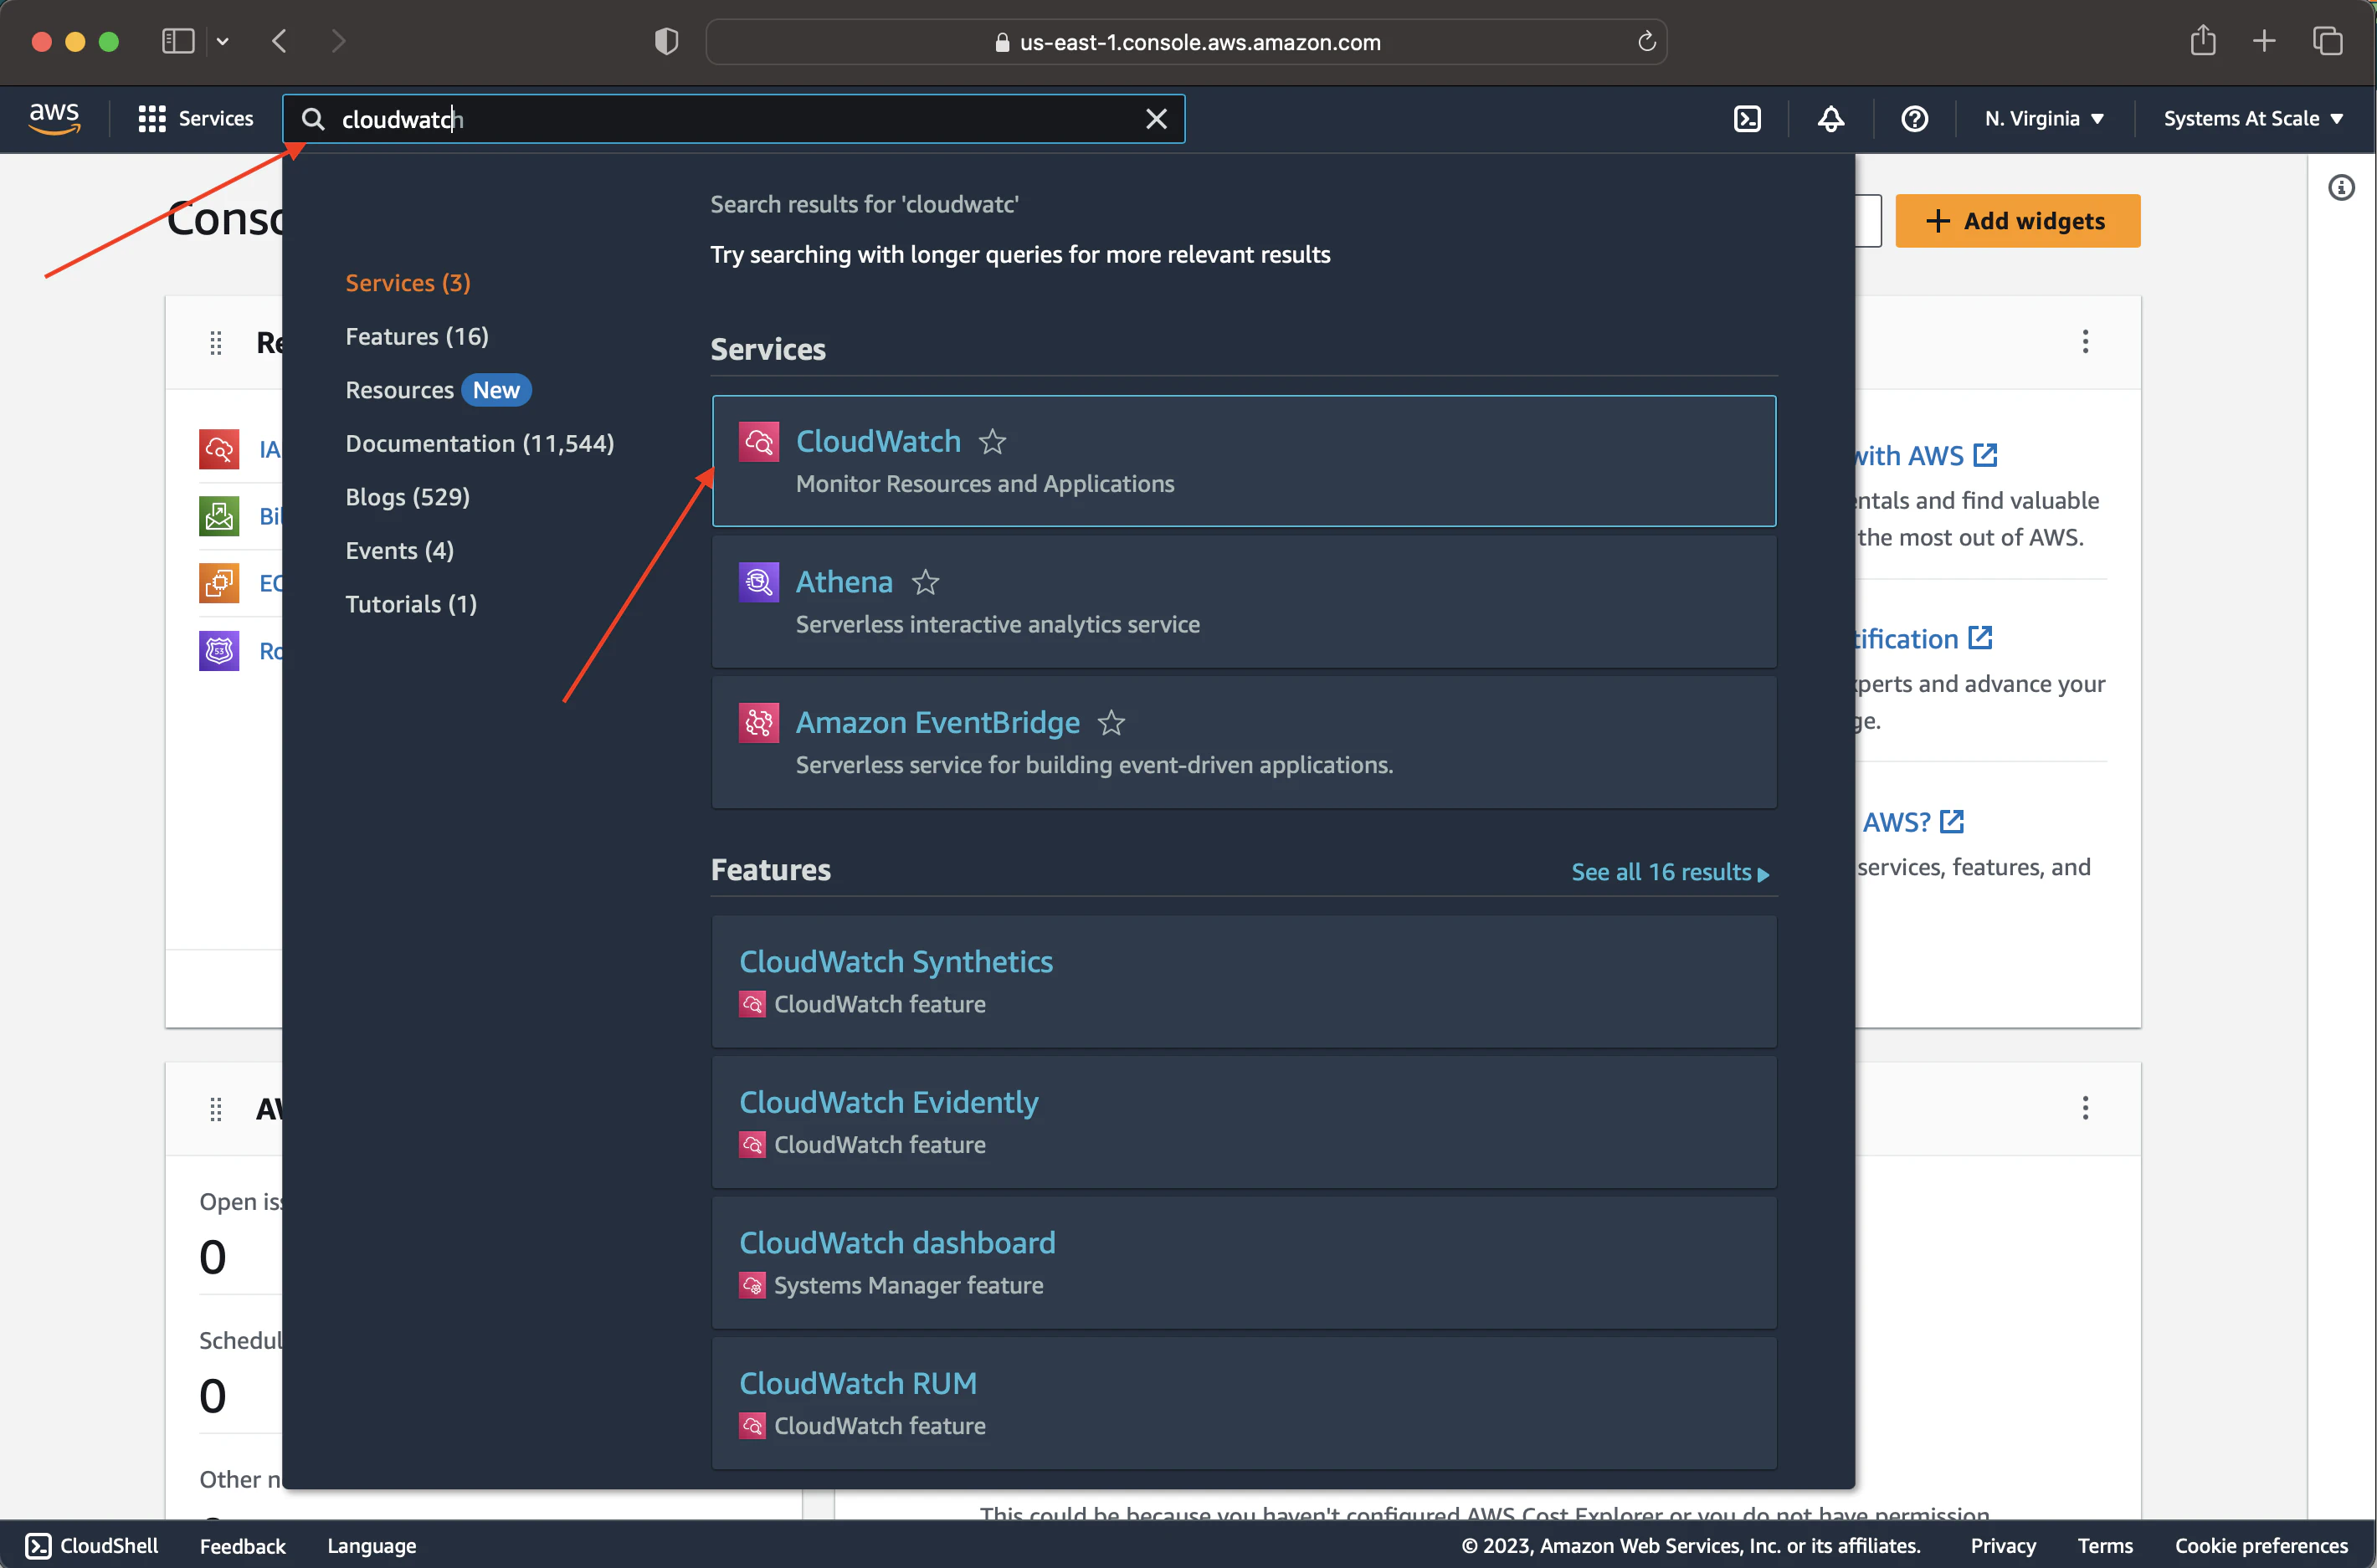
- Under Alarms, click “Create Alarm”.
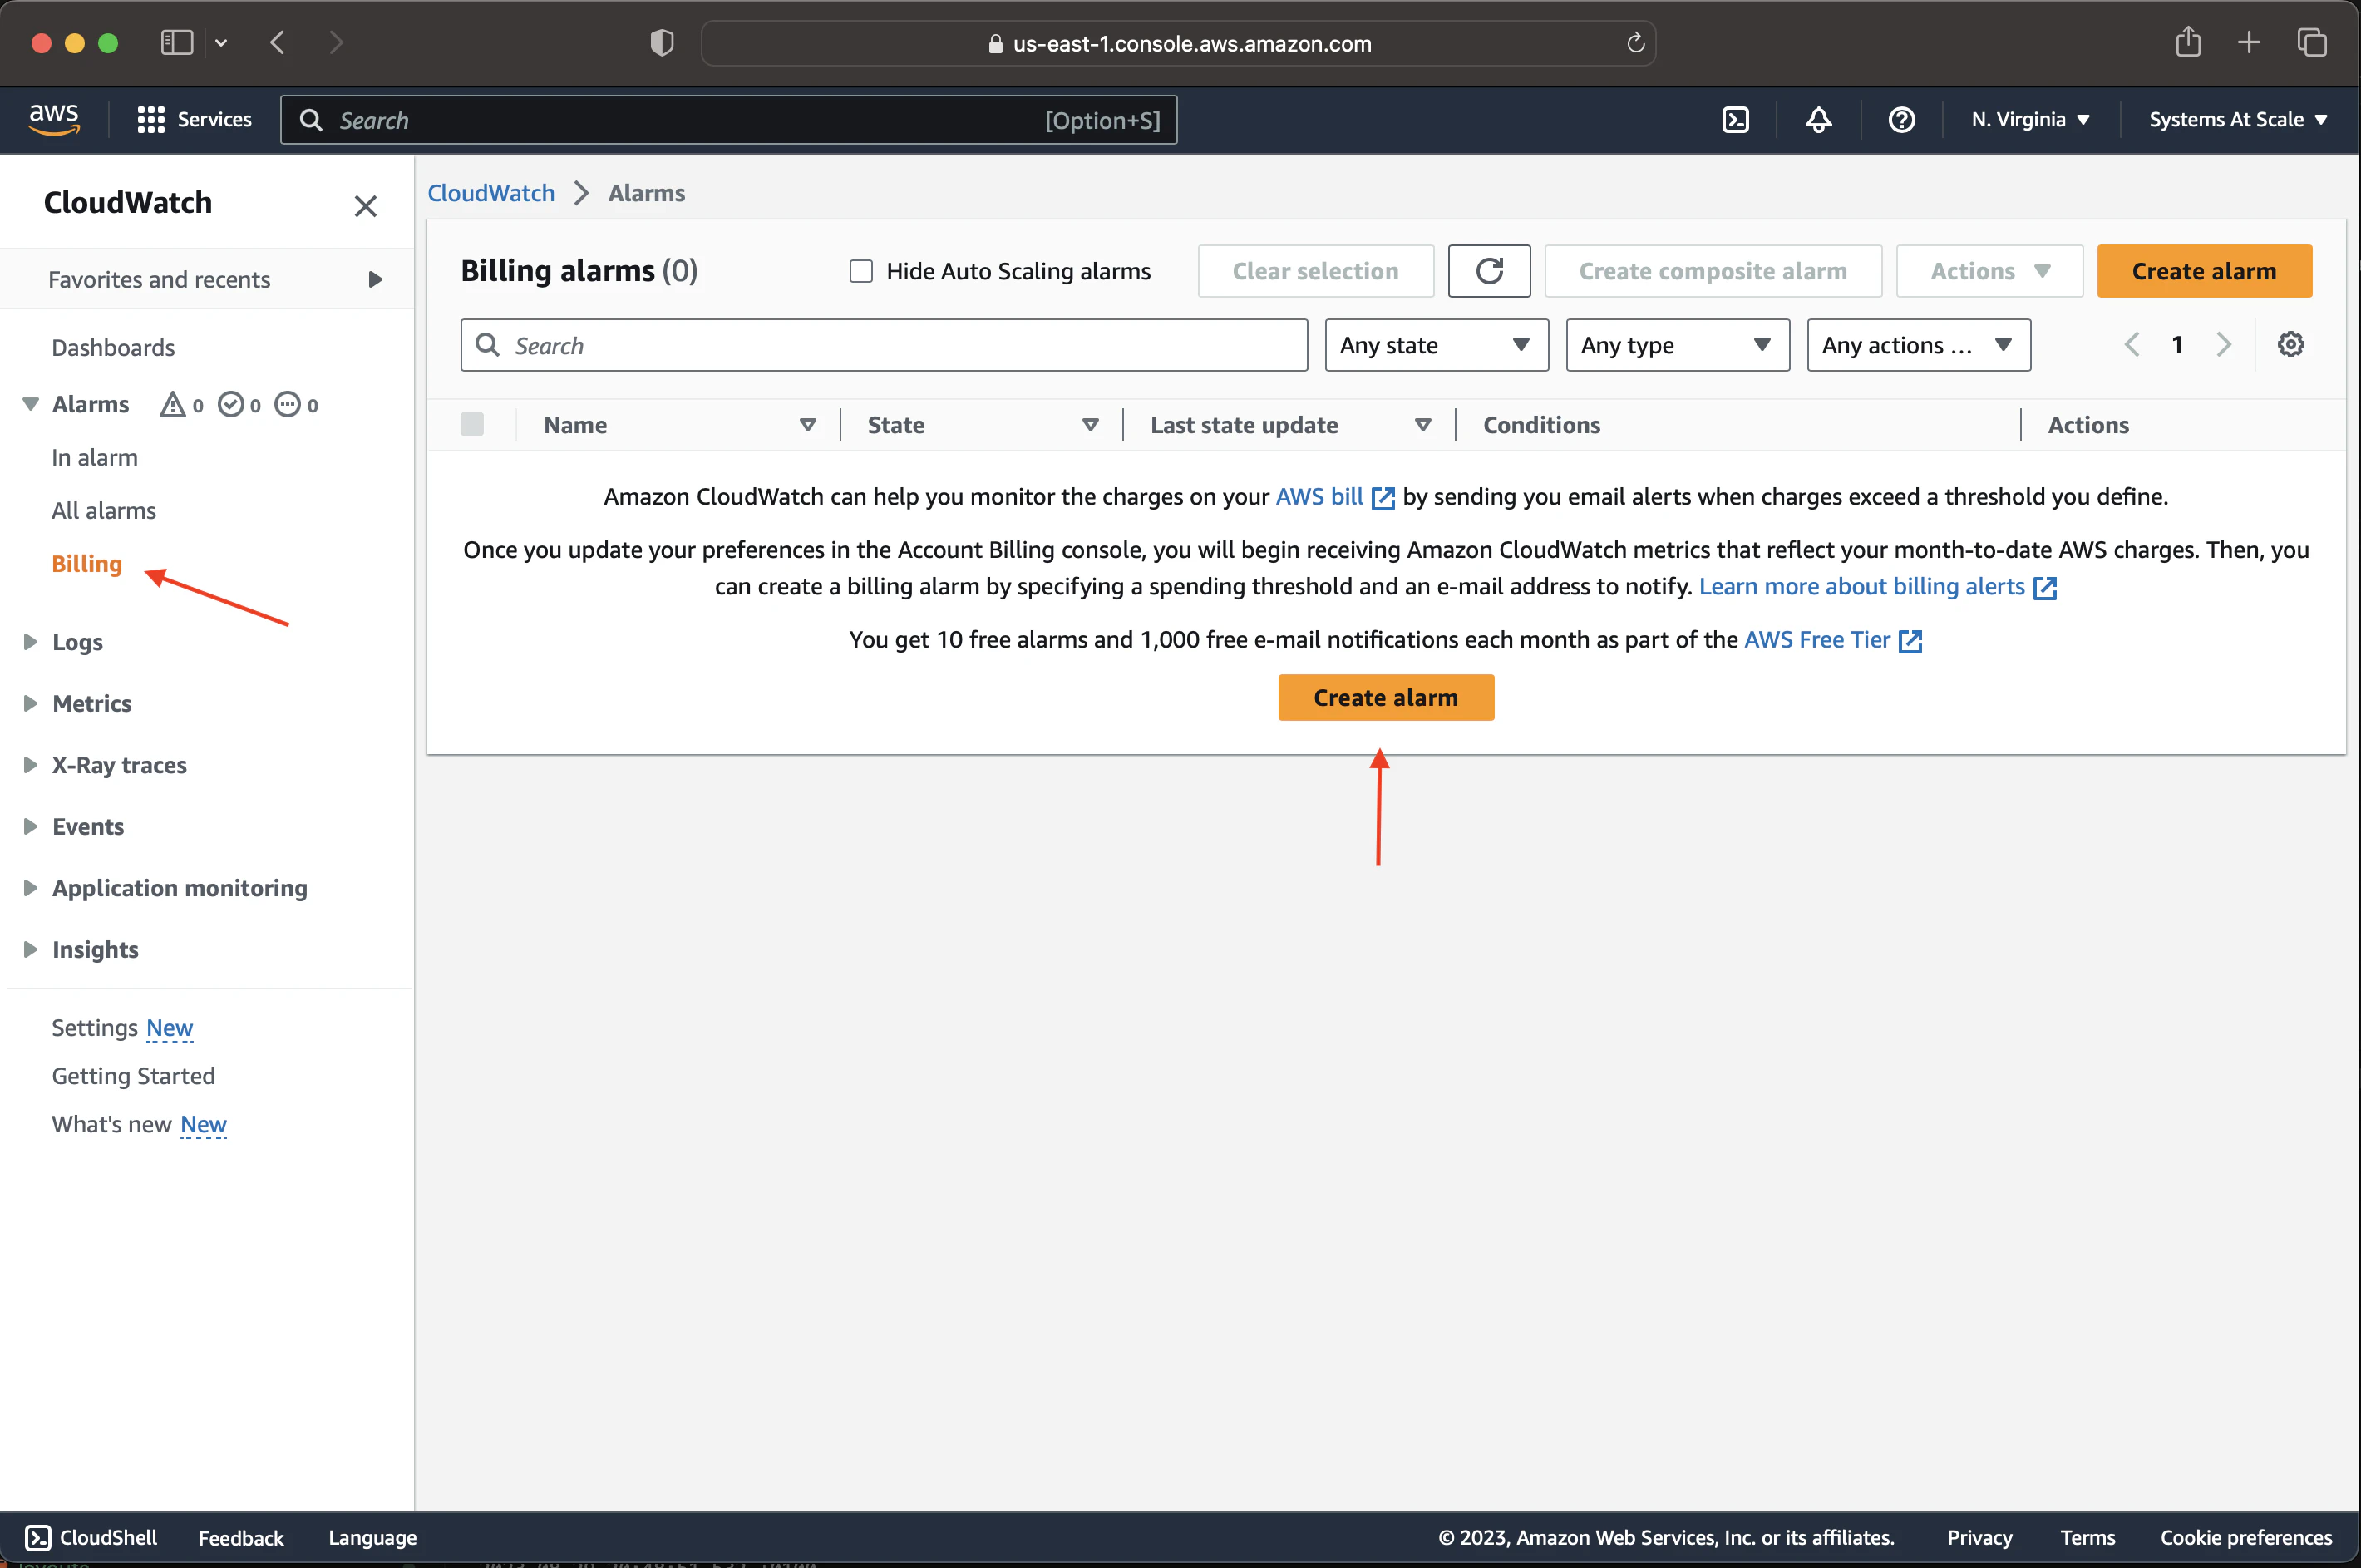
- Set the alarm to notify you if your estimated charges exceed a certain threshold.
Local Setup
Now that you have an AWS account, the root account is secured, and you have a user with limited permissions, it’s time to set up your local machine to interact with AWS services.
Grab the credentials you saved from the previous section and follow the steps below.
- Open the sign-in link in your browser (it should look like this:
https://<account-id>.signin.aws.amazon.com/console) - Enter the username and password from the CSV file.
- You’ll be asked to change the password if you did everything correctly. Enter the old password and a new password.
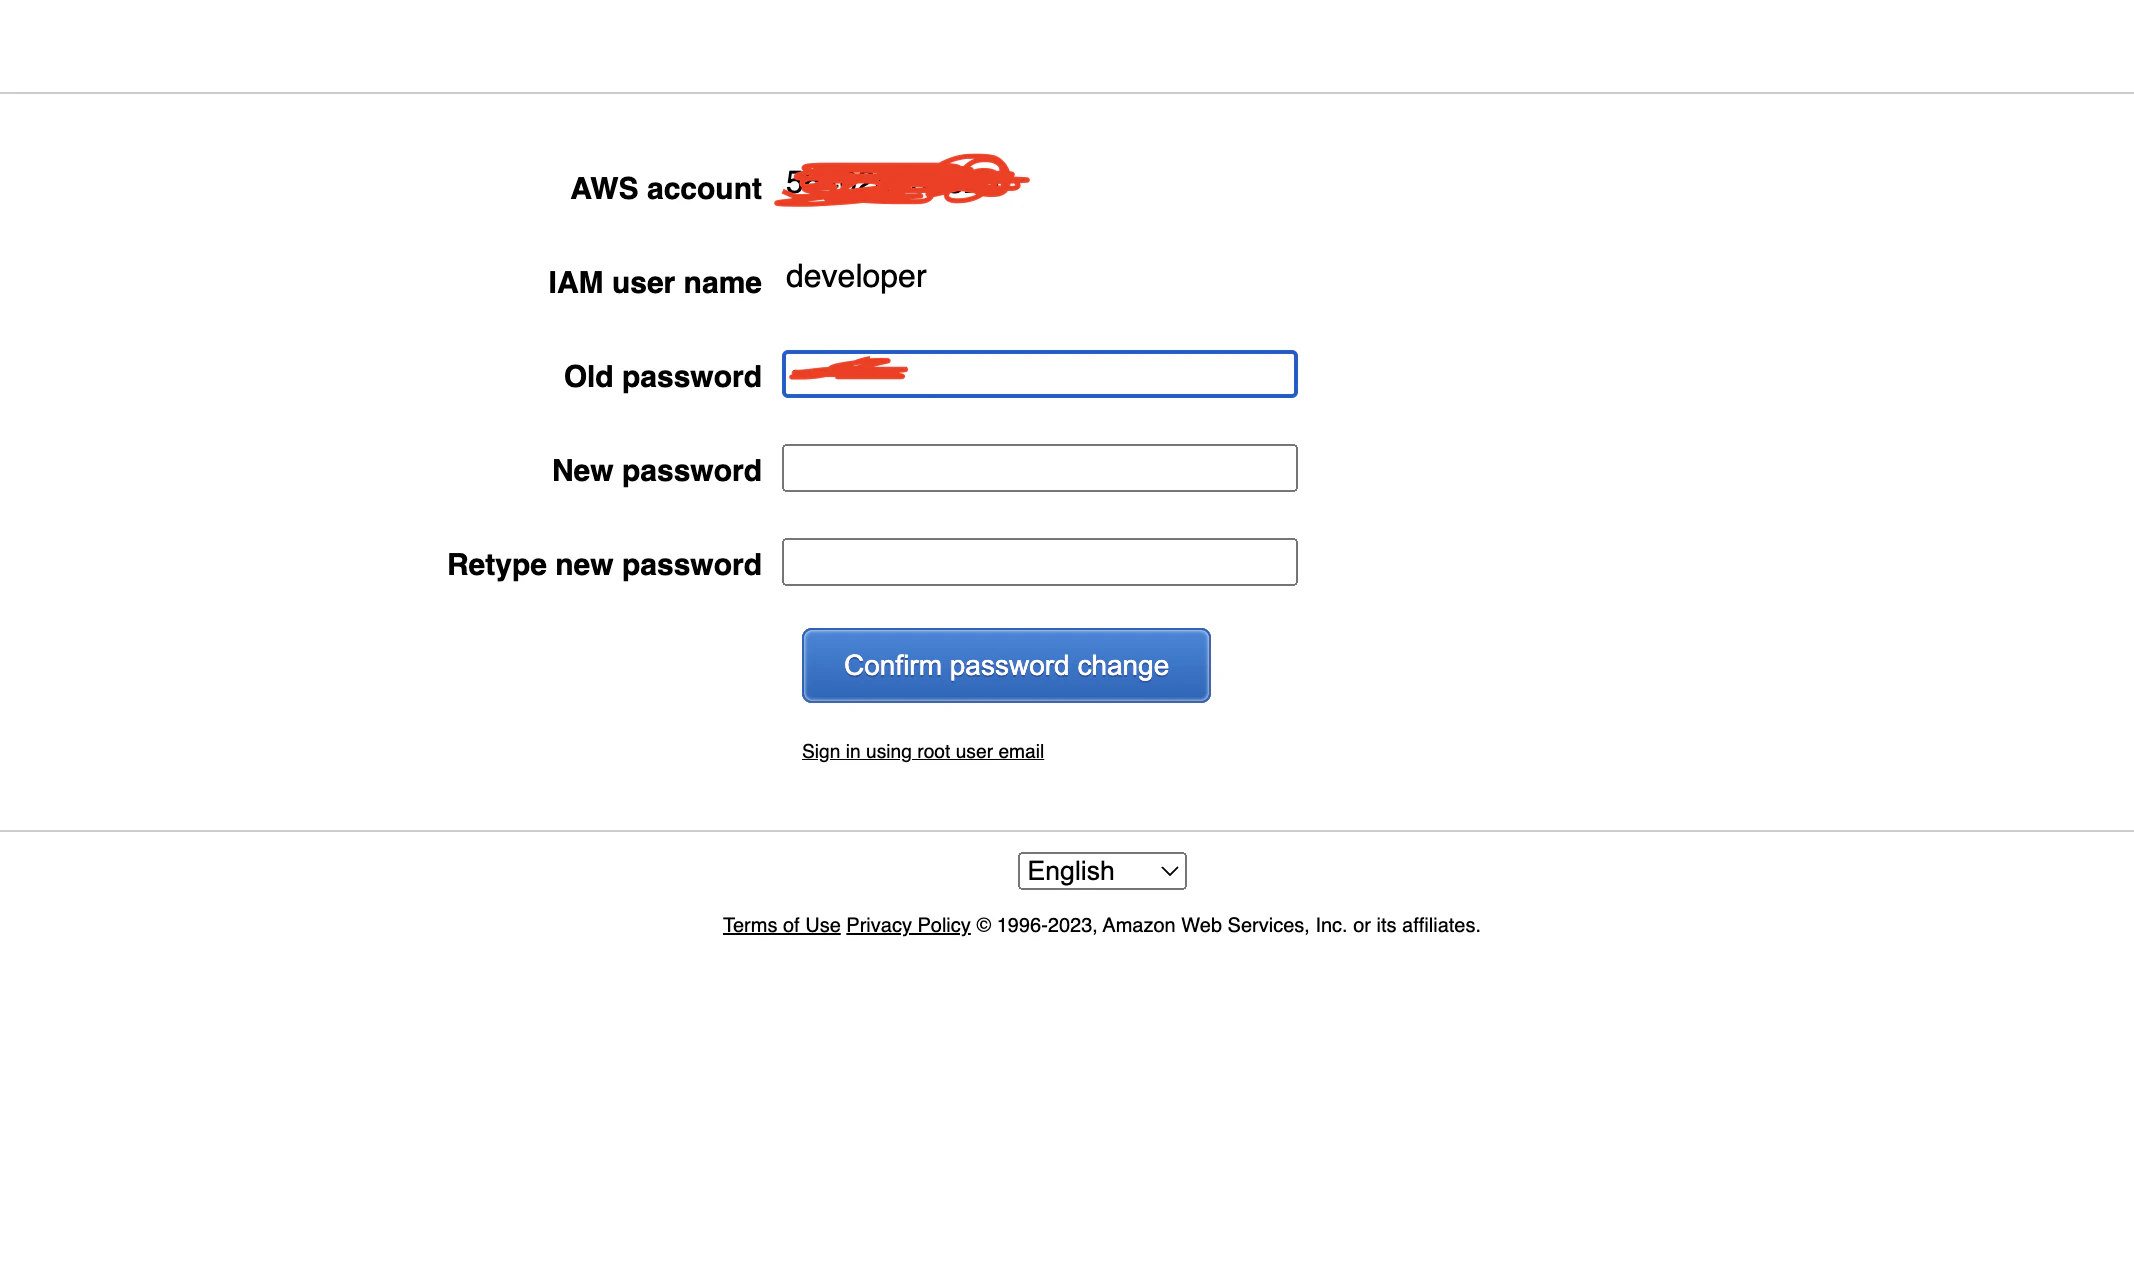 If you are not prompted to change the password, you must re-login with the root account and change the password from the IAM dashboard.
 - Go to the IAM dashboard, select “Users” from the left-hand menu and click on the user you created.
- Go to Security Credentials
- Assign an MFA device for the user. You can use the same MFA device you used for the root account. Google Authenticator will show you two codes; enter them to verify the device.
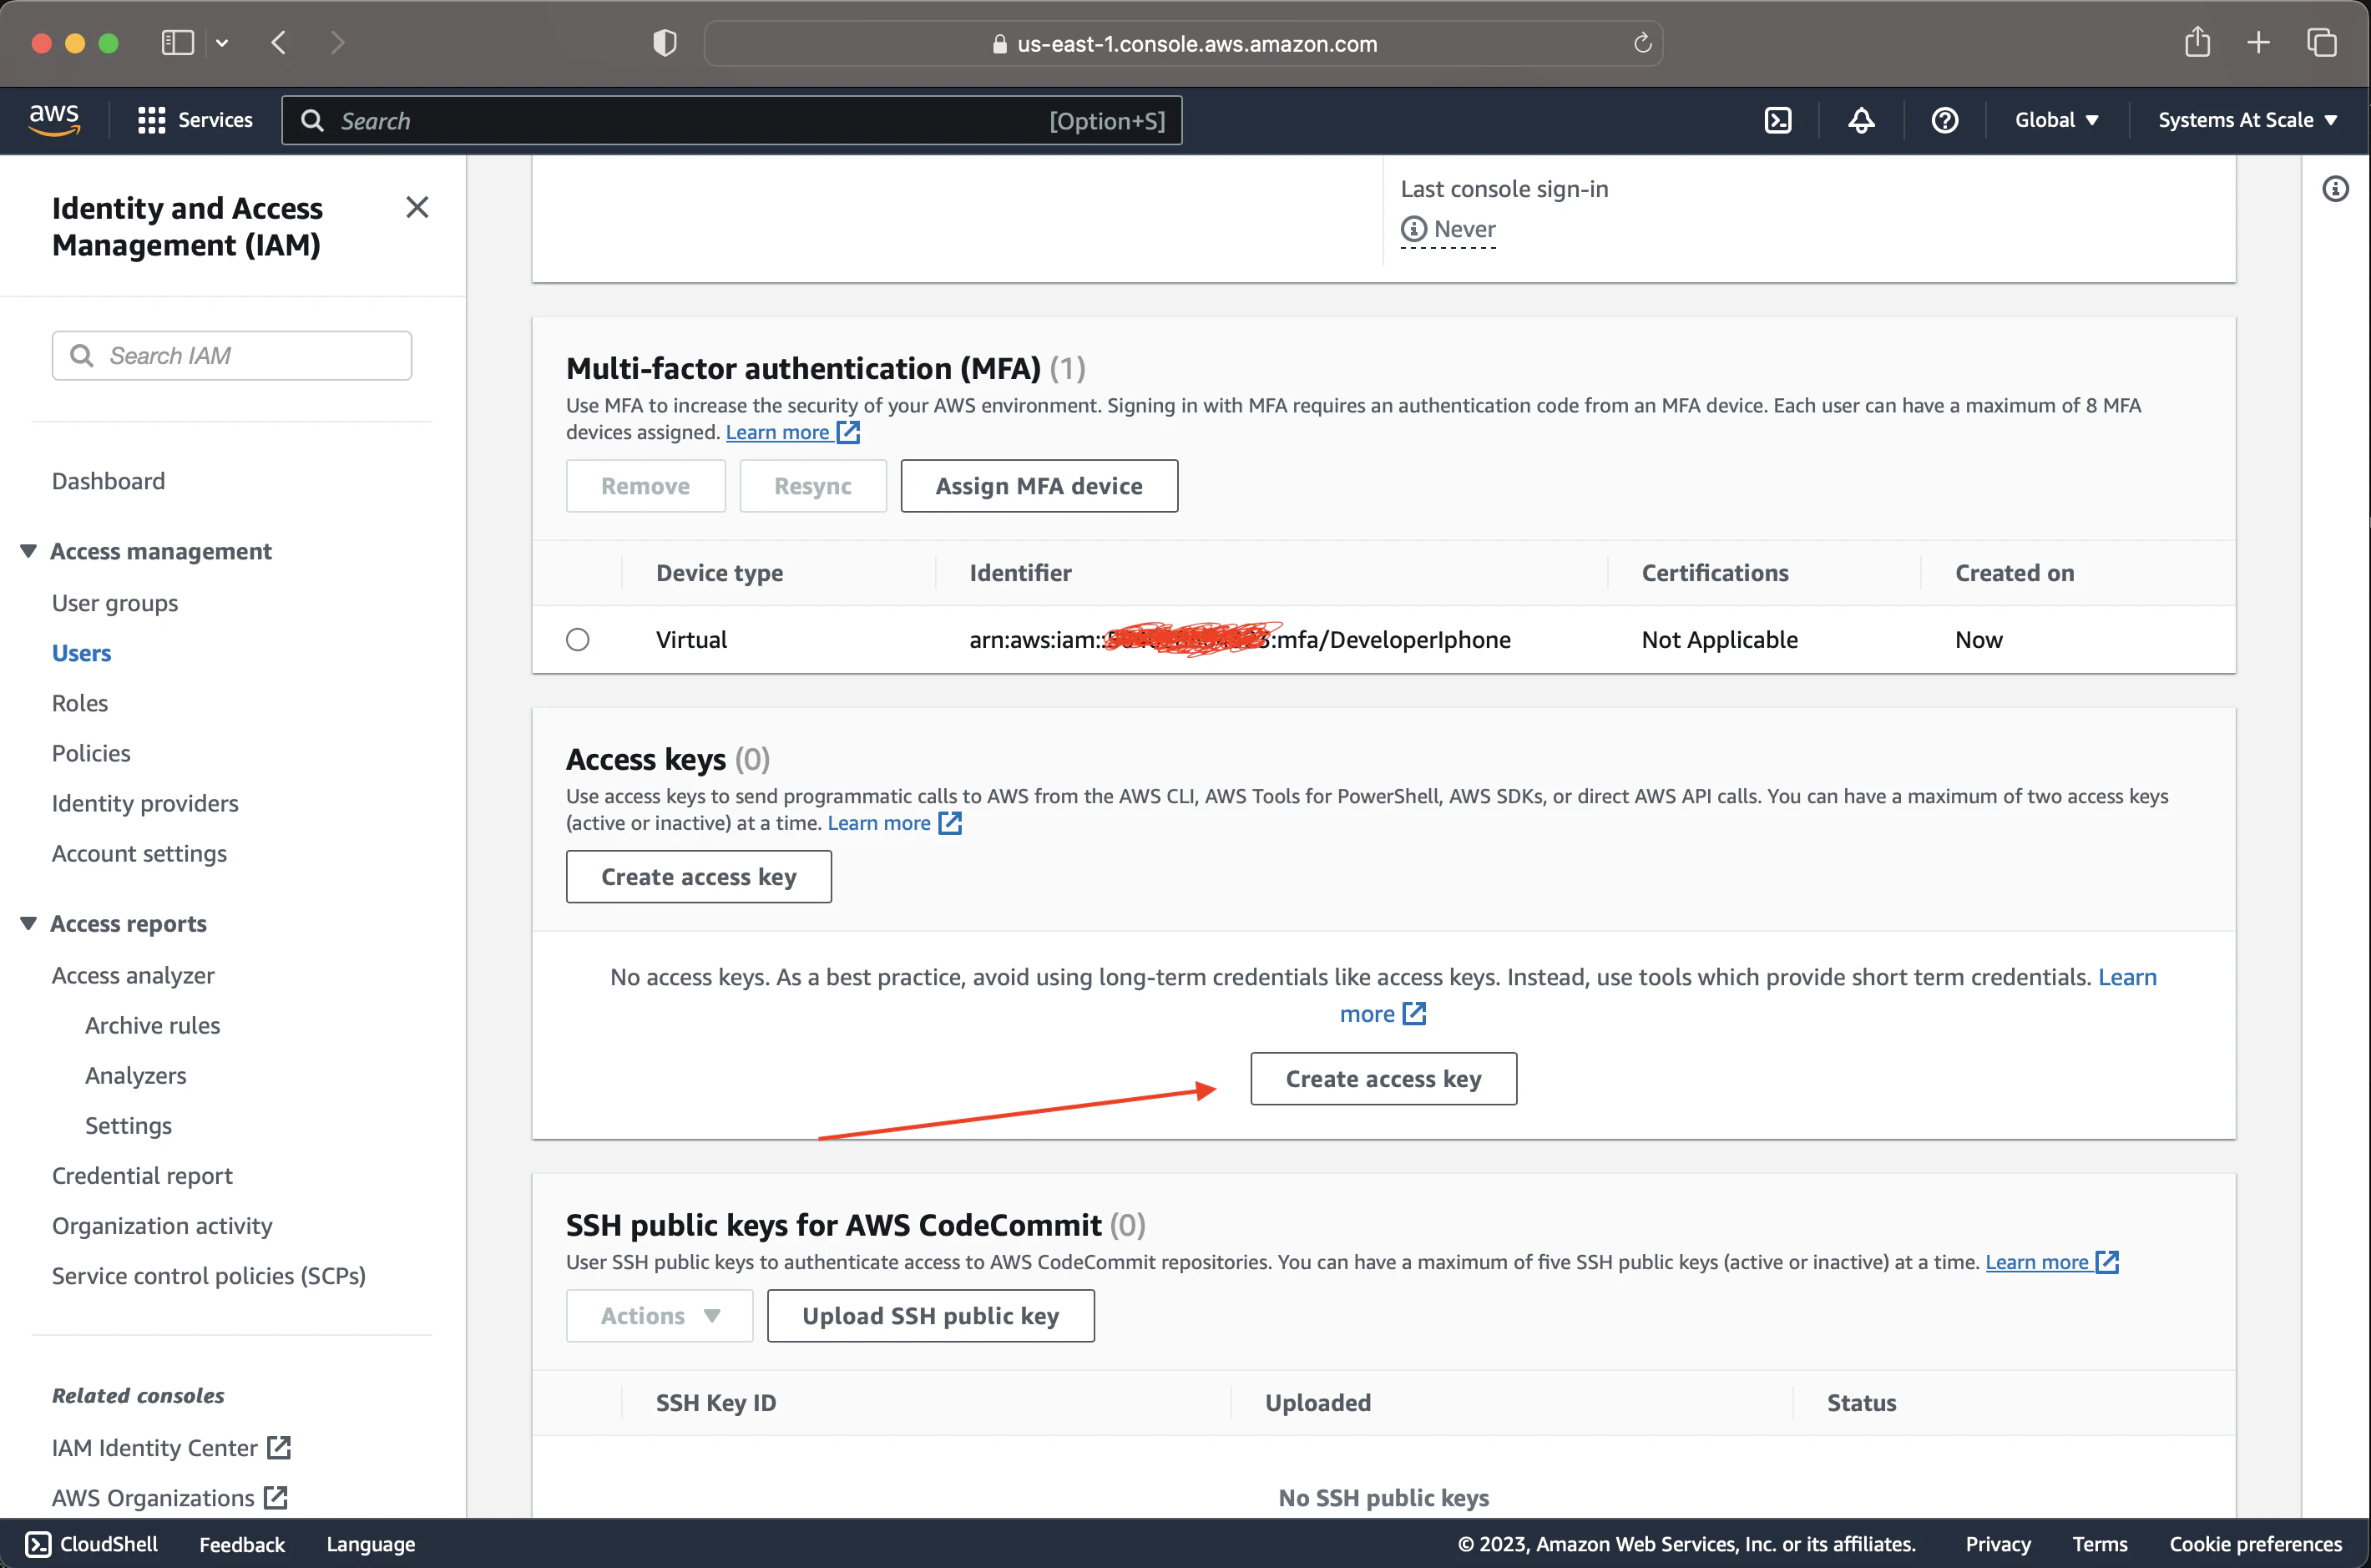
And finally, click on the “Create access key” and select “Command Line Interface (CLI)”. You’ll see the access key and secret key. Save them somewhere safe; we’ll use them in the next section.
Install AWS CLI
If you’re looking to interact with AWS services from your local machine, here’s how:
-
Install the AWS CLI: Use the downloadable installer from the AWS CLI website .
-
Configure the AWS CLI:
- Open your terminal or command prompt.
- Run
aws configure. - Input your AWS access key, secret key, default region (e.g.,
us-west-1), and default output format (e.g.,JSON).
The configuration will be saved in ~/.aws/credentials and ~/.aws/config files. You can also edit these files directly if you prefer.
- Test Your Connection: Run a simple AWS command like
aws s3 lsto list your S3 buckets, ensuring your setup is correct. If you get an error, check your credentials and try again; if the output is empty, you don’t have any S3 buckets yet, but your setup is correct.
Remember to keep your credentials private from others. You can always create new ones if you think your credentials are compromised.
Wrapping Up
And that’s it! You now have a foundational understanding of how to set up an AWS account, secure it, and interact with AWS services locally. As you delve deeper into the world of AWS, remember that their extensive documentation and community forums are invaluable resources.
It is also worth mentioning that this setup is only for learning purposes. You should follow AWS’s best practices and security guidelines for a production environment or organisation setup.
Happy cloud computing!
Note: This guide was created in 2023. Always review AWS’s current documentation and pricing information. The platform is ever-evolving, and the onboarding process may have changed in the future.